Folder Settings Page
The Folder Settings page within the Integrations interface allows users to designate the Investigation exports folder location. Additionally, a shared folder can be provided for subscription purposes.
Use the gear icon in the upper right corner of the console to open the Configuration menu. Then select Integrations to open the Integrations interface.
Click Folder Settings in the navigation pane.

By default, Investigation exports are placed in the Downloads folder of the logged in user, on the machine where that user is accessing the application. When a Local Folder path is designated, all Investigation exports are also stored in the specified folder on the application server.
When shared folders are added, they are displayed in a table at bottom of the page.

The Shared Folders table has the following columns:
- Display Name – The name of the shared folder as displayed in the application
- Path to the Shared folder – The path to the shared folder where subscription reports are stored
- Credential Profile – Name of the Credential Profile
- Access – The users that can save their subscription exports to the shared folder
- Last Time tested – Date timestamp when the the shared folder was tested to ensure it is configured correctly
Additional Options
When you hover over a row within the Shared Folders table, three additional options are displayed:

- Refresh Arrow – Tests the shared folder configuration
- Edit – Opens the Add New Shared Folder window to edit the configured settings
- Trash – Deletes the shared folder, which prevents the application from using it
Designate a Local Folder
Follow the steps to designate a local folder for Investigation exports.
Step 1 – Use the gear icon in the upper right corner of the console to open the Configuration menu. Then select Integrations to open the Integrations interface.
Step 2 – On the Integrations interface, click Folder Settings in the navigation pane.
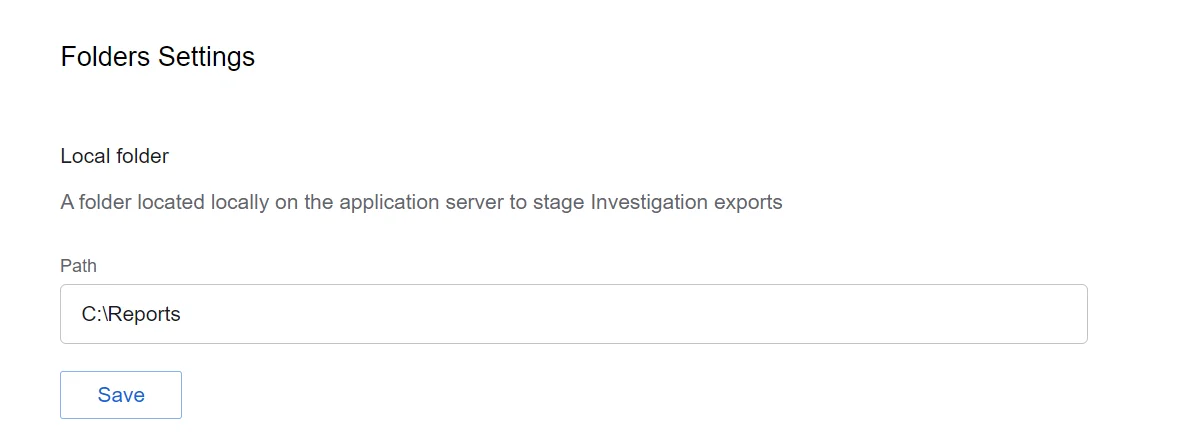
Step 3 – In the Path field, enter a valid folder path on the server where the application is installed. For example, C:\Reports.
Step 4 – The Save button is enabled when any settings are modified. Click it to commit the changes before leaving the page.
Investigation exports will now be saved to the designated local folder on the application server.
Add a Shared Folder
NOTE: Prior to adding a shared folder, you must first configure a Credential Profile with Write access to the shared folder. See the Credential Profile Page topic for creating a profile.
You can specify a shared folder for exporting investigations data from subscriptions through the Integrations menu. Follow the steps to add a shared folder.
Step 1 – Use the gear icon in the upper right corner of the console to open the Configuration menu. Then select Integrations to open the Integrations interface.
Step 2 – On the Integrations interface, click Folder Settings in the navigation pane.
Step 3 – Click Add Shared Folder. The Add New Shared Folder window opens.
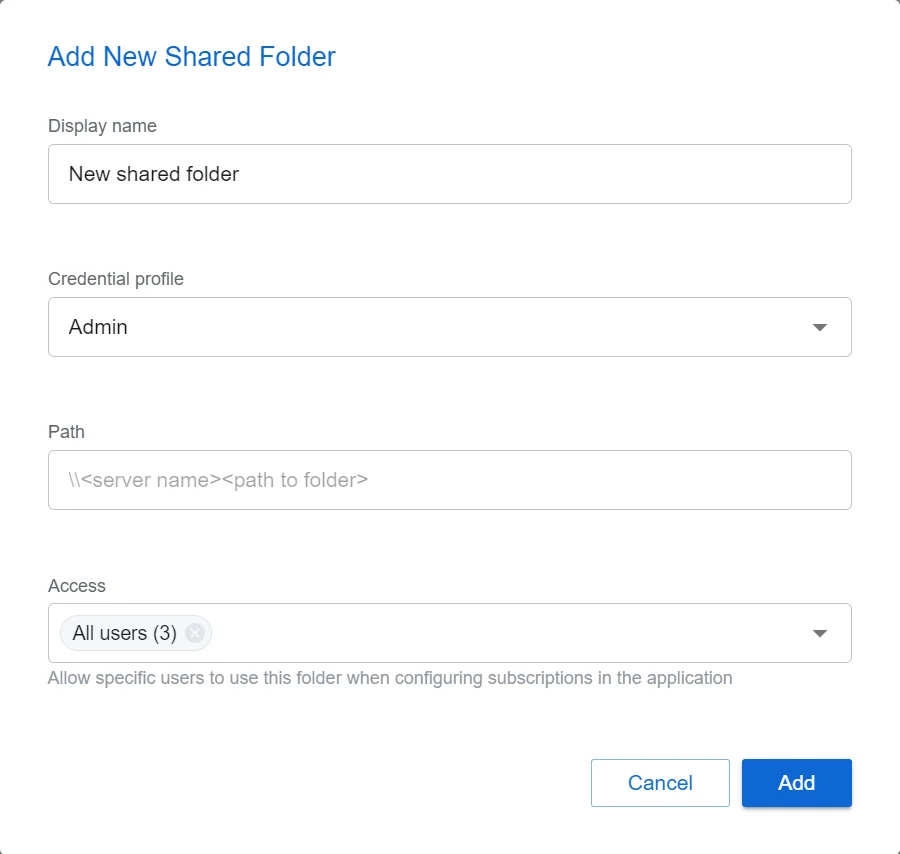
Step 4 – Enter the following information:
- Display Name – Enter a name of the shared folder as displayed in the application
- Credential Profile – Select the Credential Profile by name from the drop-down menu. This was pre-created in the Credential Profiles page.
- Path – Enter a valid share path with the \[SERVER NAME][PATH TO SHARED FOLDER] format. For example, \NT-FS02\Subscriptions.
- Access – Allow specific users to access the folder when configuring subscriptions in the application. By default, this is set to All users. To limit access, select users from the drop-down menu. Only users granted application access through the System Settings > User Access page will be available in the drop-down.
Step 5 – Click Add. The Add New Shared Folder window closes.
The specified shared folder has been configured for subscription exports.