Optionally Install the Action Service on Additional Servers
The Action Service is installed with Threat Manager and is configured in the Threat Manager Console. The Action Service can also be installed remotely on other servers. This provides the option to run actions defined in the Console from different locations within an organization. The Action Service installer is in the zip file with the Threat Manager Console installer. However, it can be downloaded from within the Threat Manager Console.
Follow the steps to install the Action Service.

Step 1 – Run the StealthDEFEND.ActionService MSI installation package and the Threat Manager Action Service Setup wizard will open.
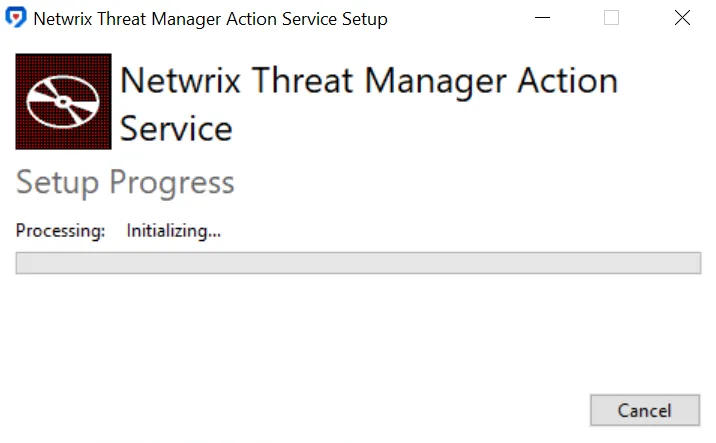
Step 2 – Click Install to begin the installation. The setup wizard displays installation progress.
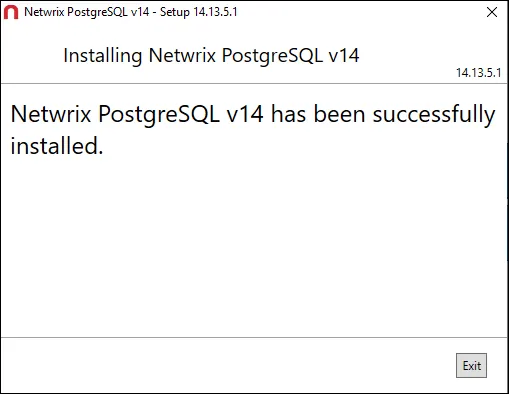
Step 3 – When the installation is complete, click Close to exit the installer.
The Threat Manager action service is now installed on a remote server.
Configure a Remote Action Service to Register with Threat Manager
If an Action Service is installed on a remote machine, it must register with the Threat Manager server as an Action Service server. This registration is performed by providing the Threat Manager web console location and credentials via a command line utility. This process will register the host as an Action Service Server and retrieve a JWT that will be encrypted and stored locally in the Action Service C:\ProgramData\Stealthbits directory for future communication with the Threat Manager server via REST requests. The configuration User Name and Password are not stored and are not required for connection after the initial configuration. Once configured, the Action Service server will fetch queued actions from Threat Manager to execute locally.
Follow the steps to configure the Action Service using the command line utility.
Step 1 – Open an administrative command prompt.
Step 2 – Run the following command to launch a wizard that prompts for parameters required to configure the Action Service:
<StealthDEFENDDirectory>\ActionService\ActionService.exe --config
Step 3 – Enter the following information in the wizard:
-
URL or Server – The web address for the Threat Manager console (e.g., https://ThreatManagerServer.Domain.com:8080).
NOTE: Include http:// or https:// if configured and web port if not using 80 or 443
-
User Name – Specify the user name to connect to the Threat Manager console. It is recommended to use the Admin account for the user name.
-
Threat Manager Password – The password to the user name specified
-
Ignore certificate errors – It is recommended to set to True if using a self-signed certificate for SSL or if other issues with the web certificate are experienced.
Step 4 – The utility will output "Success!" if the Action Service registered correctly. Verify that the Action Service successfully registered by navigating to the System Health page of the Threat Manager console.
Step 5 – Exit the command prompt.
The Action Service is now registered with Threat Manager.
Configure a Service Account to Run Actions
The Action Service that is installed with Threat Manager can be configured to execute as a service account. In this scenario, any actions run by Threat Manager will be executed as the Service Account. This, typically, is a simple way to ensure that Playbooks executed by Threat Manager have the proper permissions required to complete successfully.
NOTE: If an Action Step has been configured to use a specific Credential Profile, the Action Step will utilize those credentials in the Action Step Script. See the Credential Profile Page topic for additional information.
Follow the steps to configure the Action Service to run as a service account.
Step 1 – Open Services (services.msc).
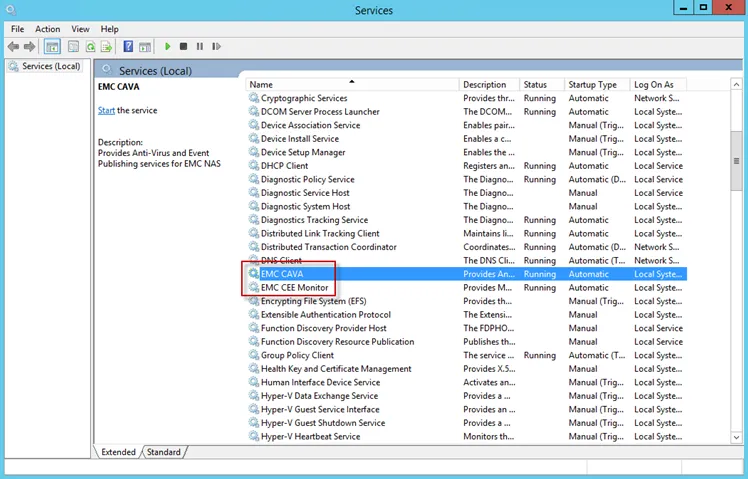
Step 2 – Double-click on the Netwrix Threat Manager Action Service. The Threat Manager Action Service Properties window opens.
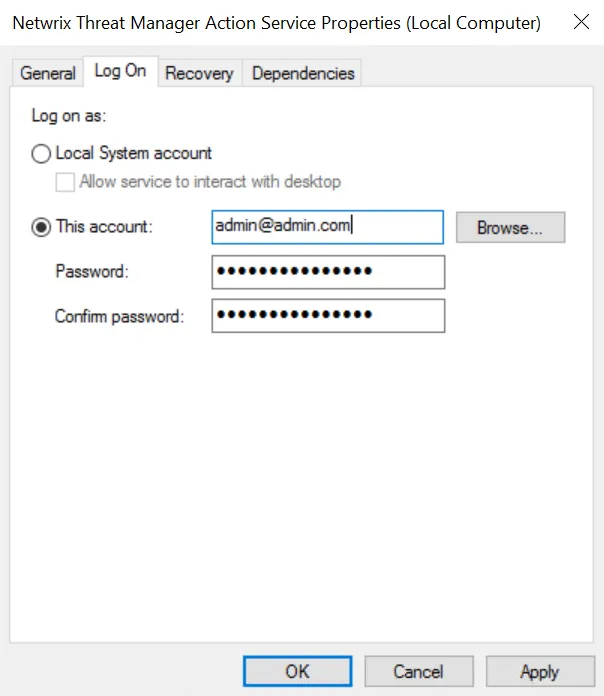
Step 3 – Click the Log On tab.
Step 4 – Select the This account: radio button and specify the desired Active Directory account and credentials. If desired, select the Browse button to open the Select User window to select an account.
Step 5 – Click Apply and then OK. This sets the Action Service to “run as” the specified account.
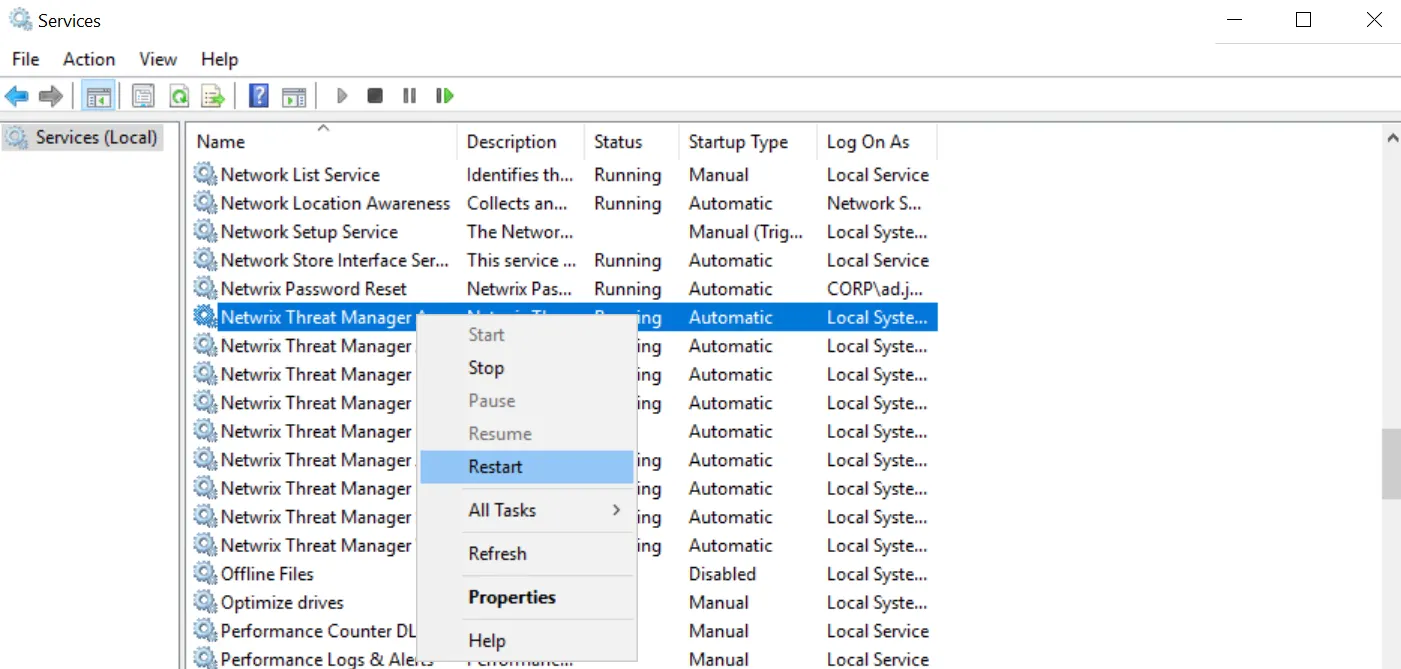
Step 6 – Restart the Threat Manager Action Service by right-clicking on the Netwrix Threat Manager Action Service in the Services window and clicking Restart.
Once restarted, the Threat Manager Action Service will use the specified service account.