title: RSAT Extension Installation Guide sidebar_label: Installation description: Step-by-step instructions for manually installing the RSAT Extension on remote machines with Active Directory Users and Computers.
Install the RSAT Extension
The RSAT Extension is installed automatically on the machine where the Recovery Application Server and web console are installed. To use the RSAT Extension on a remote machine where Active Directory Users and Computers (ADUC) is installed, you have to manually install it using the RSAT installer. The installer is located in the following installation directory on the Recovery Application Server:
...Netwrix\Recovery for Active Directory\RSAT Extension\NetwrixRecovery_RSAT_Extension.msi
Follow the steps to install the RSAT Extension.
Step 1 – Copy the NetwrixRecovery_RSAT_Extension.msi file to the machine where you want to
install it.
Step 2 – Run NetwrixRecovery_RSAT_Extension.msi . The RSAT Extension Setup wizard opens.
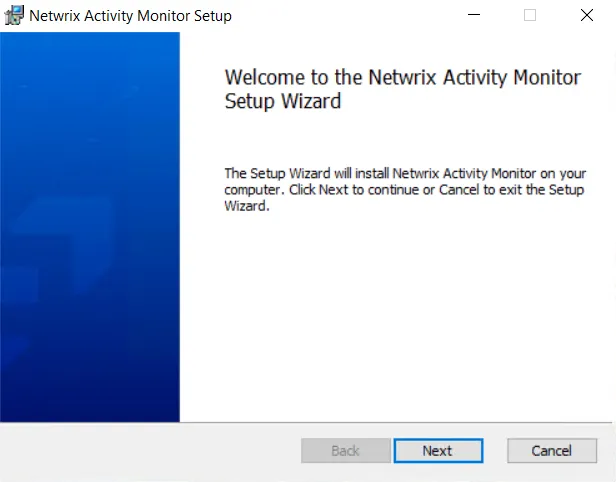
Step 3 – On the Welcome page, click Next.
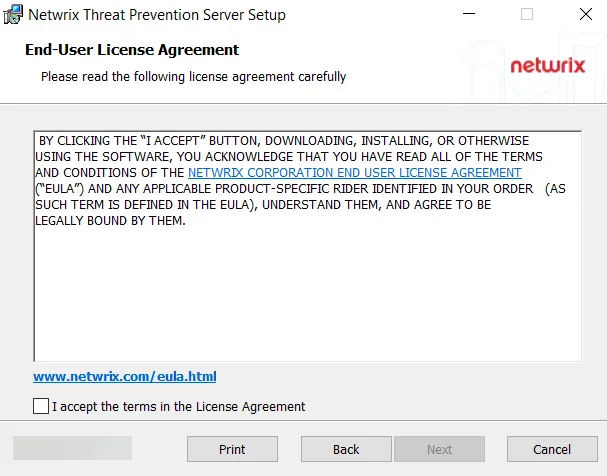
Step 4 – On the End-User License Agreement page, read the End User License Agreement and check the I accept the terms in the License Agreement box. Click Next.
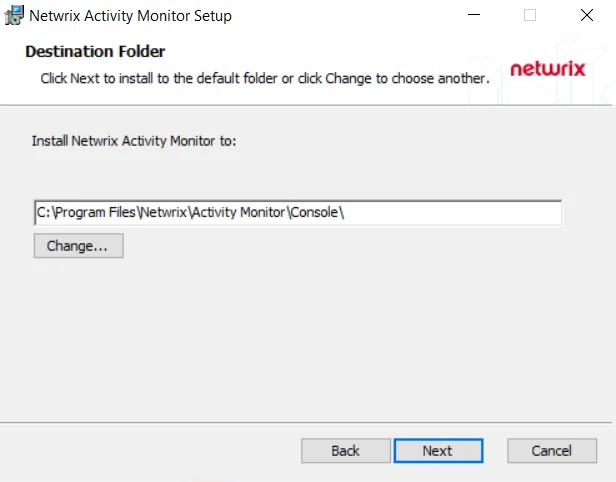
Step 5 – On the Destination Folder page, specify the file path to install the RSAT Extension. The default path is:
C:\Program Files\Netwrix\Recovery for Active Directory RSAT Extension\
Optionally, you can change the installation directory location for the RSAT Extension. Click Change to open the Change destination folder page.
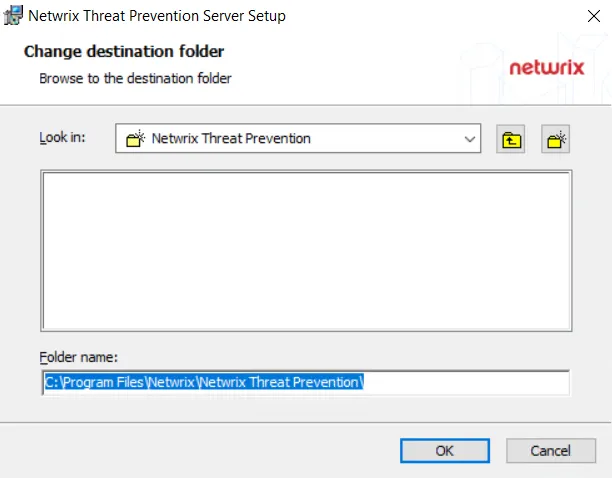
- Use the Look in field to select the desired installation folder.
- When the Folder name box is set as desired, click OK.
The wizard returns to the Destination Folder page. Click Next to proceed.
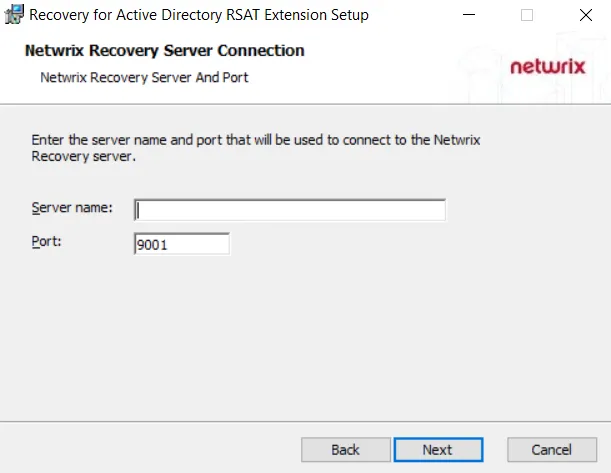
Step 6 – In the Server name field, enter the name or IP address of the Recovery Application Server, so the RSAT Extension identifies it in the environment.
NOTE: 9001 is the default port. If a different port is specified on the Netwrix Recovery Server Configuration page of the Recovery for Active Directory Setup wizard while installing the application, then that specific port is applicable here.
Click Next.
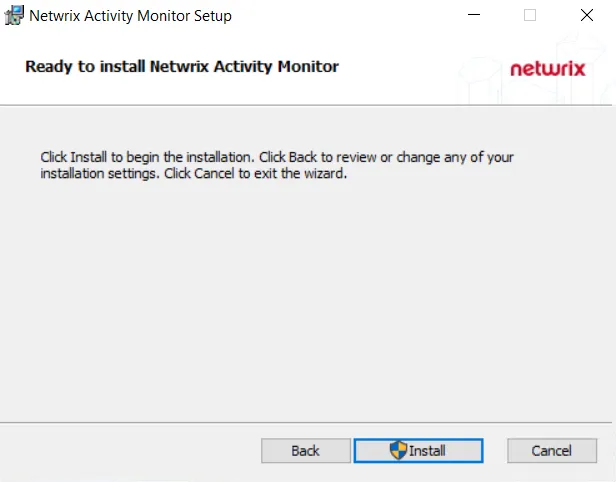
Step 7 – Click Install to begin the installation process.
Step 8 – The installation process begins and the Setup Wizard displays the Setup Progress. When installation is complete, click Finish to exit the wizard.
After installation has completed, open a new instance of ADUC and verify that the RSAT Extension has been successfully installed. Right-click on an object and ensure the Rollback option has been added to the right-click menu. Also, a Recycle Bin node should be added to the root tree view.