Log Into the Privilege Secure Console
Once installation is complete, Privilege Secure is accessible locally on the default port:
Since Privilege Secure is a browser-based application, it is possible to access the web interface
remotely. In most environments, enter the URL for the host on which Privilege Secure is installed
into a supported browser address bar. For example, if Privilege Secure is installed on server
ExampleServer01, then the address is:
NOTE: This is the default port. If a custom port is configured, the address to the Privilege Secure Console is:
https://ExampleServer01:[PortNumber]
Depending on the organization’s network environment, use the NetBIOS name, fully qualified domain name (FQDN), or IP Address of the server in the browser. Also, access can be restricted through firewalls.
Users can still log in with an expired license. If a license is expired, and the login attempt does not exceed the license count, users will still be able to log in. If a license is expired, and the login attempt does exceed the license count, Privilege Secure will prevent the login.
CAUTION: If your license is expired, and you can still log in, you will not be able to create activity sessions or new users.
Follow the steps to log in to the Privilege Secure Console.
Step 1 – Open Privilege Secure in a browser window. The Login screen will show the Authentication Connector that is set as the default.
NOTE: Privilege Secure requires a multi-factor authentication (MFA) solution (Authenticator, DUO, Symantec VIP, etc) for all user accounts unless otherwise configured in the Initial Set Up Wizard. If required, first time users must register with an MFA to use with their login credentials.

Step 2 – Either click the default authentication connector button, or click Log In with a Different Account to display all of the authentication connectors that are registered with Privilege Secure.
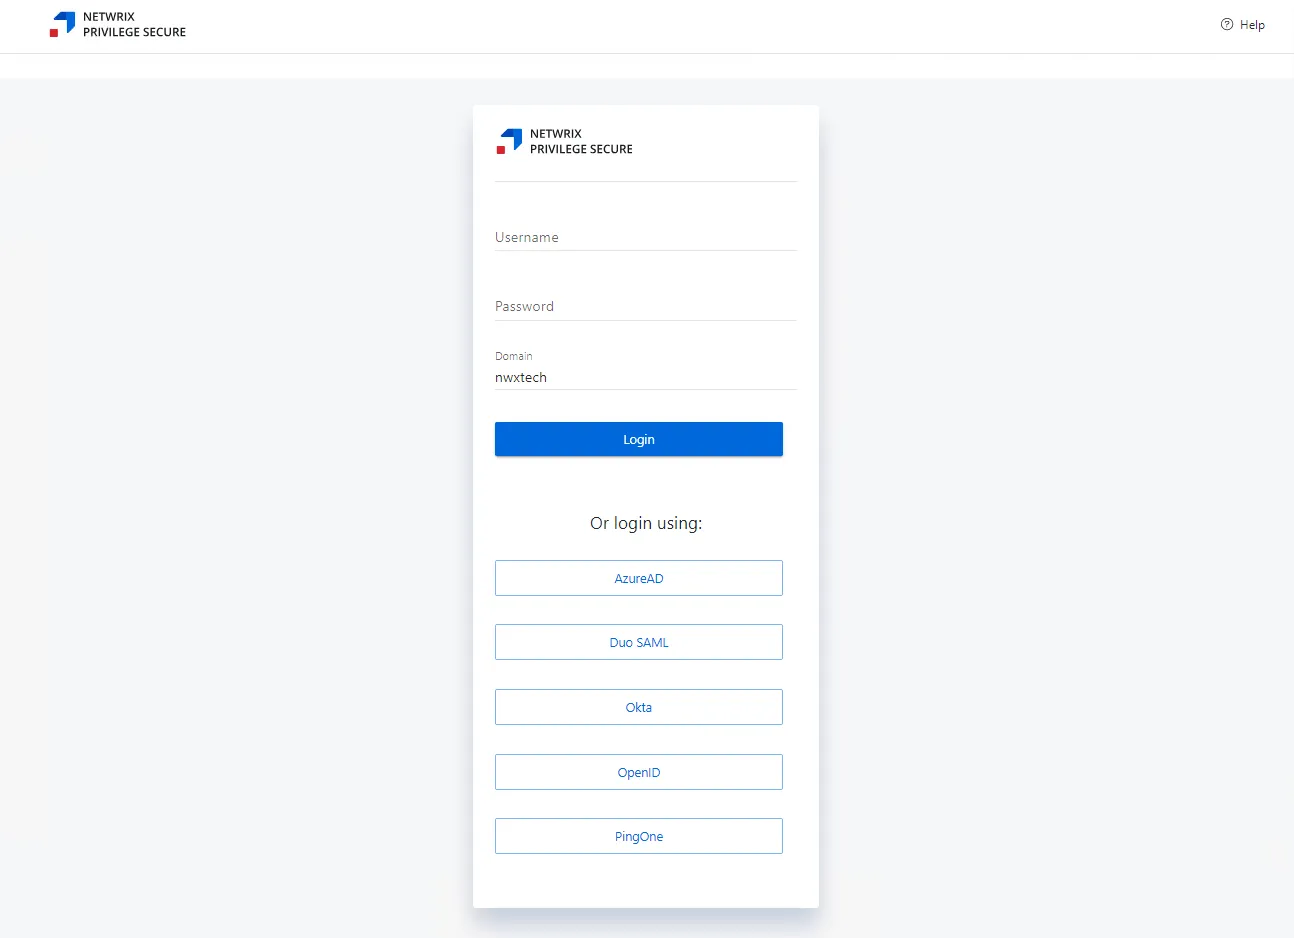
Step 3 – Login to the Privilege Secure Console with a configured authentication connector, or enter the user credentials.
Step 4 – Click Login to proceed.
Step 5 – Enter the code provided by the registered multi-factor authenticator (MFA).
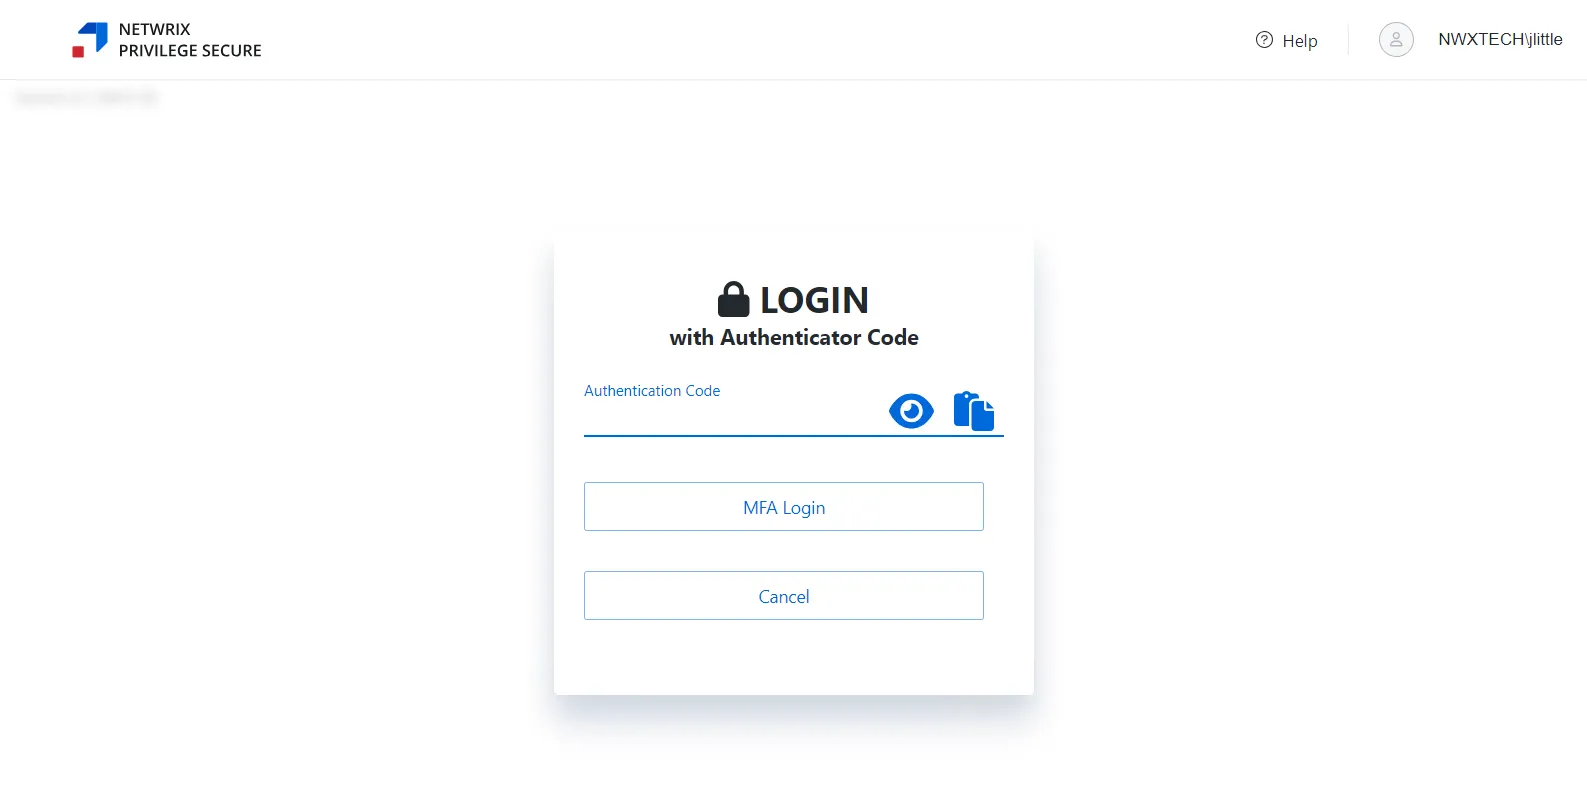
Step 6 – Click MFA Login. The Privilege Secure Console opens on the Dashboard Interface.
NOTE: After five incorrect login attempts, the user will be locked out of the account for five minutes. Additional incorrect login attempts will extend this time by five minutes for each failed login. See the User, Group, & Application Details Page topic for additional information on how to unlock an account.
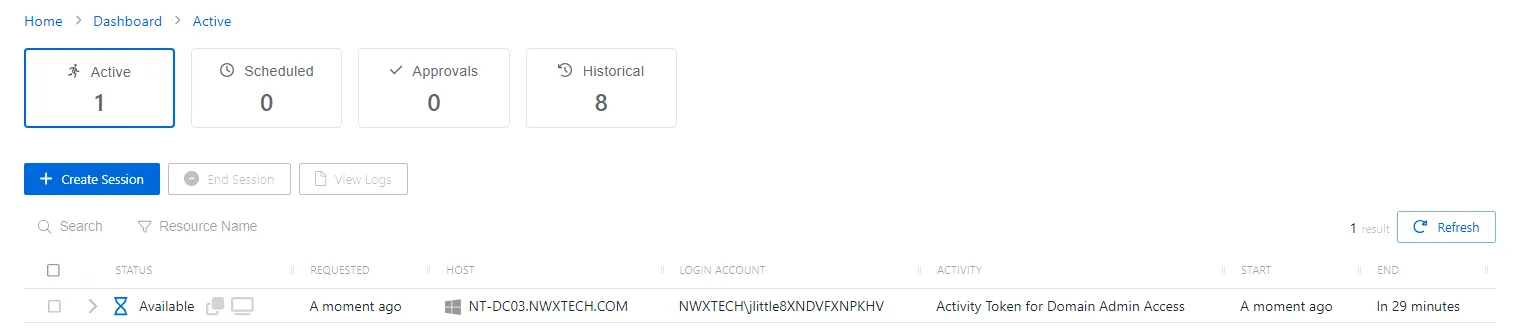
The Privilege Secure Console is ready to use. Note that the option to view the recovery codes is no longer available after the initial login. From here, create Sessions and Access Policies, manage Users and Resources, and review usage data.