Create Activity Session
Follow the steps to create an activity session.
Step 1 – Navigate to the Dashboard > Active page.
Step 2 – In the Active Session table, click Create Session to open the Activity Request window.
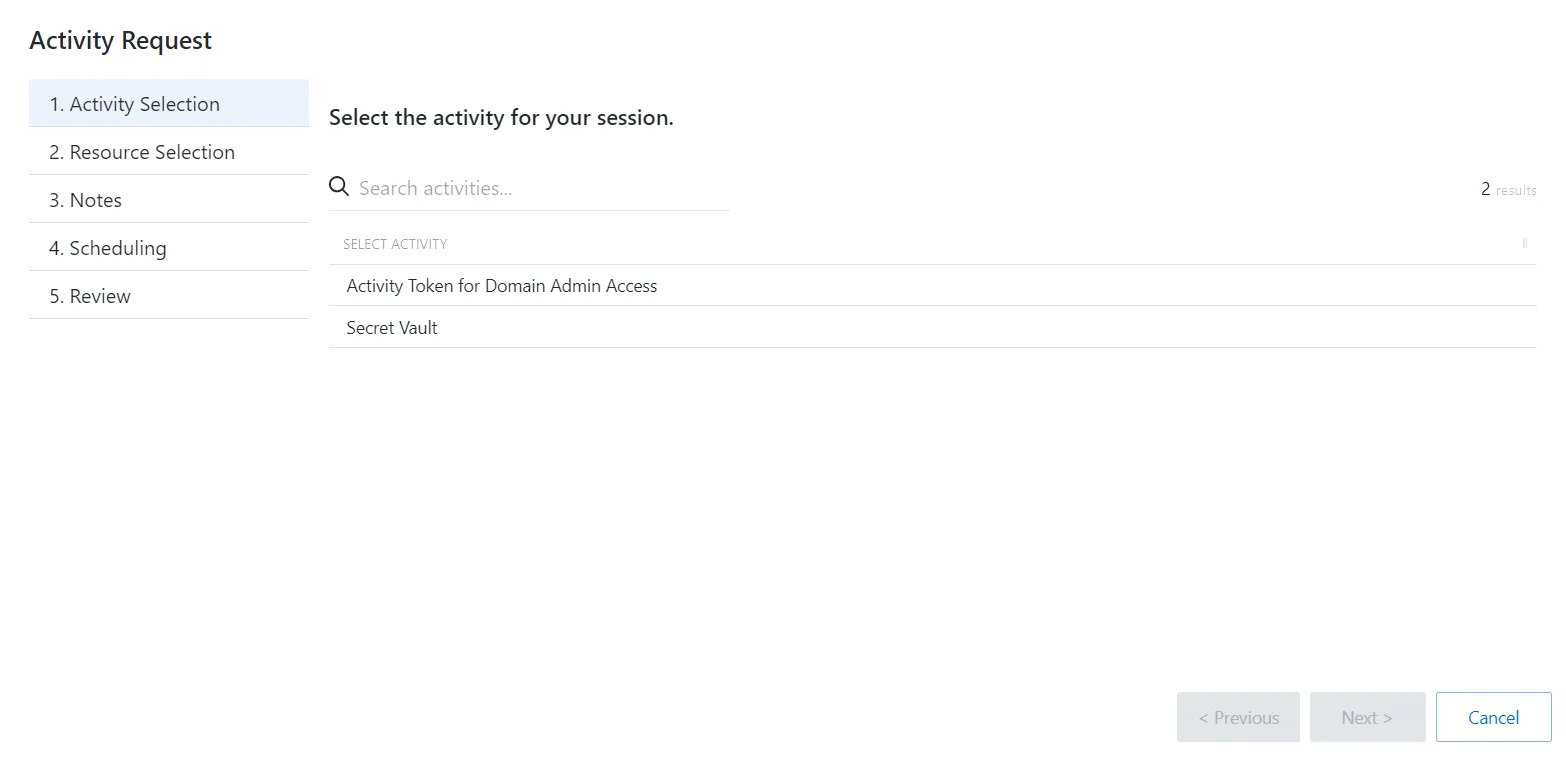
Step 3 – On the Request Type page, enter the following information:
- Select Activity – Search for and select an activity from the drop-down list
Step 4 – Click Next to go to the Resource Selection page.
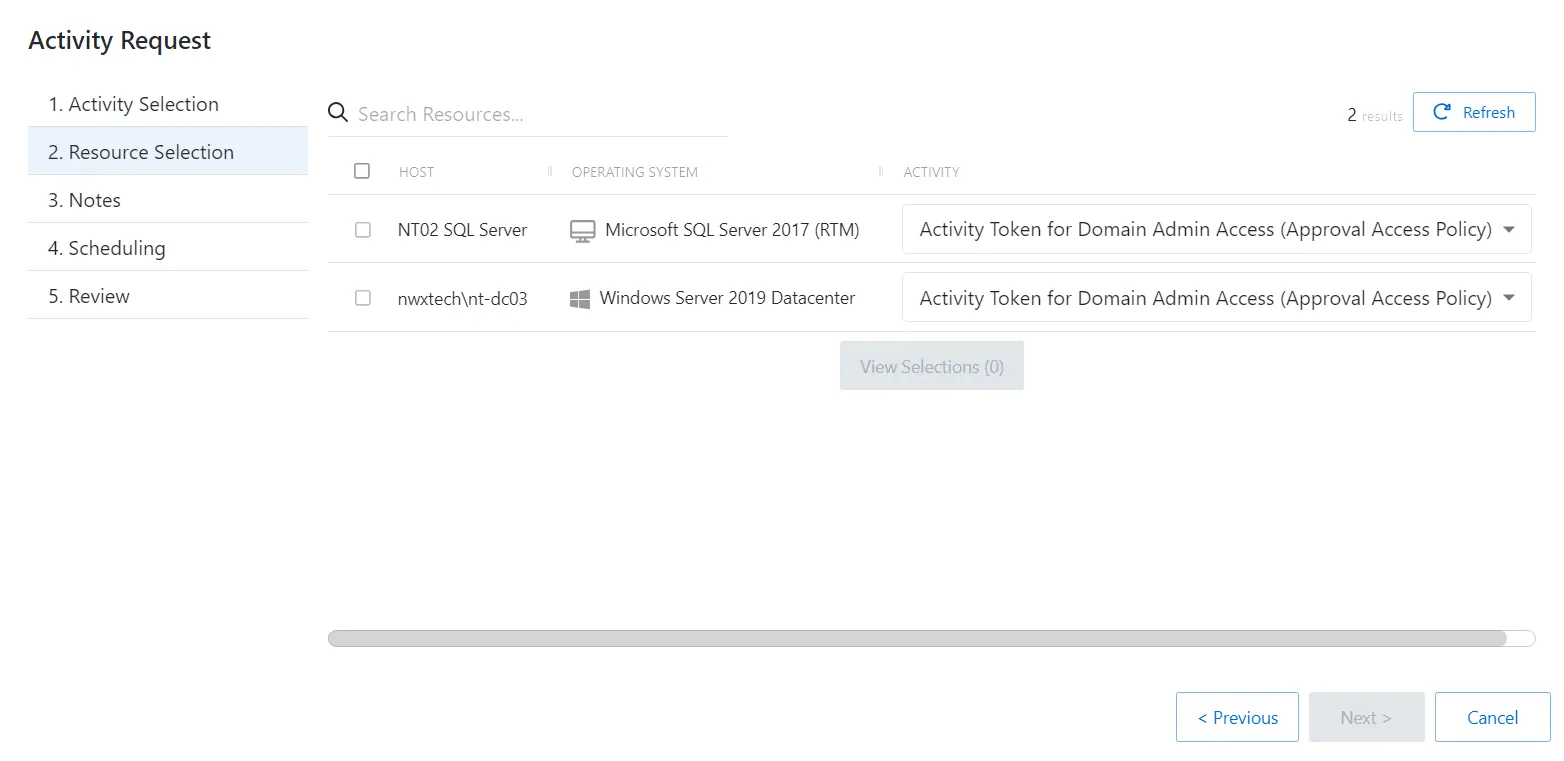
Step 5 – On the Resource Selection page, enter the following information:
- Select the resource(s) from the table
- (Optional) Click View Selections to view all selected resources
Step 6 – Click Next to go to the Notes page.
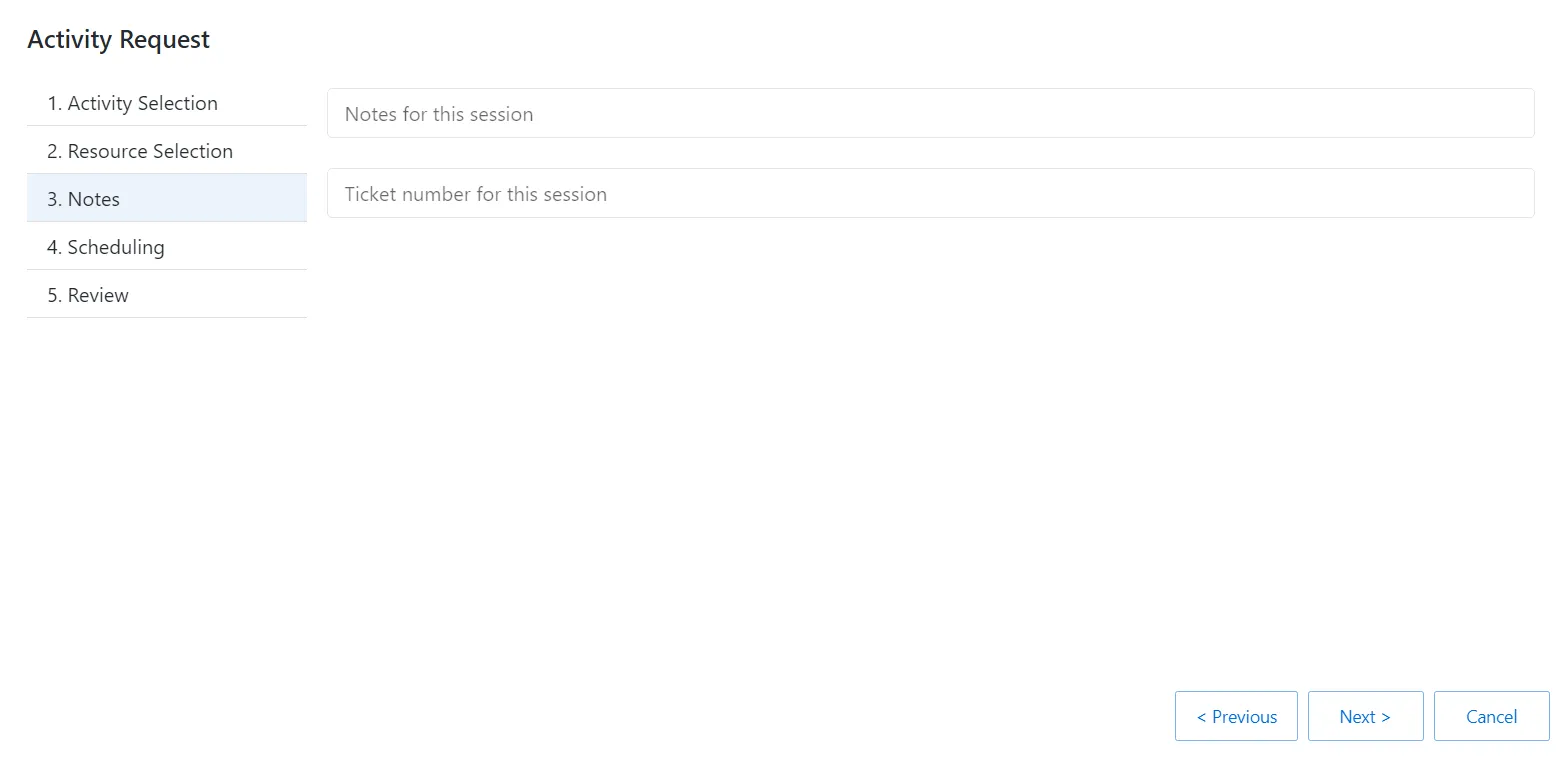
Step 7 – On the Notes page, enter the following information:
- Notes for this session
- Ticket number for this session
Step 8 – Click Next to go to the Scheduling page.
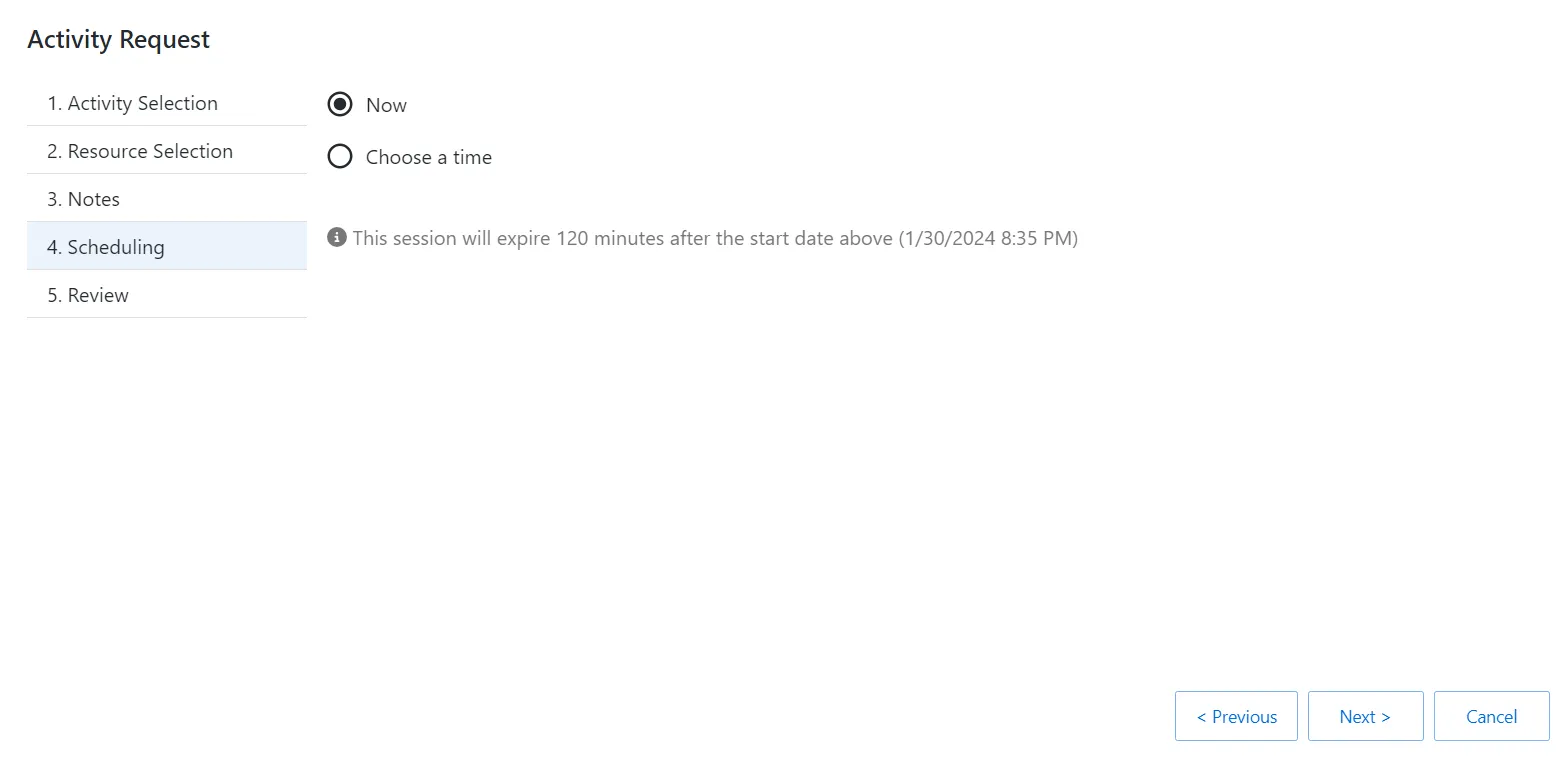
Step 9 – On the Scheduling page, enter the following information:
- Select Now or enter a desired date and time to begin the session
Step 10 – Click Next to go to the Review page.
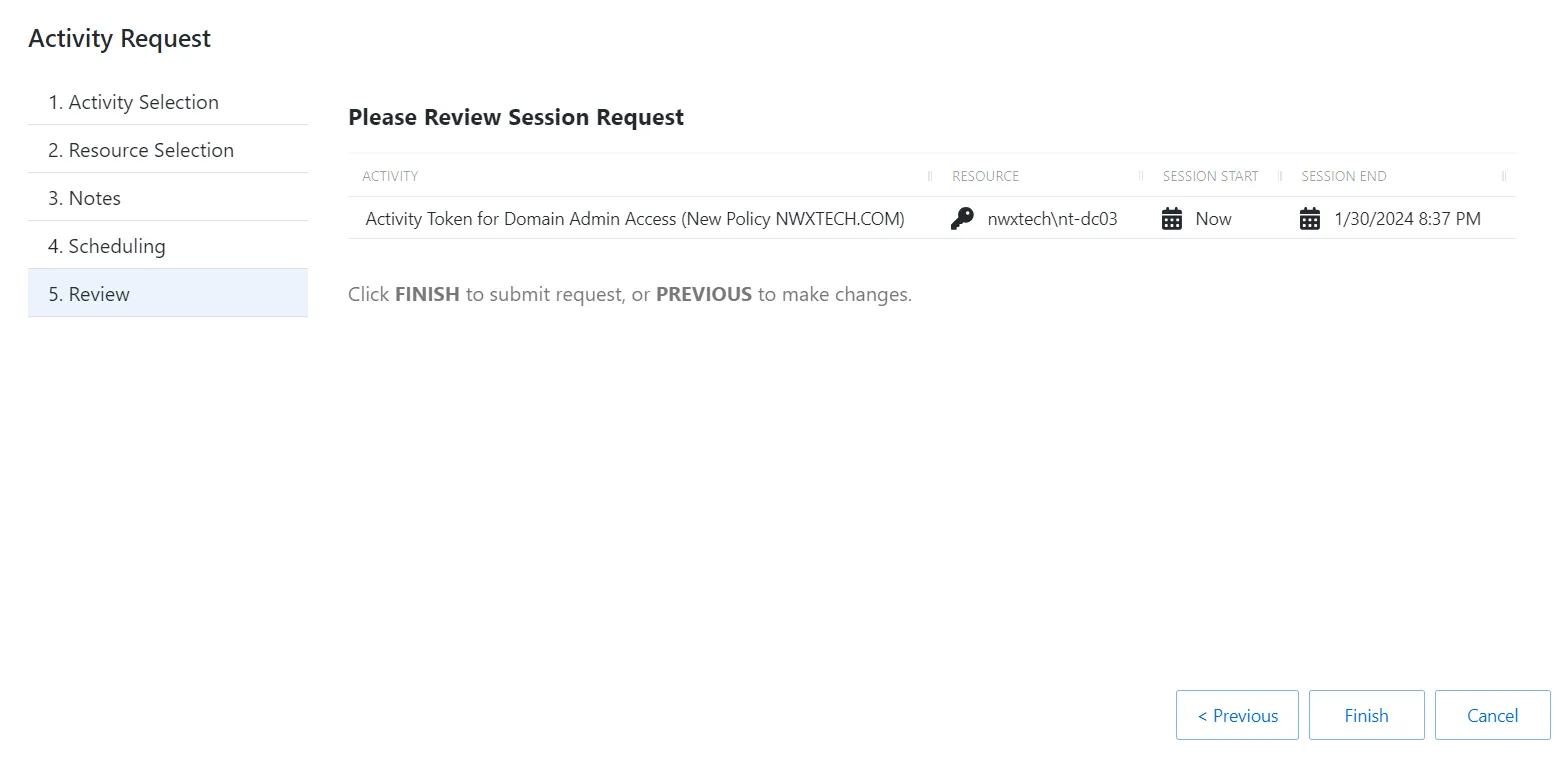
Step 11 – On the Review page, review the summary of the new session.
Step 12 – Click Finish to create the session.
The new session is created and is shown in the applicable dashboard in the Dashboard interface. If approval is required, the status Waiting for Approval is shown. The requester cannot log in to the session until the request is approved and the status changes to Available.
When the status Available is shown, the remote session is ready. Click the Connection icon to begin the session, or log in through a client.
See the Sessions Interface topic for additional information.