Add Authentication Connector
Follow the steps to add an authentication connector to the console.
Step 1 – Navigate to the Configuration > Authentication page.
Step 2 – In the Connectors list, click the Plus icon.
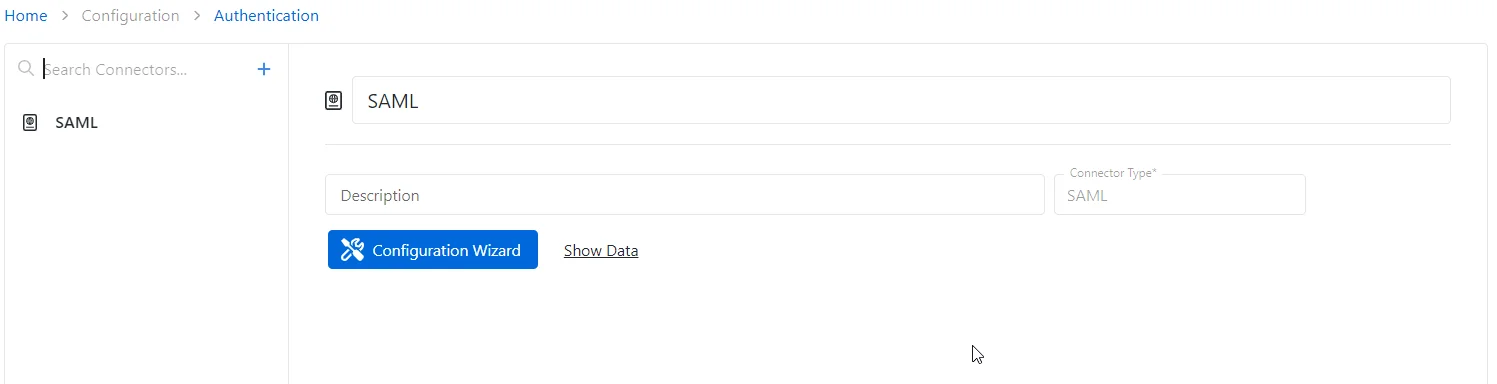
Step 3 – Enter the following information:
- Authentication Connector Name – Displays the name of the authentication connector
- Connector Description (Optional) – Enter a brief description to identify the service account
- Connection Type – Indicates the type of authentication
NOTE: Once the Connection Type is selected, additional fields become available. The available fields will change depending on the selection.
Step 4 – Enter the information from the applicable authentication connector provider. See the Authentication Page section for detailed descriptions of the fields.
- For OpenID Connect, open the OpenID Connect Configuration Wizard
- For SAML, open the SAML Configuration Wizard
See the OpenID Connect Authentication appendices for additional information on how to configure third party Authentication Connectors.
Step 5 – Click Save to create the new authentication connector.
The new authentication connector is added to the Connectors list.