Creating a Change Request
Change requests are the method to plan, analyze, track and approve changes. You can create different types of Change Requests to match the change you want to manage. Here are two options:
- Customization Change request is used for Metadata changes, such as Customizations.
- Data Record - Change request is used for Data Changes to Revenue Cloud/ CPQ.
Data Record Change Requests are only available with an Enterprise Compliance license.
-
Open the Change Requests tab.
-
Click New

-
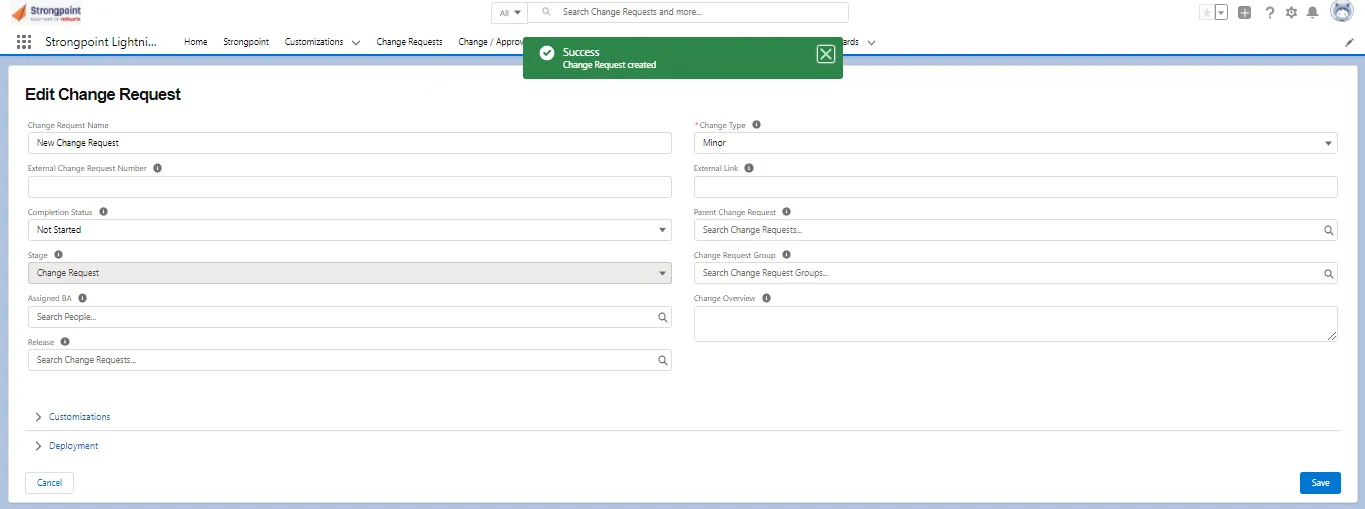
Enter information as needed.
- Change Request Name: add a meaningful name to the change request.
- Change Request Type: Customizations for metadata changes and Data Records for data.
- Parent Change Request: enter an optional parent change request if this is part of a bigger change.
- Change Overview: add a summary of the desired changes.
- Change Type: select the type from the list. Minor is the default.
- Is Release: check if this change request represents a release. The customizations from all the child change requests are rolled into this release for deployment.
-
Save the Change Request. A confirmation is displayed when the change request is saved.
-
Add or change information as needed:
- External Change Request Number and External Link are used for reference if the change request is coming from an external system.
- Completion Status: select a status from the list. This operation can also be performed after you save the change request and proceed to Impact Analysis.
- Stage: the type of change project: Change Request, Development Project, Deployment Record, or Rollback Record. This is an informational field.
- Change Request Group: search for groups to add to this change request.
- Assigned BA: search for a user to add as the assigned Business Analyst.
- Release: search for the parent change request if this change request is part of a release.
-
Expand the Customizations section. Customizations is selected by default. Click Customizations to access the Add/Remove function.

-
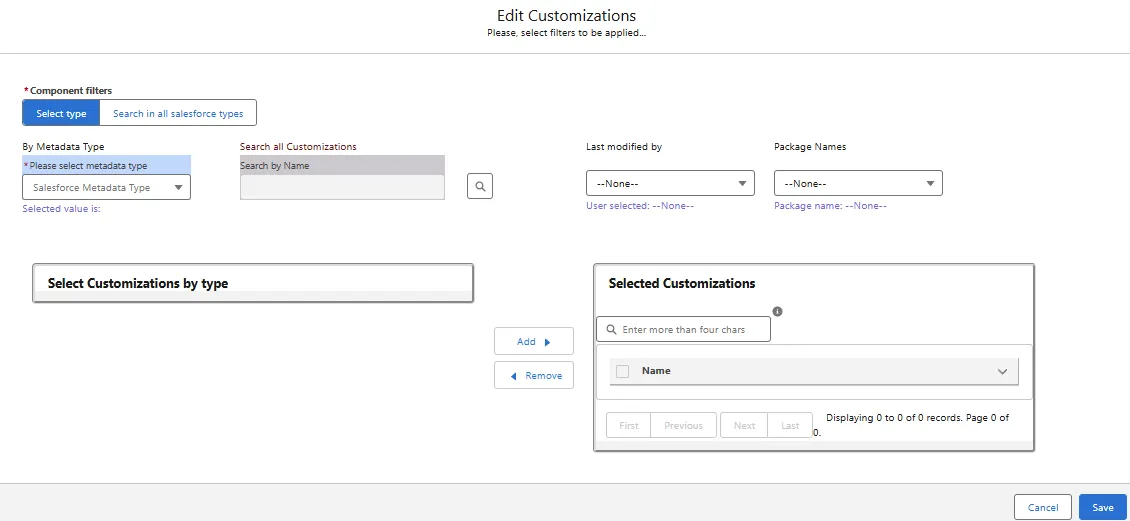
Click Add/Remove to add existing Customizations to the change request.
-
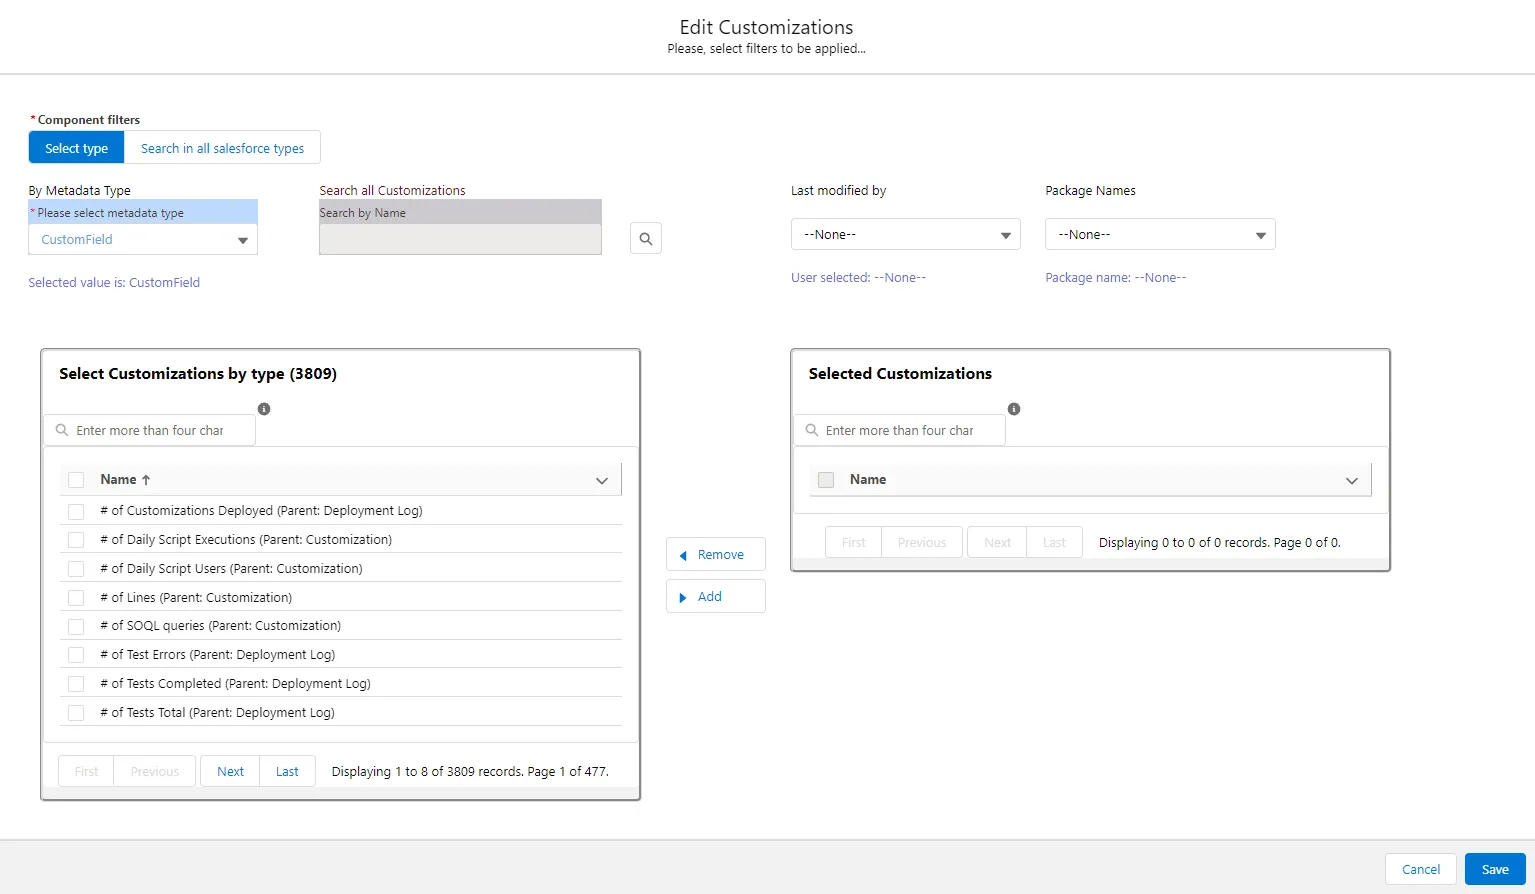
Enter filters to search for existing customizations. For this example, the Metadata Type is set to CustomField. The matching customizations are displayed.
-
-
Select one or more customizations. Use Search, First, Previous, Next and Last to navigate through the list if needed.
-
Click Add to add the customizations to the Selected Customizations list. Continue adding your existing customizations.
-
Click Save.
-
-
Click Proposed Customizations to enable the Add/Remove option if you want to create new customizations.
-
Click Add/Remove.

-
Click + (Add).

-
Enter the API Name and Salesforce Metadata Type. Click + to add additional proposed customizations. Can be used in conjunction with customizations that already exist. All Customizations and Proposed Customizations are evaluated to determine the change level. The highest change level is used for the change request.
-
Click Save.
-
-
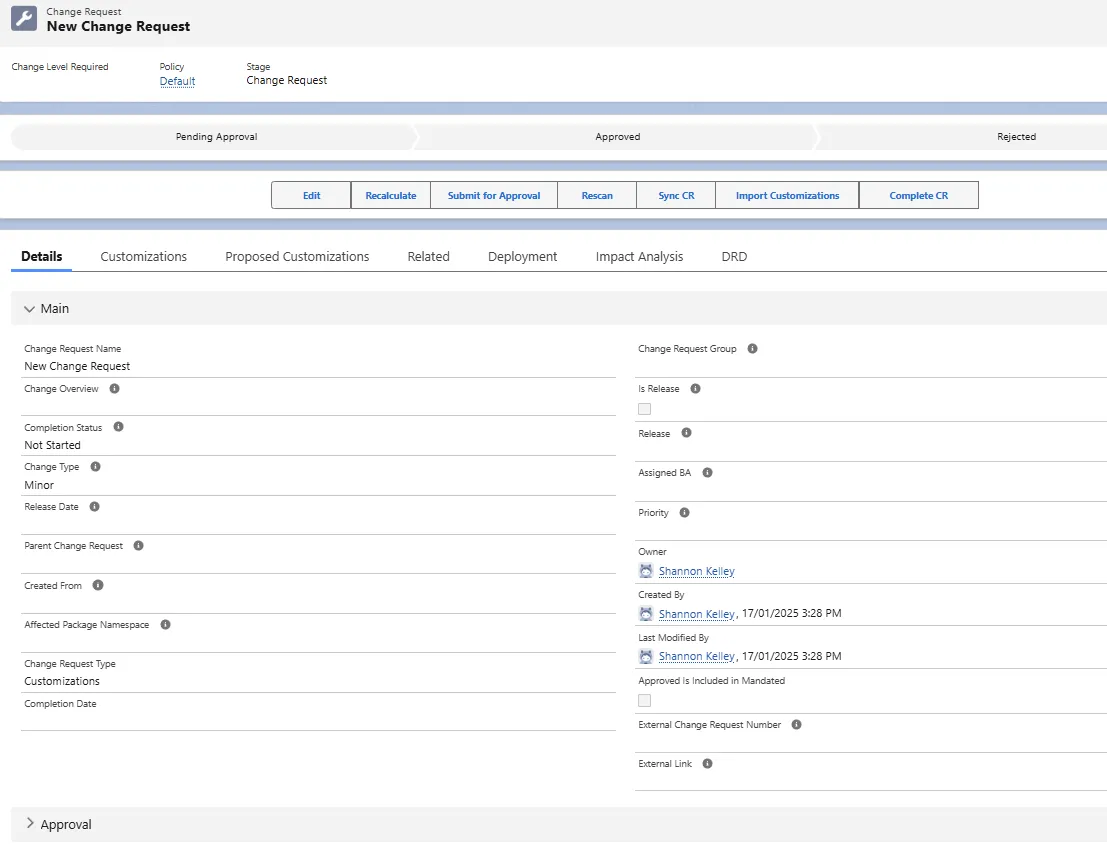
Click Save on the Edit Change Request form when you are finished. The Deployment section is only applicable after the change request is approved.
Your change request is created.
Preparing the Change Request for Approval
Review the change request:
- Run Impact Analysis
- View the DRD
- Send the Change Request for Approval
Run Impact Analysis
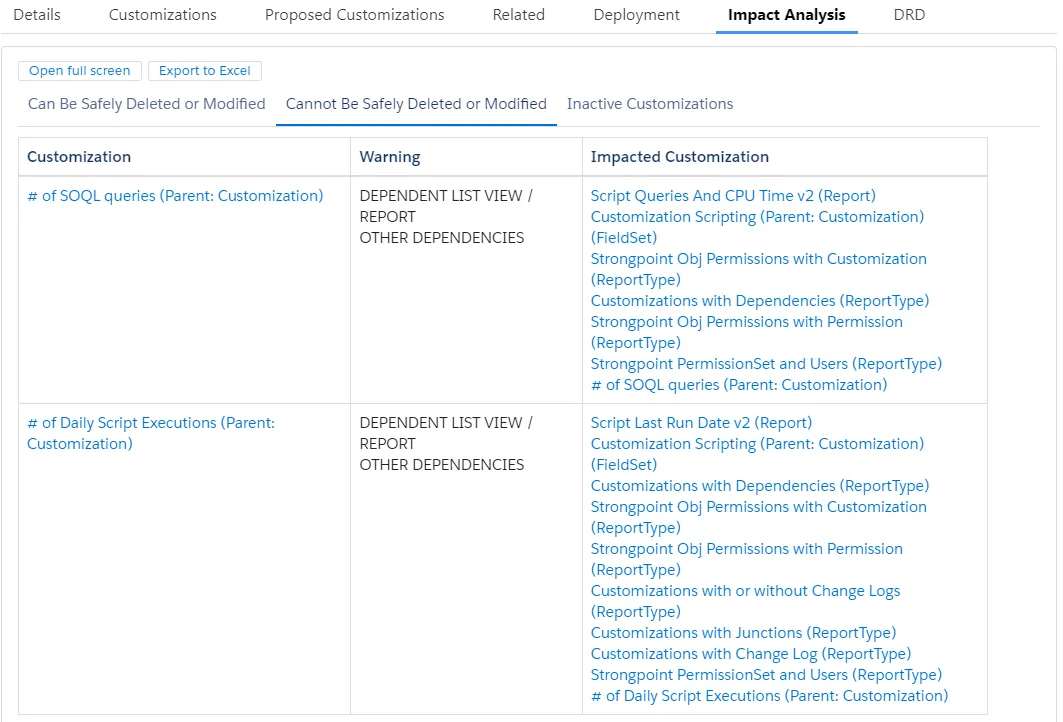
Open the Impact Analysis tab and review the information on the tabs: Can Be Safely Deleted or Modified, Cannot Be Safely Deleted or Modified, and Inactive Customizations.
Here is an example of items on the Cannot Be Safely Deleted or Modified tab. The Customizations and Impacted Customizations are links to each customization record.
Use the Edit button to return to the change request and make any required modifications.
View the DRD
Open the DRD tab to review the dependency diagram. Use the Edit button to return to the change request and make any required modifications.

Send the Change Request for Approval
Change request approvers are automatically assigned based on the policy. In this section, you can add additional approvers, approver notes and begin the approval process.
-
Click Edit to modify the change request.
-
Expand the Approval section.

-
Add the approval information:
- Approval Status: updates the status of the change request. Typically used for editing existing change requests. Set the Approval Status to Pending Approval when you are ready.
- Stage: the type of change project: Change Request, Development Project, Deployment Record, or Rollback Record. This is an informational field.
- Approver Notes: optional notes about the change request.
- Additional Approvers: any additional approvers. Mandated approvers are set by the policy. Click Add/Remove and select approvers.
-
Click Save.

-
Click Submit for Approval to start the process. Approval notifications are sent to the approvers.
If you created the Change Request in your sandbox to determine the scope of the change, recreate it
in your Production environment to enable approvals and ongoing tracking.
For new objects that do not yet exist in Production, edit the Change Request and enter the full API
Names of these objects into the Proposed Customization fields in the Scope Section. You can add
multiple API Names by using the Add button. Save the Change Request when complete.
Approving a Change Request
Approvers are populated from the Change/Approval Policy for the Change Request. Approval notifications are sent when the Change Request owner advances the status to Pending Approval.
-
Approver receives an email with a link to the Change Request.
-
When the Change Request opens, Approve and Reject buttons are available at the top of the form:
- If all approvers approve the Change Request, the status is changed to Approved. Implement the changes specified by the Change Request.
- If an approver rejects the Change Request, the status is changed to Rejected. You can return the Change Request to In Progress, edit it, and reset it to Pending Approval if there are errors or omissions.
-
Change Request owner Completes and Validates the Change Request.
Once the Change Request is approved, you cannot change the customizations attached to the Change Request.
You can add the Strongpoint CR Approval Override Permission Set to specific users. Users with this Permission Set can approve a Change Request independent of the governing policy. The default approve permission is no longer included with the System Administrator role. If you have a System Administrator or other user you want to be able to approve, assign the Strongpoint CR Approval Override Permission Set.
Completing and Validating a Change Request
To complete and validate the Change Request:
Once the changes are complete, validate the Change Request and mark it Complete CR.
- Open Change Requests to view the list of Change Requests. You may have to change the filter from Recently Viewed.
- Locate your Change Request and click the linked Name.
- Click Rescan to start the change documentation process.
- Run Netwrix Dashboard > Tools > Environment Comparison. Validate the changes are what you expected. Refer to Comparing Environments for details.
- View the Open Non-Compliant Changes or Compliant Changes Change Management Reports (Netwrix Dashboard > Reports > Change Enablement).
- When all changes are validated, click Complete CR on the Change Request status bar to mark it Completed.