Archive Fields
When cleaning up your account with Platform Governance for NetSuite clean up tools, you may find fields that are no longer in use and you want to delete them. To do this you need to create a Change Request and add the fields you want to delete.
Create a Change Request to Archive Fields
To create a change request:
- Open Strongpoint > Change Management > Change Request
- Fill out all relevant fields and include all the customization you want to delete in the Customizations field, add the customizations you want to delete.
- Click Save.
- Click the Impact Analysis button.
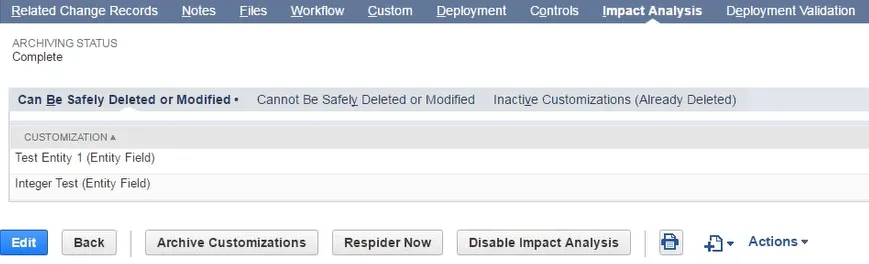
- Under the Impact Analysis tab, the customizations you selected are listed under one or more tabs:
- Can Be Safely Deleted or Modified
- Cannot Be Safely Deleted or Modified or
- Inactive Customizations (Already Deleted)
 6.
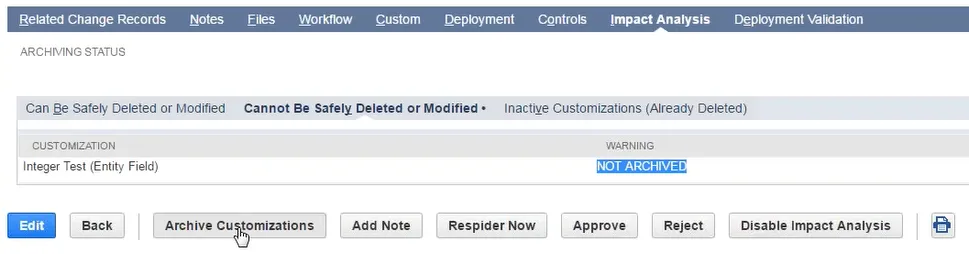
Click on the Archive Customizations if you find your customizations under Cannot Be Safely
Deleted or Modified and under Warning it says Not Archived
6.
Click on the Archive Customizations if you find your customizations under Cannot Be Safely
Deleted or Modified and under Warning it says Not Archived
 7.
Once your customizations are processed and archived, your customizations are listed under Can be
Safely Deleted or Modified. Your archive folder has the CSV file you
can download. The file name has the field type and the script ID.
7.
Once your customizations are processed and archived, your customizations are listed under Can be
Safely Deleted or Modified. Your archive folder has the CSV file you
can download. The file name has the field type and the script ID.
Restore Fields
There is not a direct restore tool for fields, however you can get your archived fields back using Import Assistant and the CSV file created for archiving.
Import Assistant
-
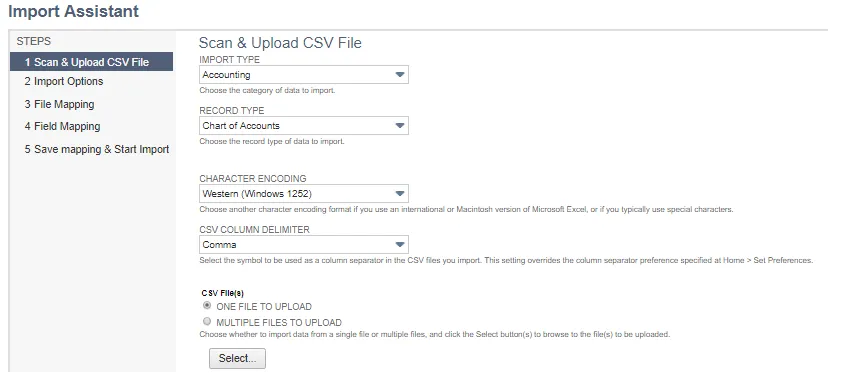
Open Setup > Import/Export > Import CSV Records
-
Under Import Type, choose the category of data you plan on restoring. For example: Accounting.
-
Under Record Type, choose the record type of data you plan on restoring. For example: Chart of Accounts.
-
Click Select
-
Select your CSV archive file. and click Open
-
Click Next
-
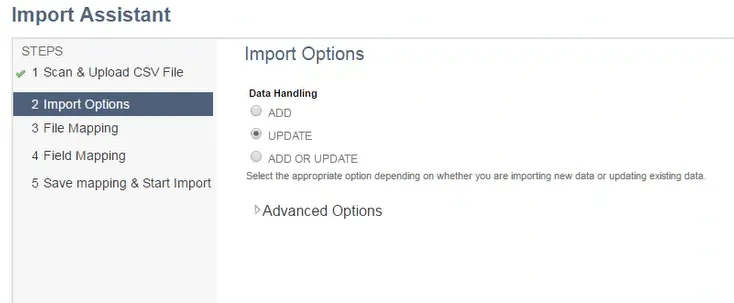
Under Data Handling, choose UPDATE
-
Click Next
-
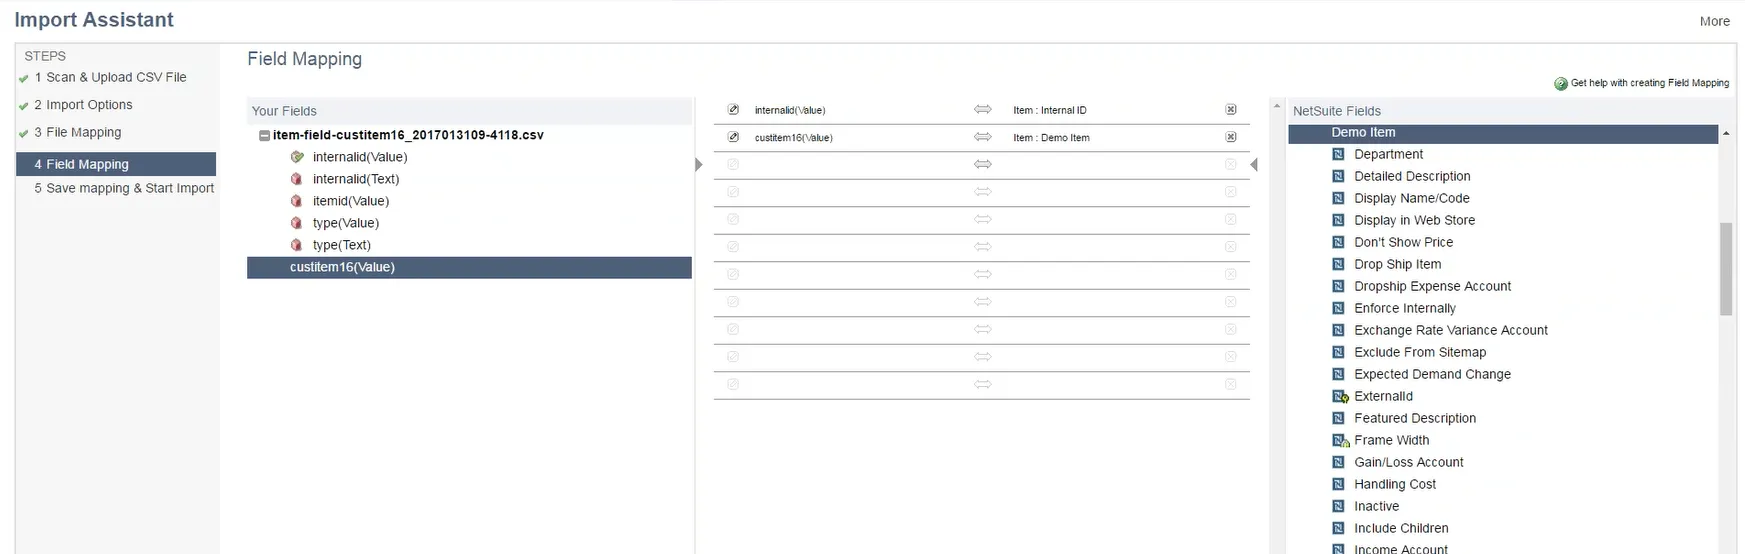
Under Your Fields, select internalid(Value).
-
Under NetSuite Fields, select Internal ID.
-
Under Your Fields, select the column from your CSV archive file that you want to restore and select the relevant NetSuite Field where you want them restored.
-
Click Next
-
Click Run
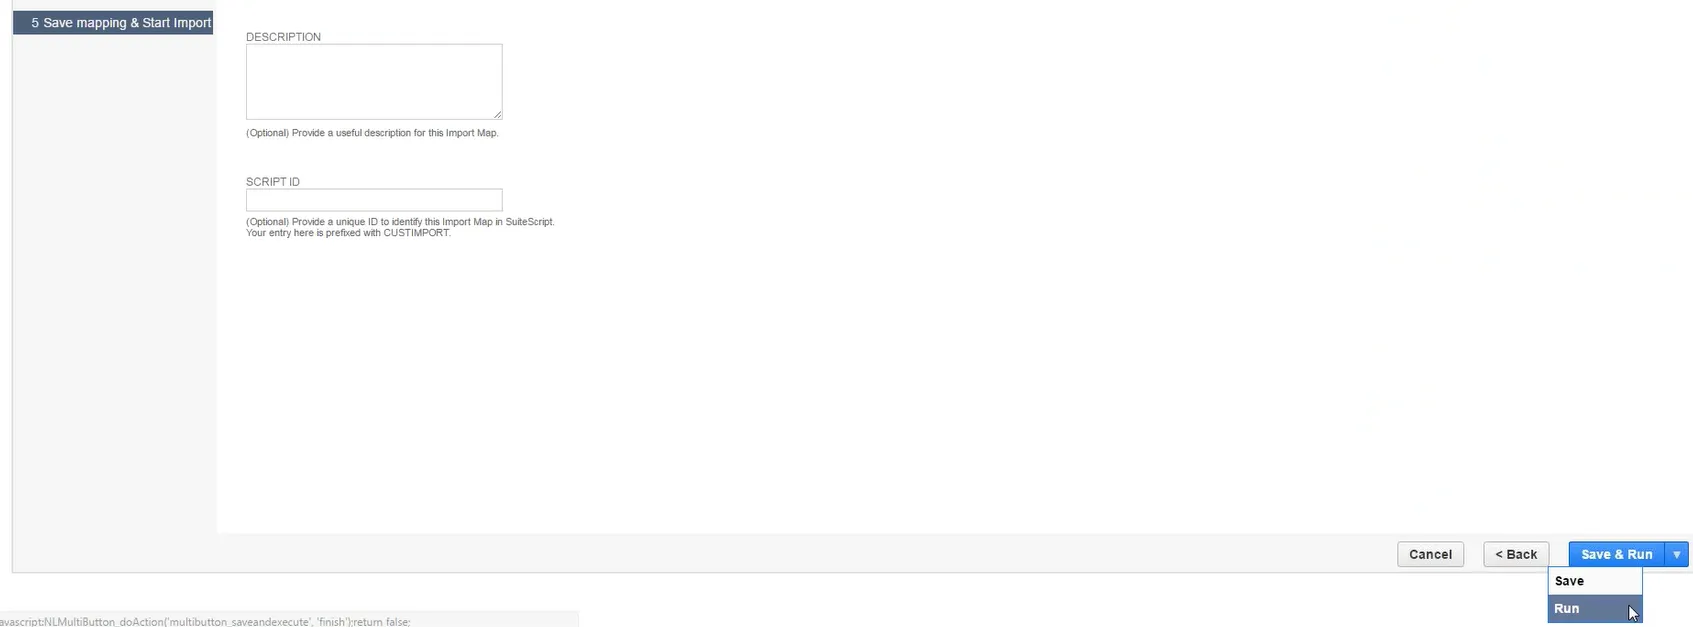
A finished screen appears with a confirmation message and a link to the Import Job Status.
-
Click Import Job Status.

-
Click Refresh until the import process is completed.

Set Up the Archive Folder
Advanced Change Management allows data within customization to be archived during the Clean Up process. An archive folder must be created before the Clean Up process.
Create the Archive Folder
-
Open NetSuite Home > Set Preferences
-
Under Defaults, make sure Show Internal IDS is checked on the General tab.
-
Click Save
-
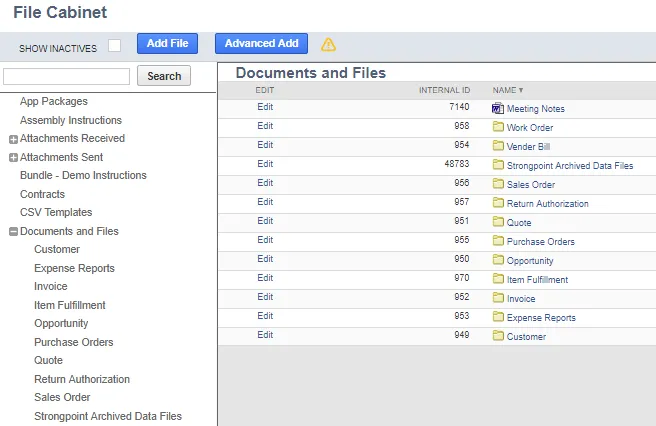
Open Documents > Files > File Cabinet > New
-
Name the folder Strongpoint Archived Data Files.
-
Enter Documents and Files in Sub-Folder Of
-
Best practice is to add a meaningful description.
-
Click Save
-
Note the Internal ID for your new Strongpoint Archived Data Files folder. 48783 in this example.
Assign the Internal ID to the Deployed Script
To assign the internal ID to a deployed script:
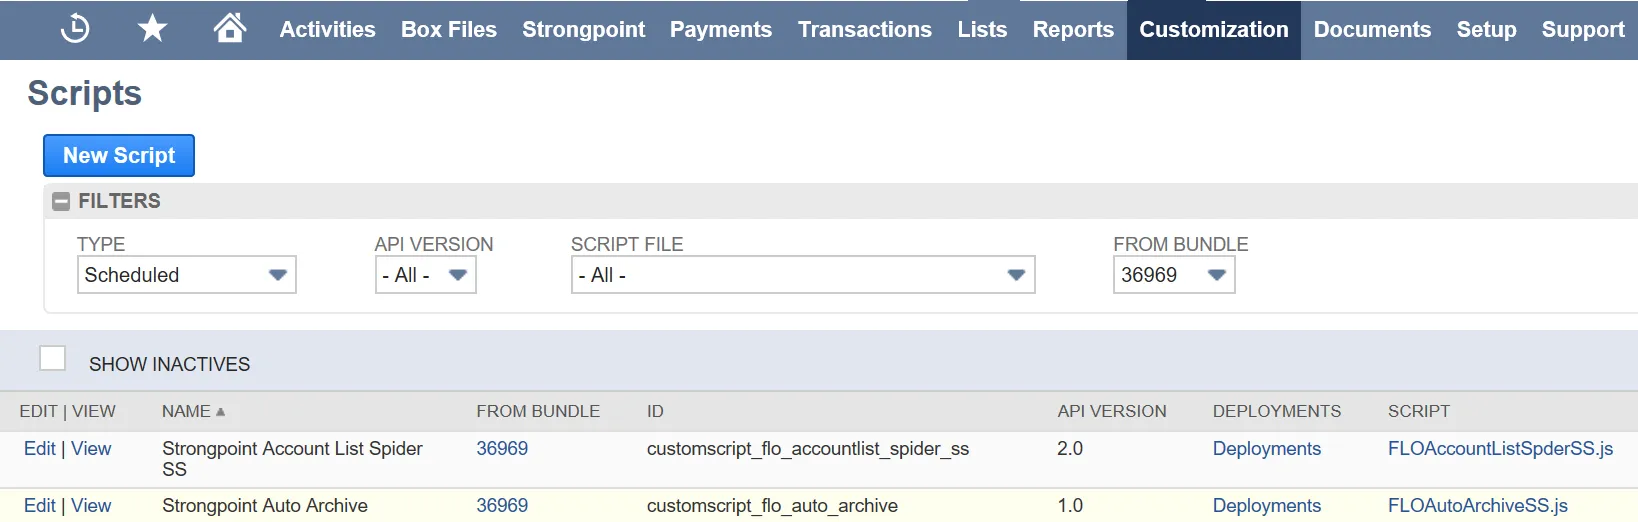
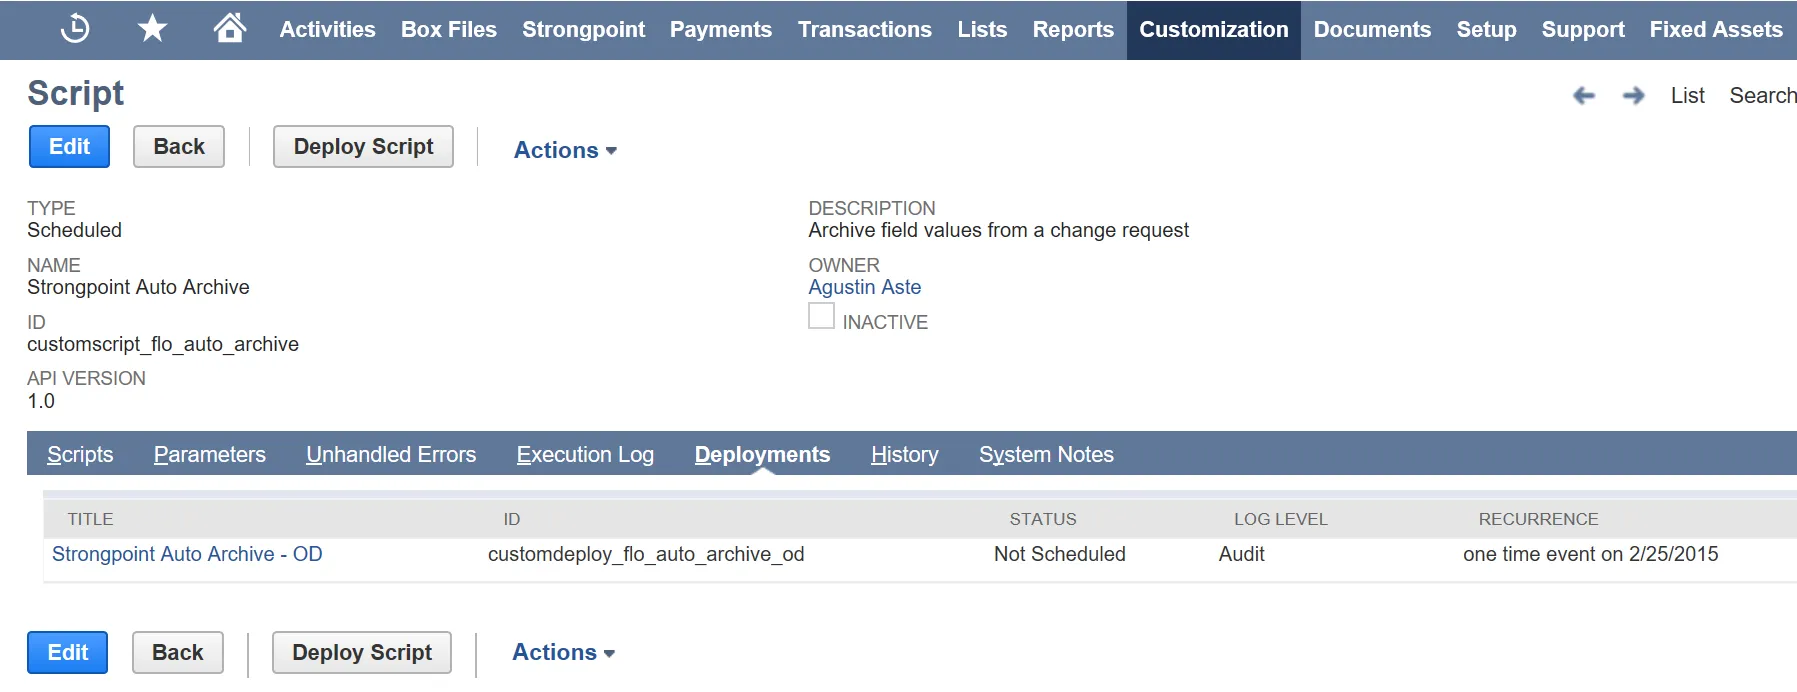
- Open Customization > Scripting > Scripts
- Change the Type Filter to Scheduled and From Bundle to 294336
- Click View by the Strongpoint Auto Archive
-
Open the Deployments tab.
-
Click on Strongpoint Auto Archive – OD.
-
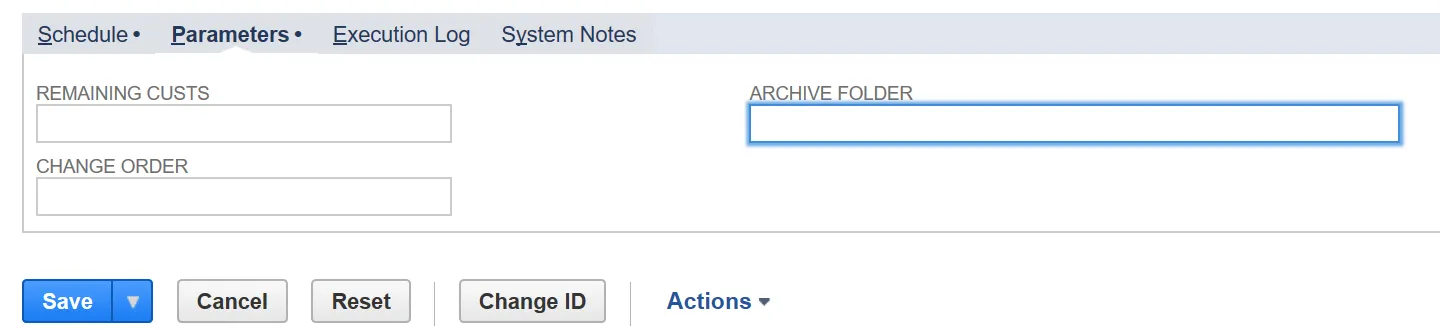
Click Edit
-
Open the Parameters tab, add the internal ID of your Archive Folder
-
Click Save
The archiving function on Change Requests is now set up and ready to use.