Zendesk
Platform Governance for NetSuite's Change Management capabilities are integrated with Zendesk, one of the most popular customer service and issue ticketing systems. Customers are able to look for and include NetSuite Customizations, assess impacts for requested changes, and push Zendesk change tickets into a Change Request. This enables easy management of changes, seamless tracking of compliant changes and automating the reconciliation of change logs during an audit.
User benefits include:
- Avoid duplicate effort of creating tickets in two different systems.
- Pull Customizations into Zendesk for scope of changes.
- Specify Bundle ID as
- Perform impact analysis assessment.
- Approve requests in either Zendesk or NetSuite.
- Automatic ticket reconciliation between Zendesk and NetSuite.
- Enable automatic synchronization of Zendesk and NetSuite change tickets.
To set up the Zendesk integration:
- Install the Netsuite Bundle
- Install the App
- Set up Approvals
Install the Netsuite Bundle
- Open Customization > SuiteBundler > Search & Install Bundles
- Search for bundle 402177
- Click on Strongpoint Zendesk Integration in the search results.
- Click Install when the Bundle Details opens.
- Click Install Bundle on the Preview Bundle Install page.
Install the App
Here are the steps to install the Zendesk app. You must have Admin privileges to install the app.
-
Open your Zendesk dashboard.
-
Click the Admin icon in the left panel.
-
Navigate to Apps > Marketplace.

-
Search for Strongpoint.
-
Click Strongpoint for NetSuite when it is displayed.

-
Click Install. When installation is complete, you are prompted to sign in to your Zendesk dashboard to continue.
-
Click the Admin icon in the left panel.
-
Navigate to Apps > Manage.
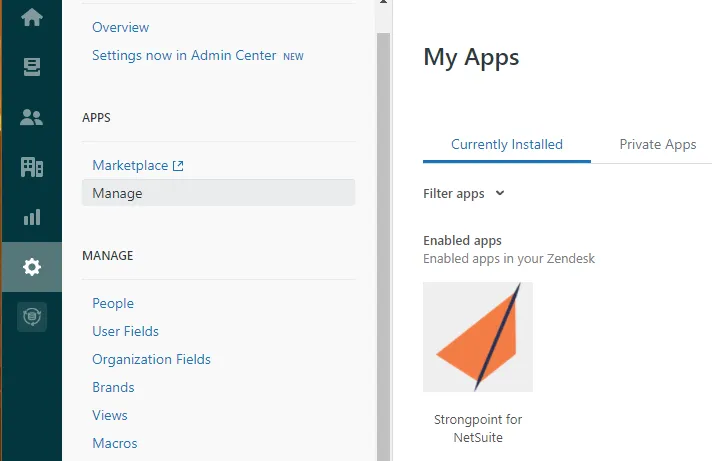
-
Hover on the Strongpoint for NetSuite tile to access the Settings menu.

-
Click Change settings.
-
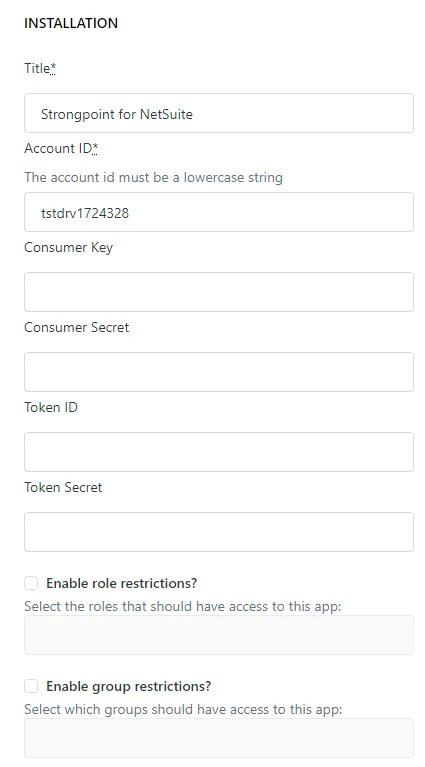
Title: the name associated with the app. The default is Strongpoint for NetSuite.
-
Account ID: enter the NetSuite account ID. The Account ID must be a lowercase string. For example, tstdrv1724328.
Account ID must be entered in lower case.
-
Consumer Key: Enter the Consumer Key of the Integration Record from your NetSuite account.
-
Consumer Secret: Enter the Consumer Secret of the Integration Record from your NetSuite account.
-
Token ID: Enter the Token ID of the Integration Record from your NetSuite account.
-
Token Secret: Enter the Token Secret of the Integration Record from your NetSuite account.
Token-based authentication (TBA) is required by NetSuite. Refer to the NetSuite help: TBA Setup Requirements for details if you have not yet set up TBA. Only administrators can view the Consumer Key, Consumer Secret, Token ID and Token Secret information. This information is generated when you create your Integration Record with the Token-Based Authentication option enabled. If you lose or forget these credentials, you must reset them to obtain new values.
- Enable role restrictions: Check this option to restrict access to the app based on roles. Enter the roles allowed to access the app.
- Enable group restrictions: Check this option to restrict access to the app based on group membership. Enter the groups allowed to access the app.
-
-
Click Install. The keys, secrets, and token information is hidden when it is saved.
Set up Approvals
After you install the Zendesk app, set up the approvals.
-
Click the new Strongpoint for NetSuite icon in the left panel. The Group Configurations page opens.
-
Enter the group and approval information:
- Allow these Zendesk groups to request approval one or more groups who can request approval for a change request. Select a group from the drop down list. Click +. Repeat as needed.
- Allow these Zendesk groups to approve one or more groups who can approve a change request. Select a group from the drop down list. Click +. Repeat as needed.
- Approval process select the approval process to use. Strongpoint Approval in Zendesk, Strongpoint Approval in NetSuite, No Appoval Needed, or Not set.
Next Step: Zendesk Walkthrough Example