Creating a Ticket and Change Request for ServiceNow
The ServiceNow integration must be installed and configured prior to use.
-
Open ServiceNow.
-
Select Manage > Instance.
-
Enter your ServiceNow User Name and Password.
-
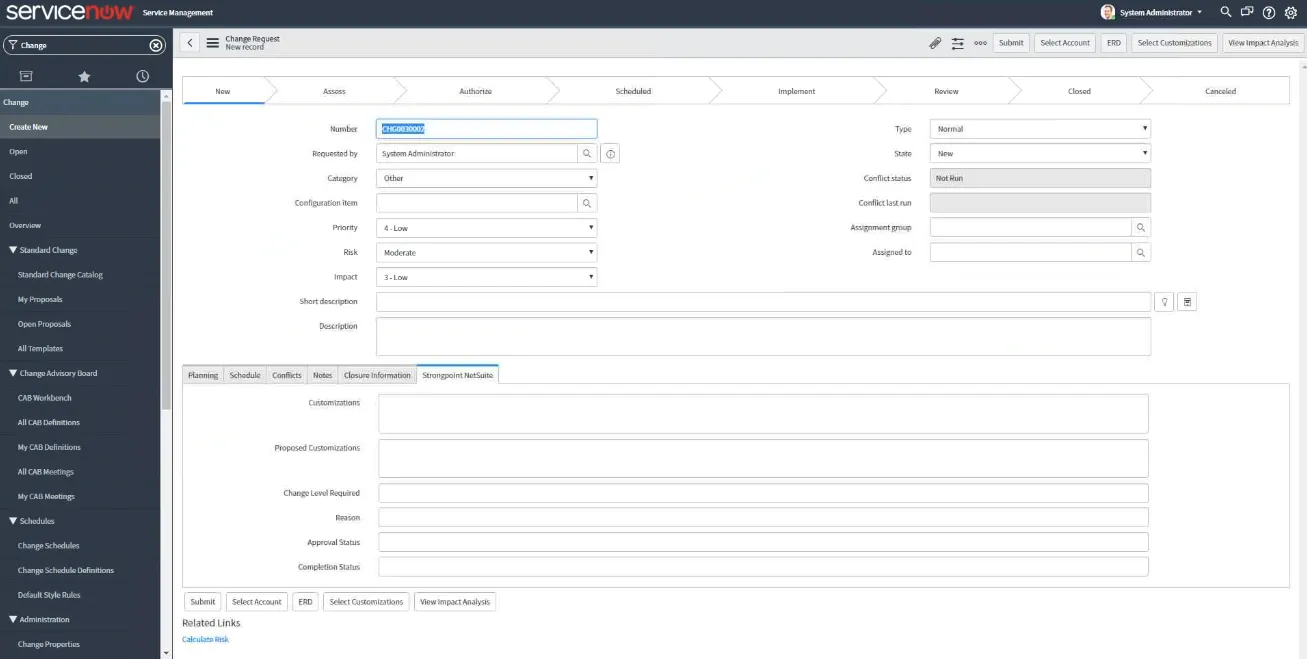
Click Change > Create New in the menu to begin a new ticket.
-
Open the Strongpoint NetSuite tab.
-
Click Select Account from the menu bar.

-
Enter your NetSuite credentials. You must set up Token-based authentication.
Check if you are using a Sandbox Account. Click Connect.
-
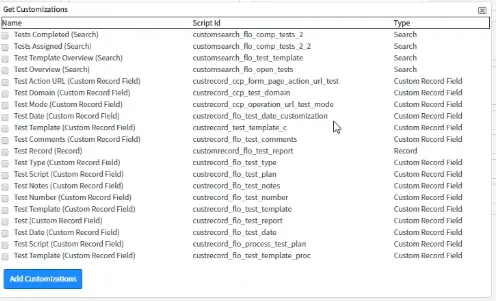
Click Select Customizations.

-
Enter one or more filters and click Lookup Customization to bring up a matching list. For example, entering test brings up the list of customizations containing test.
-
Check one or more customizations. Click Add Customization.
-
Click Add Proposed Customization to add a new customization:

- Select the customization Type.
- Enter a Script ID for the proposed customization.
- Click Add Proposed Customization.
-
Click Impact Analysis in the menu bar. The impact analysis runs and displays any warnings.

Click on the links to open the record in NetSuite for further research.

-
Click ERD in the menu bar. The list is populated with the customizations added to the ticket. Select a customization to view the ERDs as needed.

-
Click Submit. The list of change requests is displayed.
-
Once the change request is moved to the Authorize state, click Push Deployment Record in the menu bar to complete the change request.