Browser Add-ons
Passwords can also be used in the browser using the browser add-on. You can search for passwords in the add-on, transfer them to the clipboard or enter them in the input mask of the website automatically. The automatic login may require applications.
In order to provide the data, the add-on needs a connection to the database. This can be set up directly in server mode.
Currently, add-ons are available for the following browsers:
- Microsoft Edge
- Google Chrome
- Mozilla Firefox
- Safari

Installation
Please find more information about the installation on: Installation Browser Add-ons
Connection via server mode
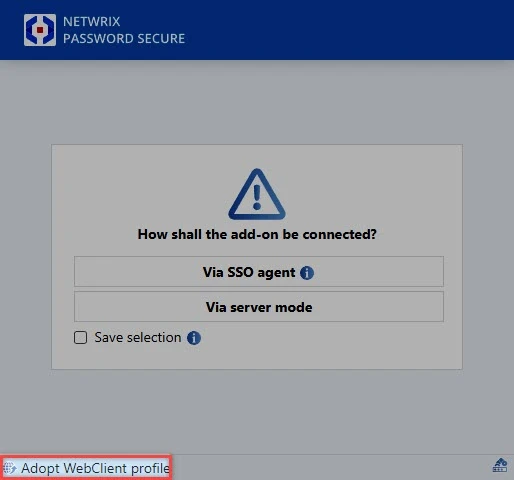
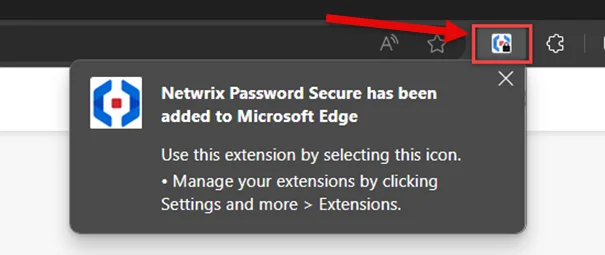
If the installation of the browser extension has been carried out, the user can now open the desired browser. A window appears in which the security of the connection is confirmed. Pairing is performed with a simple click. A new icon will also be displayed in the desired browser from this point onwards:

If the icon is displayed as shown, it means that although the add-on has been installed.
Database profiles
The server mode must know which database profile it is connected to. There are two ways of setting up a database profile:
First, the database profile can be created manually. Therefore, he following information is required: IP address, Web Application URL and database name. Please note that /api is appended to the end of the IP address.

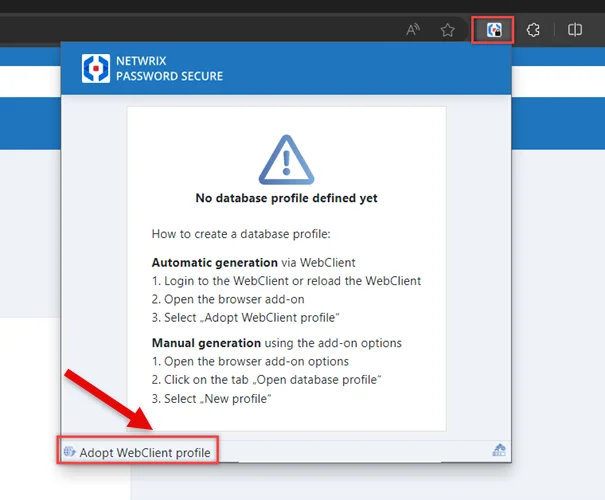
It is also possible that the database profile is filled out automatically. For this, you need to log on to a database via Web Application. By clicking on the add-on in the Web Application, its profile can be taken over. Now all necessary information such as profile name, IP address, Web Application and database name are transferred.
The server mode benefits
The server mode offers the following advantages:
- No terminal service is required in terminal server operation
CAUTION: Please note that SSO applications only work via Autofill Add-on. If you are in server mode and the Autofill Add-on has not been started, SSO applications do not work!
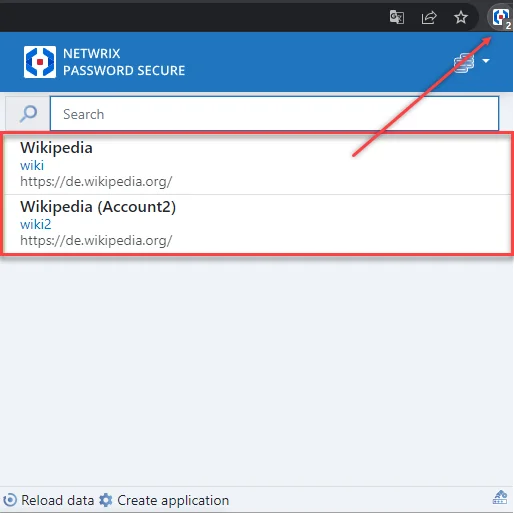
After successful connection, the number of data records available for the current Internet page is displayed on the icon.

Settings
All settings that relate to the add-on are made centrally on the client. The user settings system can be used to enter them globally per organisational unit or per user. The following options have a direct impact on the add-ons and can be found in the SSO category:
- Browser add-ons: Automatically send login masks ensures that the login is automatically completed after the access data has been entered. It is thus not necessary to click the relevant button manually
- About browser add-ons: Automatically fill login masks ensures that access data is entered without the need for any confirmation when a website is recognised.
The default browser option also has an impact on the add-ons. This setting defines the browser in which the websites are opened from the client.
NOTE: It is important to note that the login mask for records with password masking will be ”sent automatically*, even if the setting Browser add-ons: Automatically send login masks has been deactivated.
Working with add-ons
NOTE: A record can only be used for entering data if it has a form field of type "URL".
The subscript number mentioned in the previous section is only available with active logins and therefore already says a lot about the “Number of possible entries”. For example, if the number “2” is shown, you can directly select the account you want to log in with.
Previously, the prerequisite was that you had to navigate manually to the precise website via the browser that you actually wanted to use. This navigation can now also be handled by Netwrix Password Secure – as described in the following section.
Search and navigation
It is currently assumed that the user has to navigate manually to the website on which they want to automatically enter login data. This way of working is possible but is not convenient enough. The add-on can be used in a similar way to bookmarks. The search field can be used to search for the record in the database. The prerequisite is again that the record contains a URL.
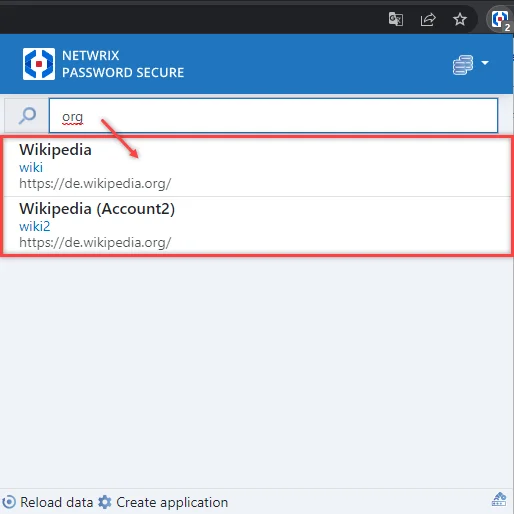
The screenshot shows that the URL and the name of the record (Wikipedia) are searched. The results for the search are displayed and can be selected using the arrow buttons or the mouse. The selected website will be opened in a separate tab.
Several passwords for one website
If a user opens a page and multiple passwords with the autofill function are possible for this website, no entries will be made unlike in older versions. Instead, the following message appears in a pop-up:

However, if the autofill function is only activated for one password but multiple passwords are possible, the password with the autofill function is entered. If the user clicks on a record in the pop-up, this record is entered as normal (as was the case previously).
Get the Browser Extension
First, Netwrix Password Secure is designed to make and keep your passwords more secure. But this also means that managing - and logging in with them - is easier and saves time! That's why you need the browser extension to save yourself the hassle of typing in passwords in future and to be logged in to all your website accesses with just one click!
Step 1 – Is your browser extension already installed? You can find out by:
- Looking for this icon next to the URL input field in your browser. See the icon in the top bar of the screenshot below.
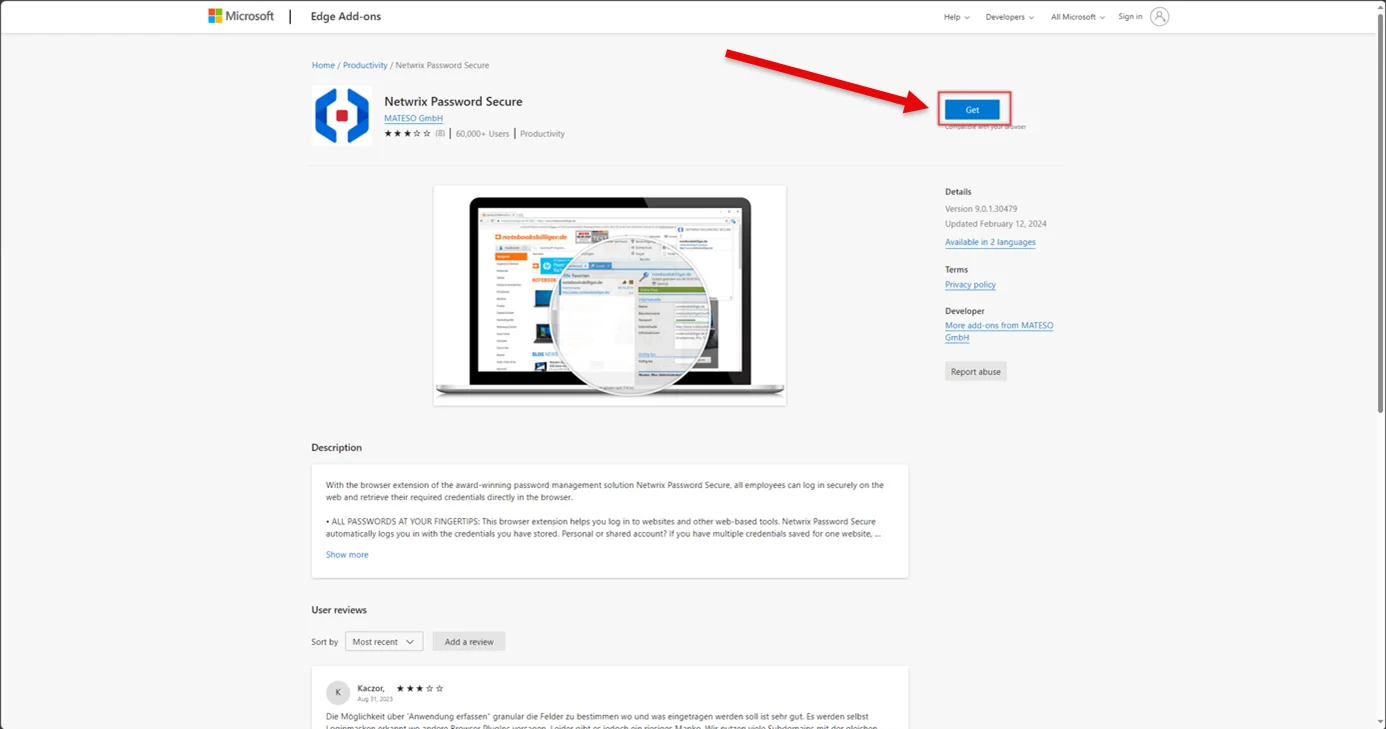
- Opening the Password Secure Web App, logging in and scrolling down: If not installed yet, you can find the download link in the footer. See the Download Edge Extension link in the bottom center of the screenshot below.

NOTE: If you need more information about installing the browser extension, please visit the following topic in our documentation: Installation Browser Extension
Step 2 – After downloading, the browser extension is simply dragged and dropped into the browser. See the Get button in the upper-right section of the screenshot below.
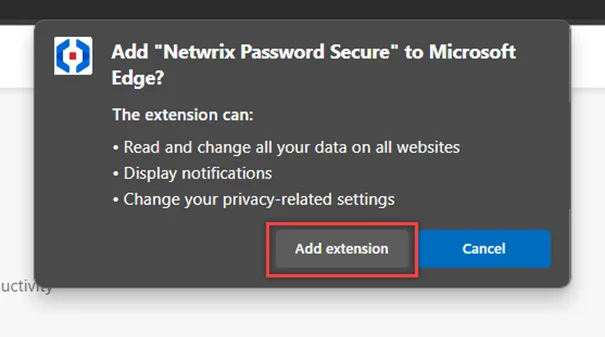
Step 3 – After confirming a security question, it is installed, and an icon appears in the menu bar to "add the extension".
Step 4 – Please open or reload the web application of Netwrix Password Secure (see link in email from your administrator) to connect your user profile with the extension. See the lock icon in the screenshot below.
Step 5 – Now click on this icon in your browser to open the browser extension. See the Adopt Select Adopt Web Application profile. Done!
RECOMMENDED: If not done yet, bookmark this page to have it quickly at hand!