Creating the Disk
Before starting the Endpoint Protector Virtual Machine, you have to prepare a disk and a Virtual Machine. To create a disk, follow these steps.
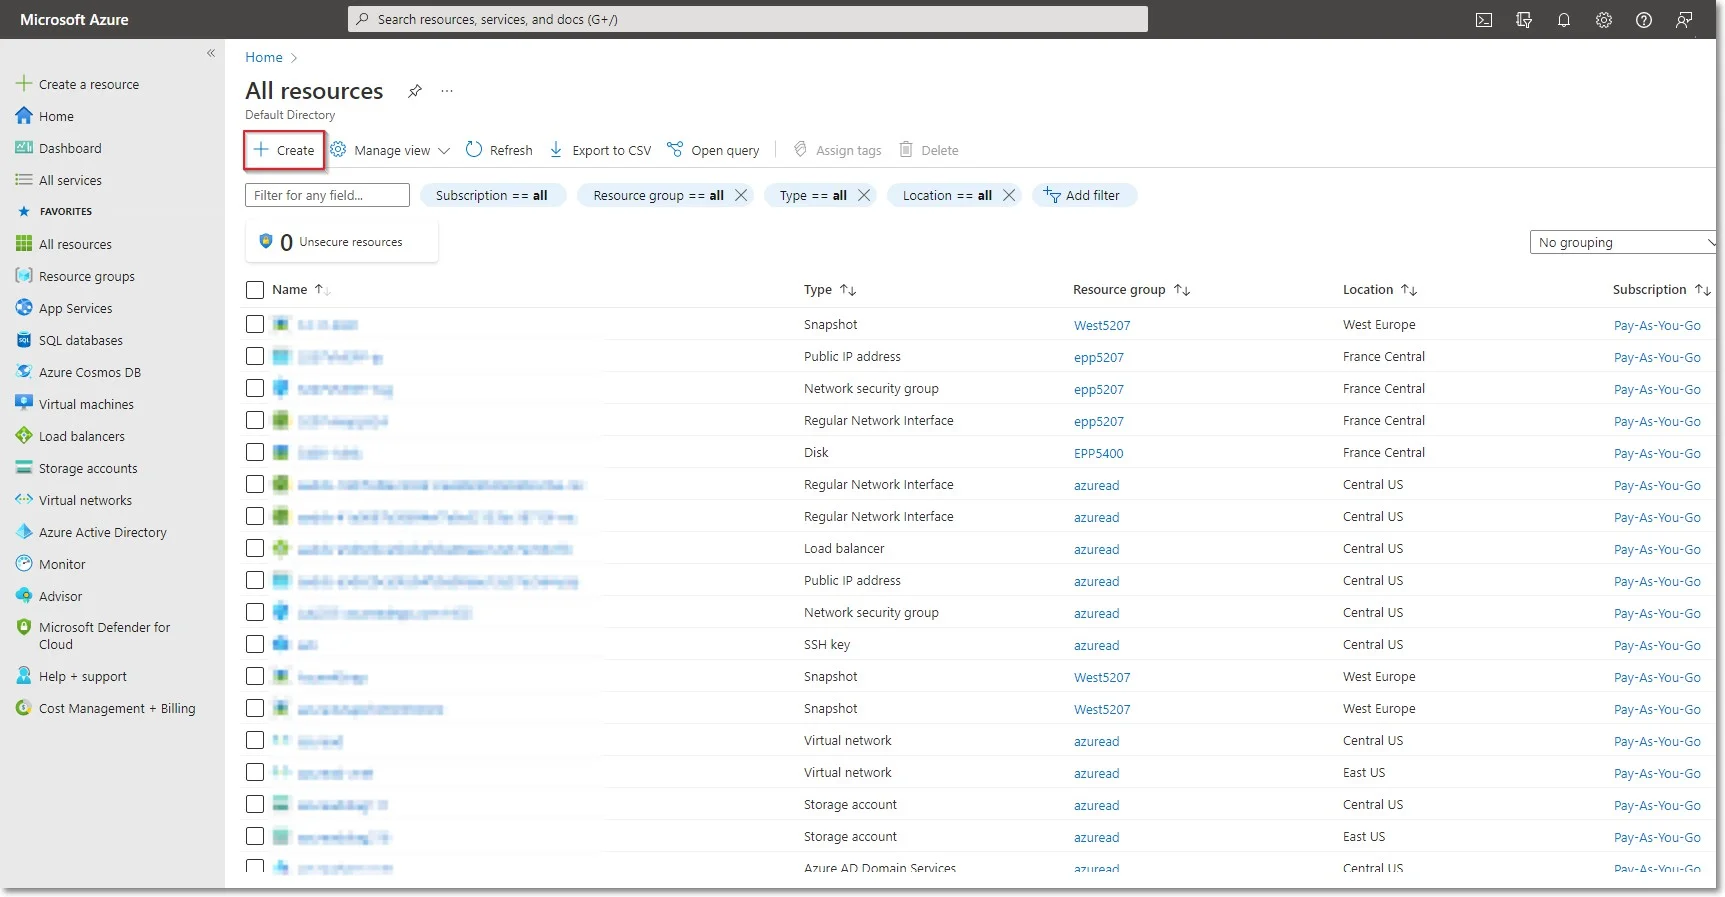
Step 1 – From the top right side of the page, go to All resources and click +Create;
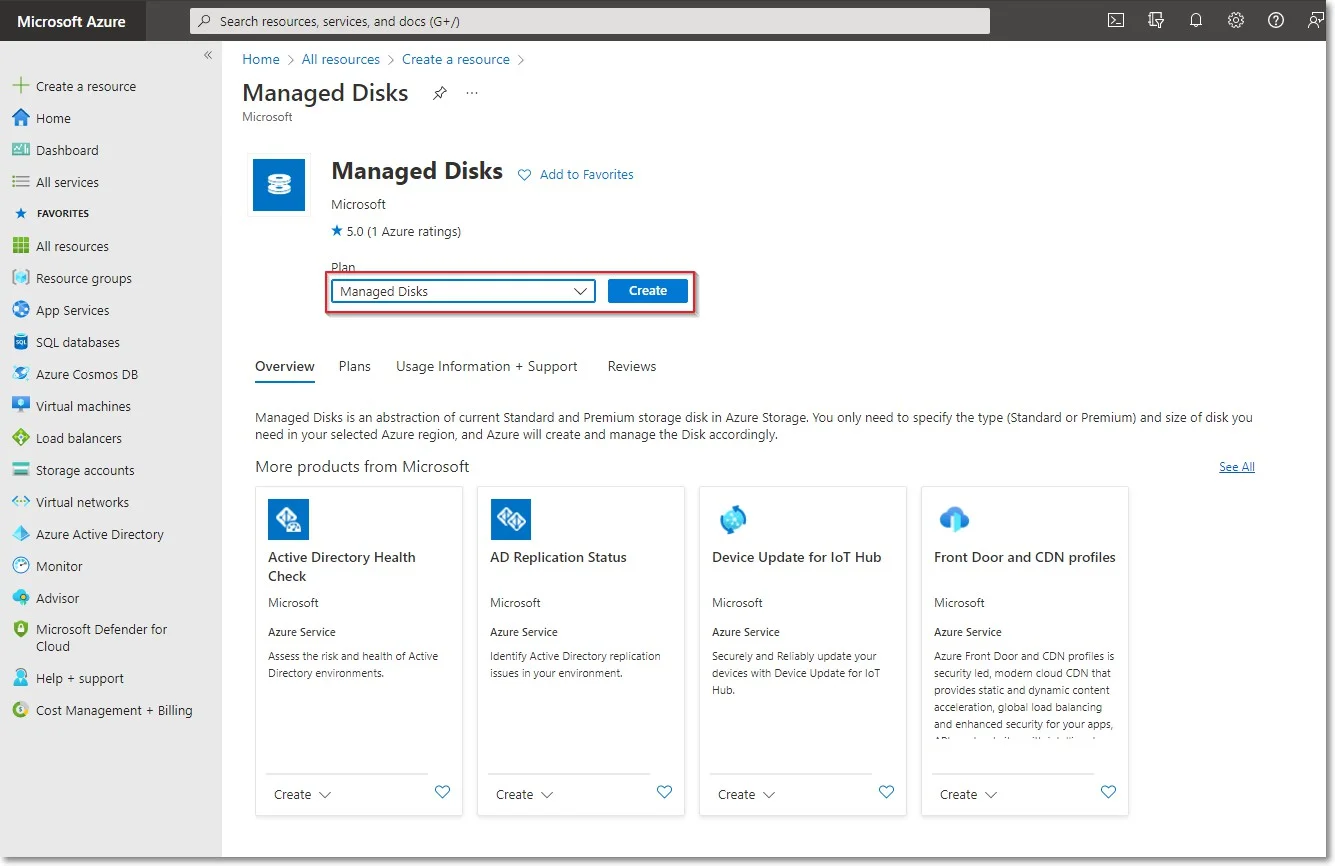
Step 2 – Search the marketplace for Managed Disks;

Step 3 – Go to Managed Disks and select Create;
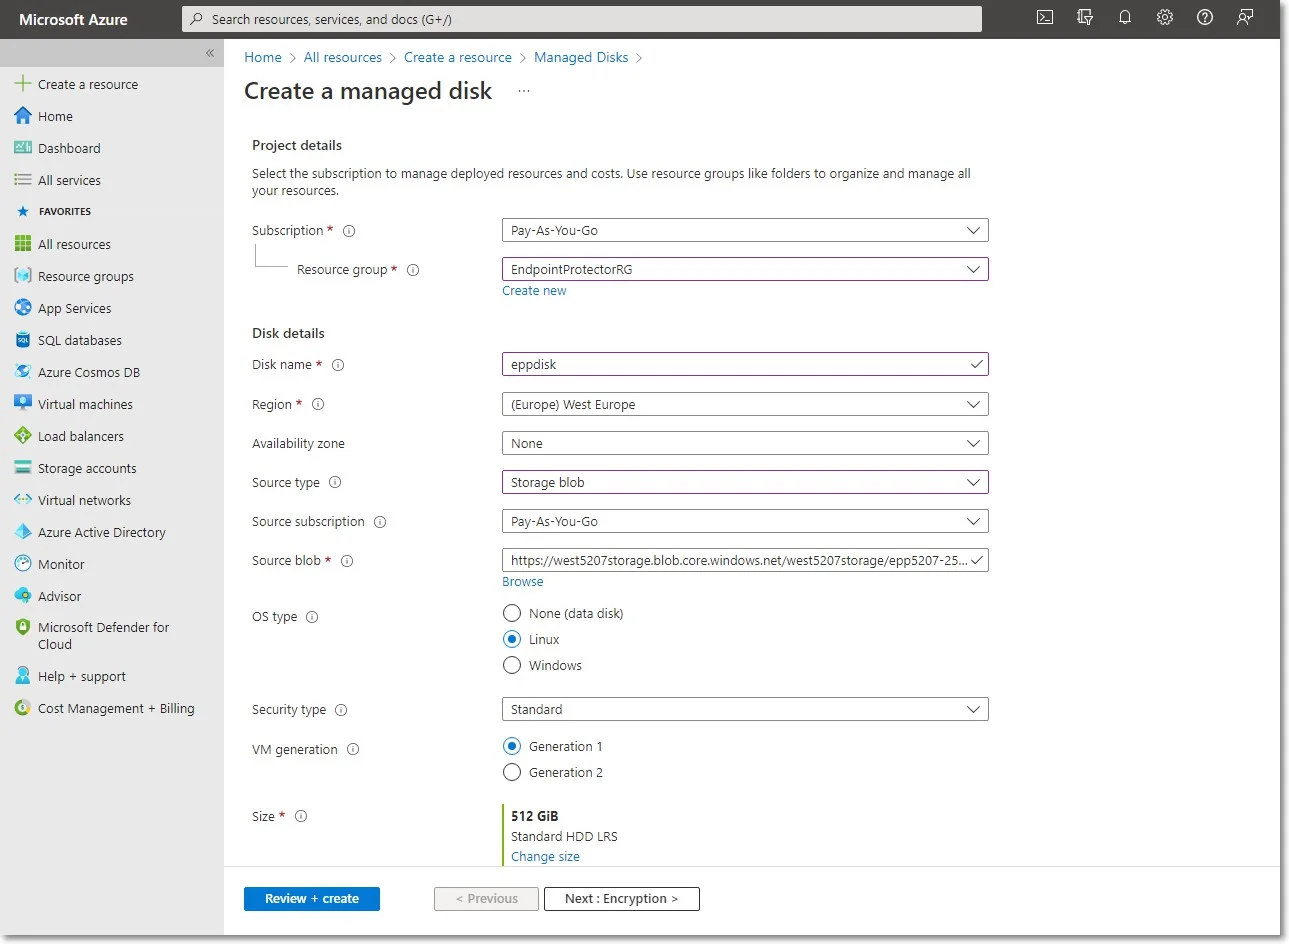
Step 4 – To create a managed disk, provide the following information
- Subscription - select Pay-As-You-Go
- Resource group – select the previously created one
- Disk name – add a name for the storage account
- Region – select the nearest the location of the computers that will be protected by Endpoint Protector
- Availability Zone
- Source type - select Storage Blob
- Source subscription - select Pay-As-You-Go
- Source blob – enter the URL received from Netwrix after providing the key and URL mentioned above.
- OS type - select Linux
- Security type – select Standard
- VM generation – select Generation 1
- Size - select 128 GB
Step 5 – Click Review + Create and wait for the Successfully created disk message to be displayed.
Creating the Virtual Machine
To start the Endpoint Protector Virtual Machine in Azure, follow these steps:
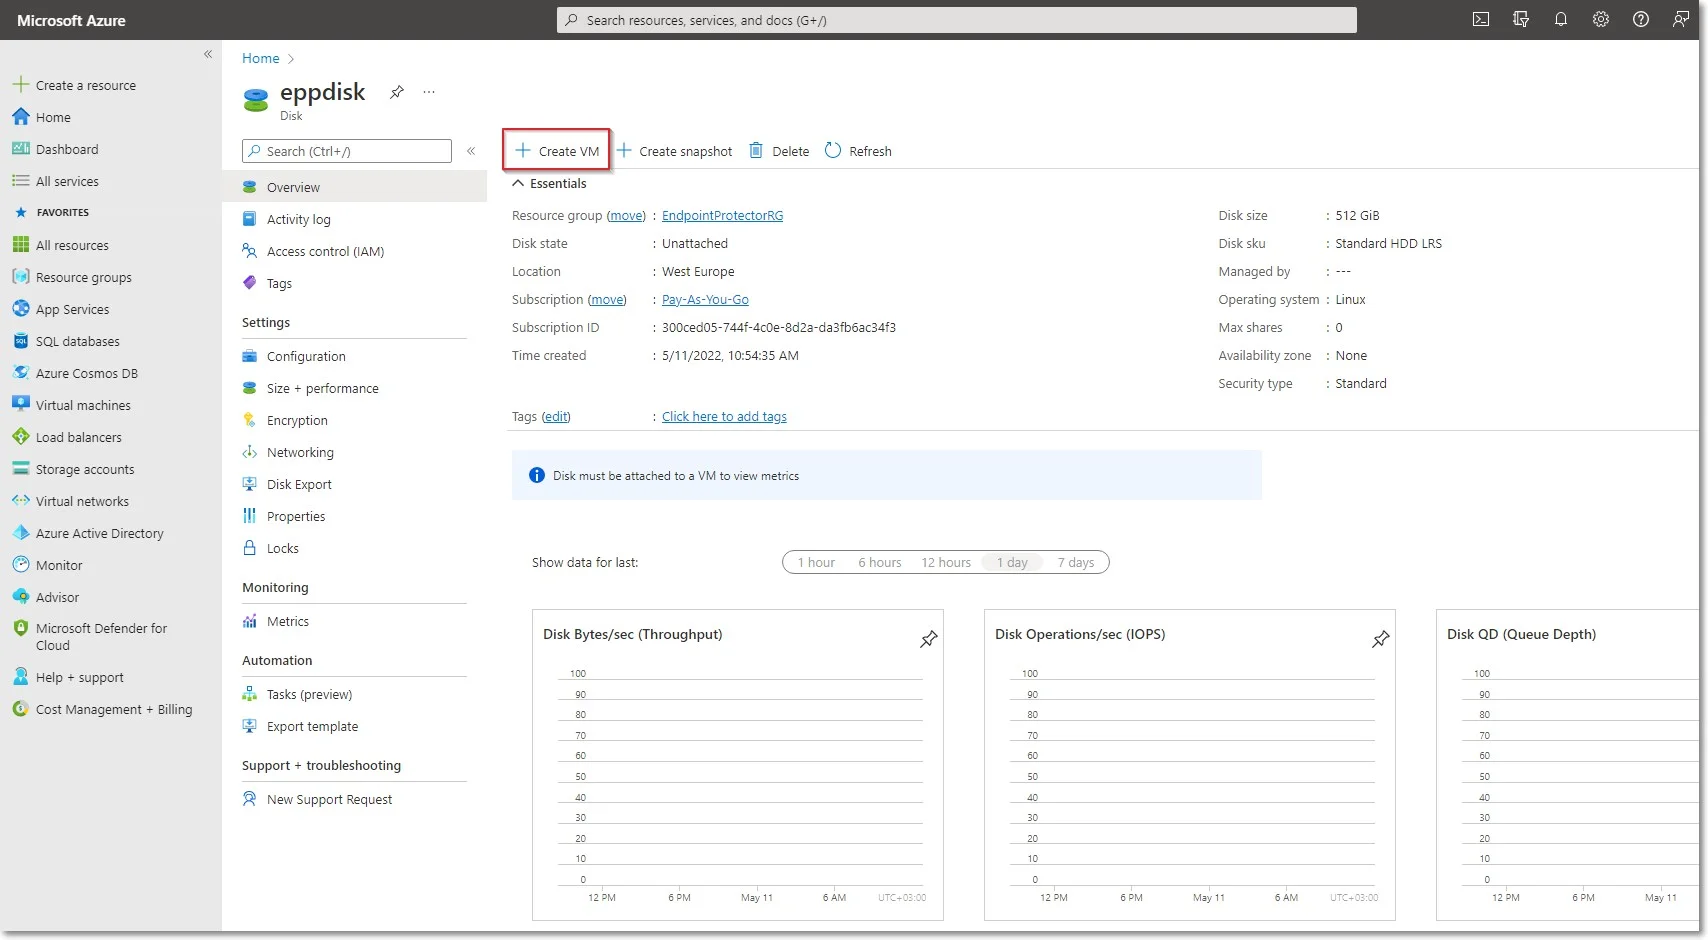
Step 6 – Go to the All resources page, select the newly created disks and then click Create VM
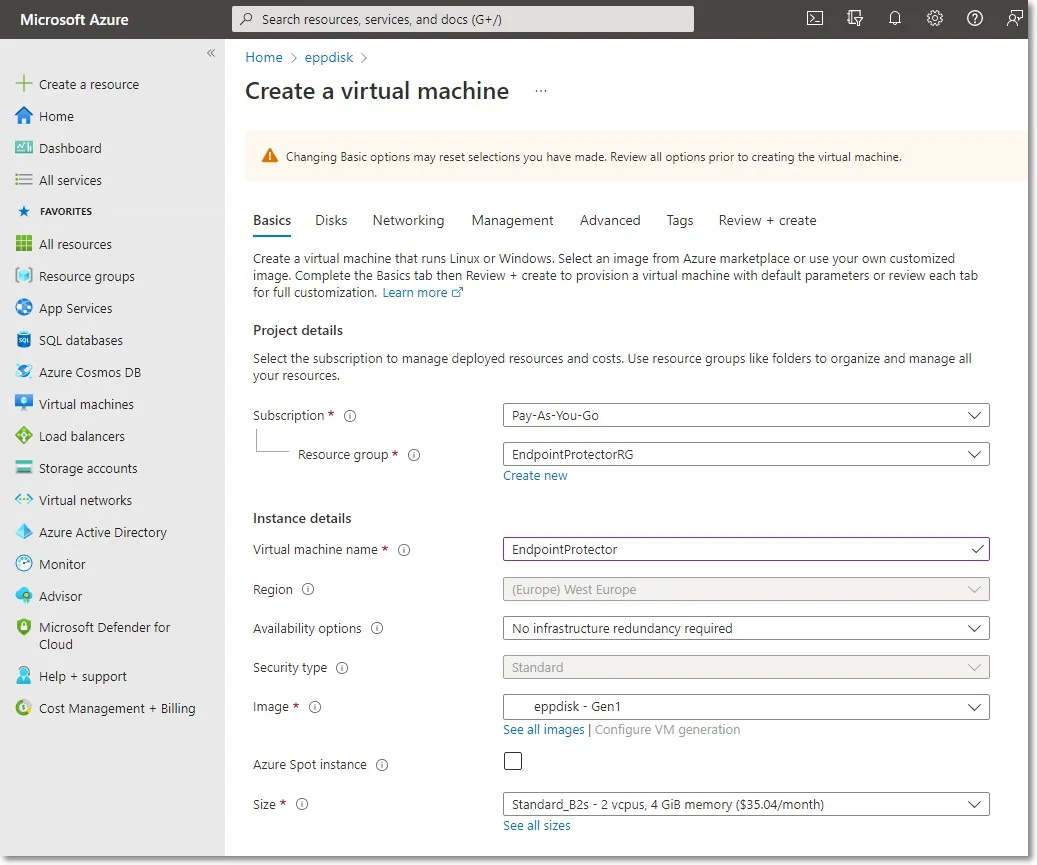
Step 7 – To create the Virtual Machine, provide the following information:
-
On the Basics tab, fill in the following:
- Subscription – select Pay-As-You-Go
- Resource group – select the group used when creating the disk
- Virtual Machine Name – enter a name for the Virtual Machine
- Size - select a virtual machine profile based closest to the recommended requirements for the disk file used
-
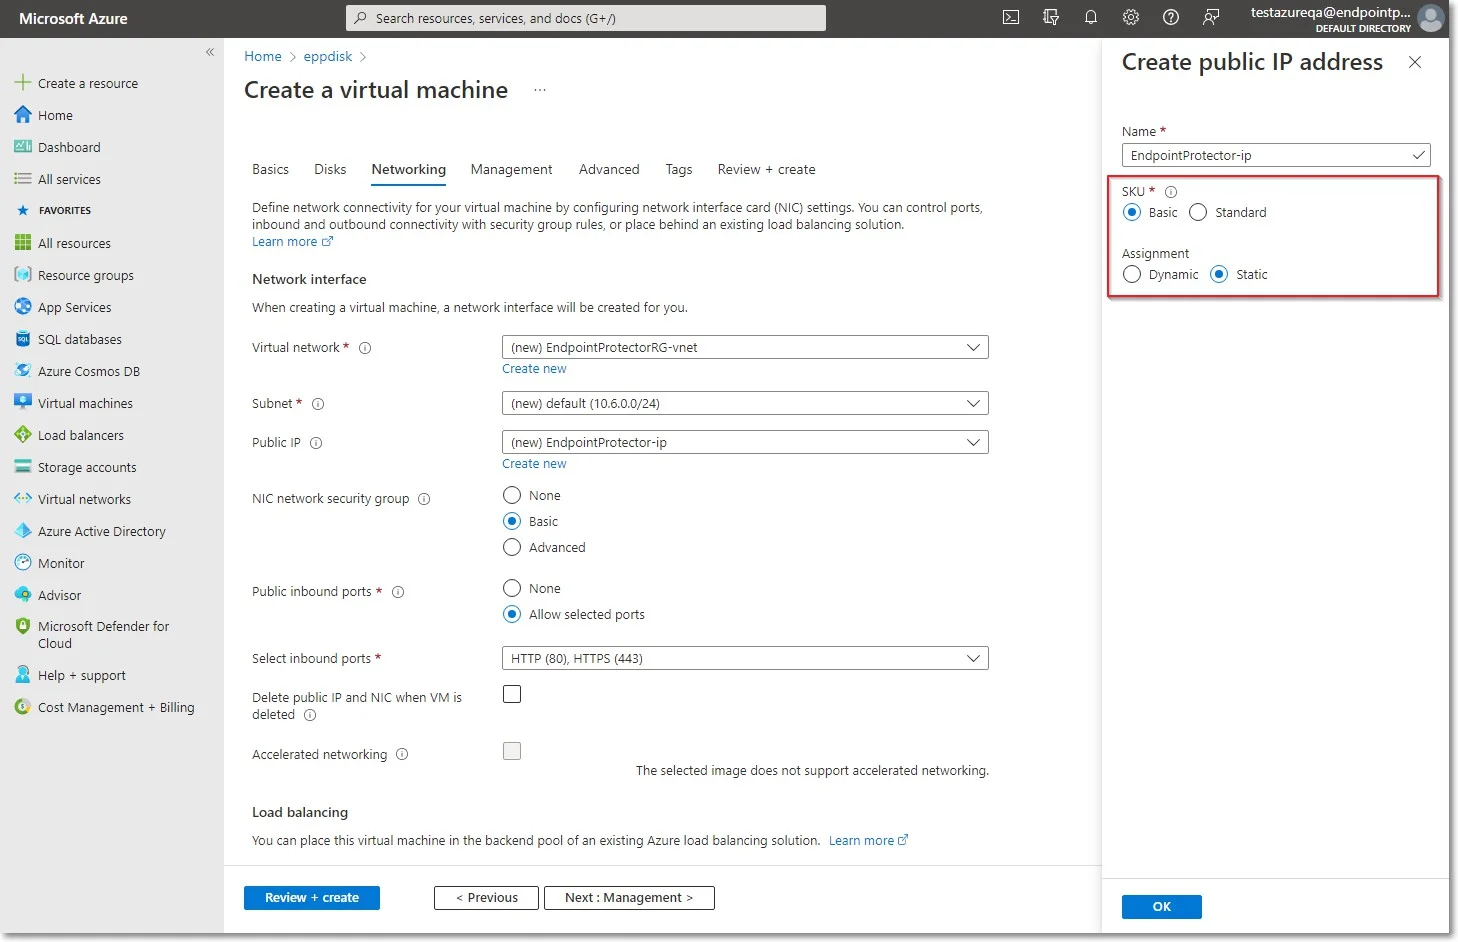
On the Networking tab, fill in the following:
- Public IP - click Create new and select Basic SKU and Static Assignment.
- Select inbound ports – add HTTP (80) and HTTPS (443)
Step 8 – Click Review + create and then Create.
NOTE: For Additional Features, we recommend selecting HDD instead of SSD to avoid unnecessary payments for an unused SSD attached to the Virtual Machine.
Step 9 – Once the deployment has finished, go to Virtual Machines on the right side and select the Endpoint Protector image.
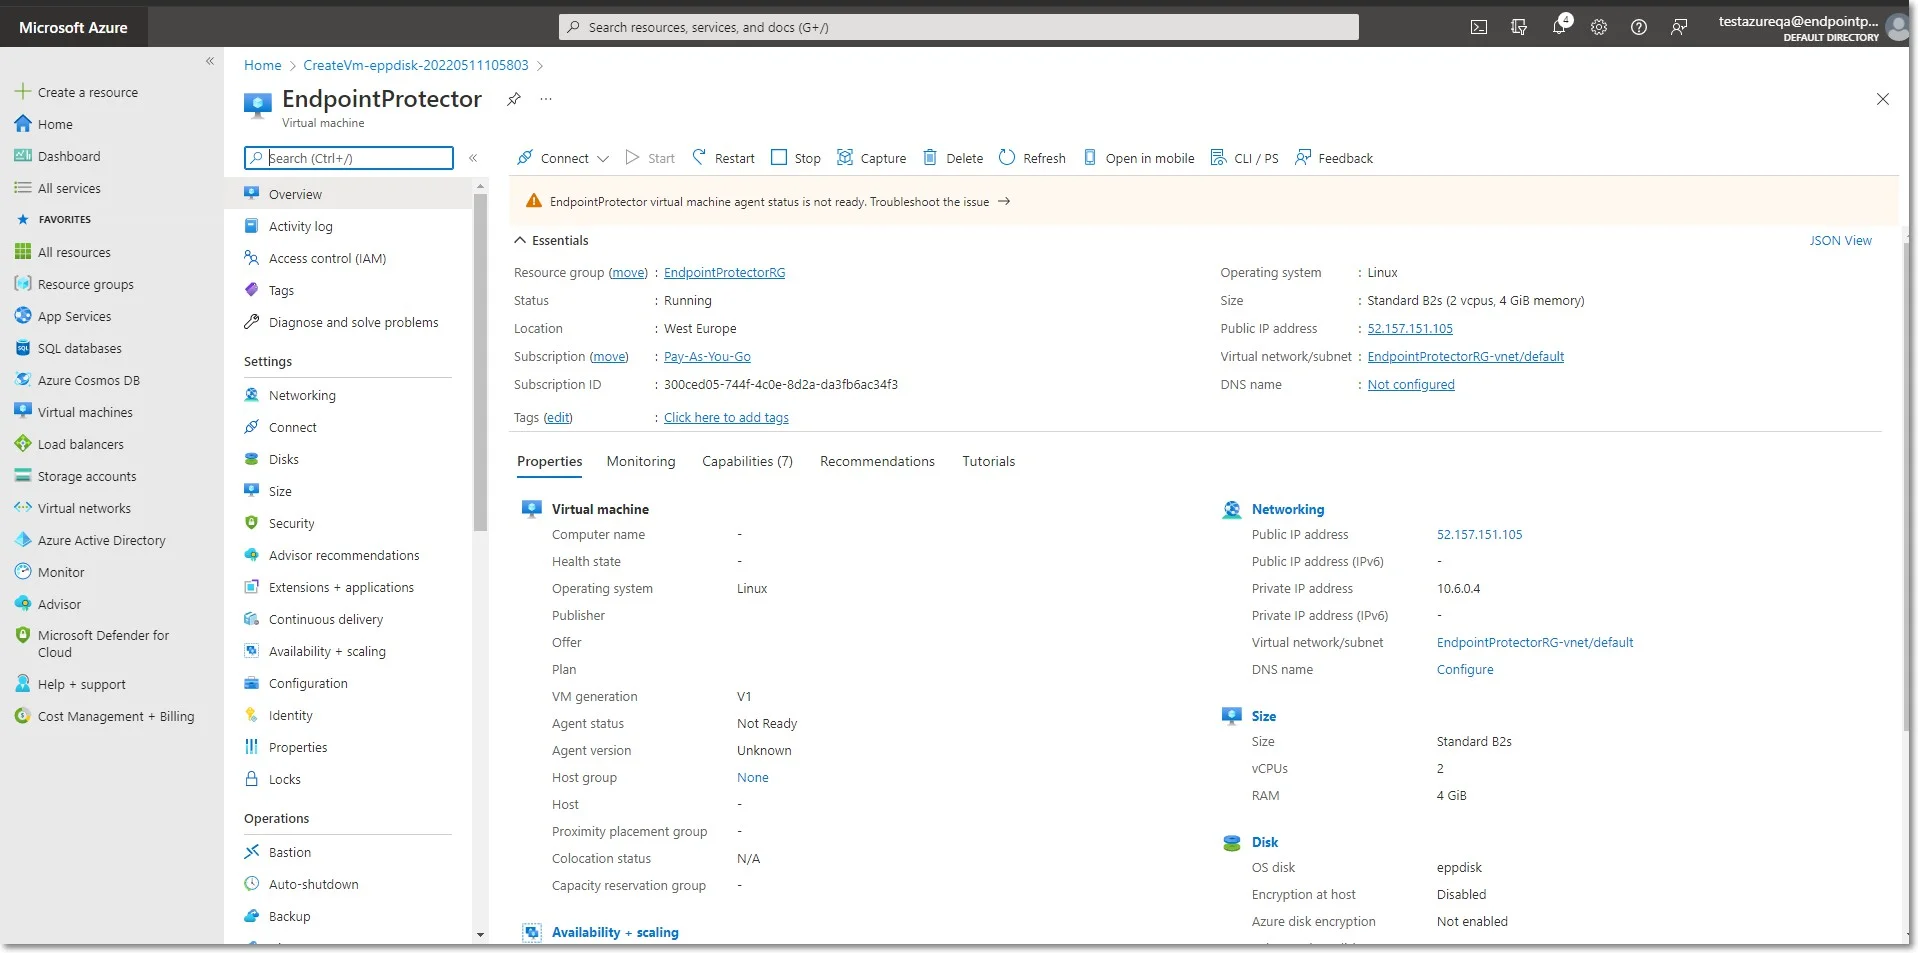
Step 10 – Open a web browser and connect to the Public IP address assigned to the Endpoint Protector image.