Google Cloud Platform
In this section, we outline the integration of Endpoint Protector into your Google Cloud Platform (GCP) environment. While Endpoint Protector is not available among default images, this guide provides a straightforward process for obtaining and deploying it. You will upload a custom image, create a Virtual Machine Instance, and configure the necessary settings to enable Endpoint Protector. Follow the steps below to successfully deploy Endpoint Protector within your Google Cloud infrastructure.
Obtaining and Downloading the GCP Image
Endpoint Protector is not available from the default images on the Google Cloud Platform. To obtain it, follow the process described below:
Step 1 – Download the Endpoint Protector image from the link provided by your Endpoint Protector Representative. If this image has already been obtained, you can skip this step.
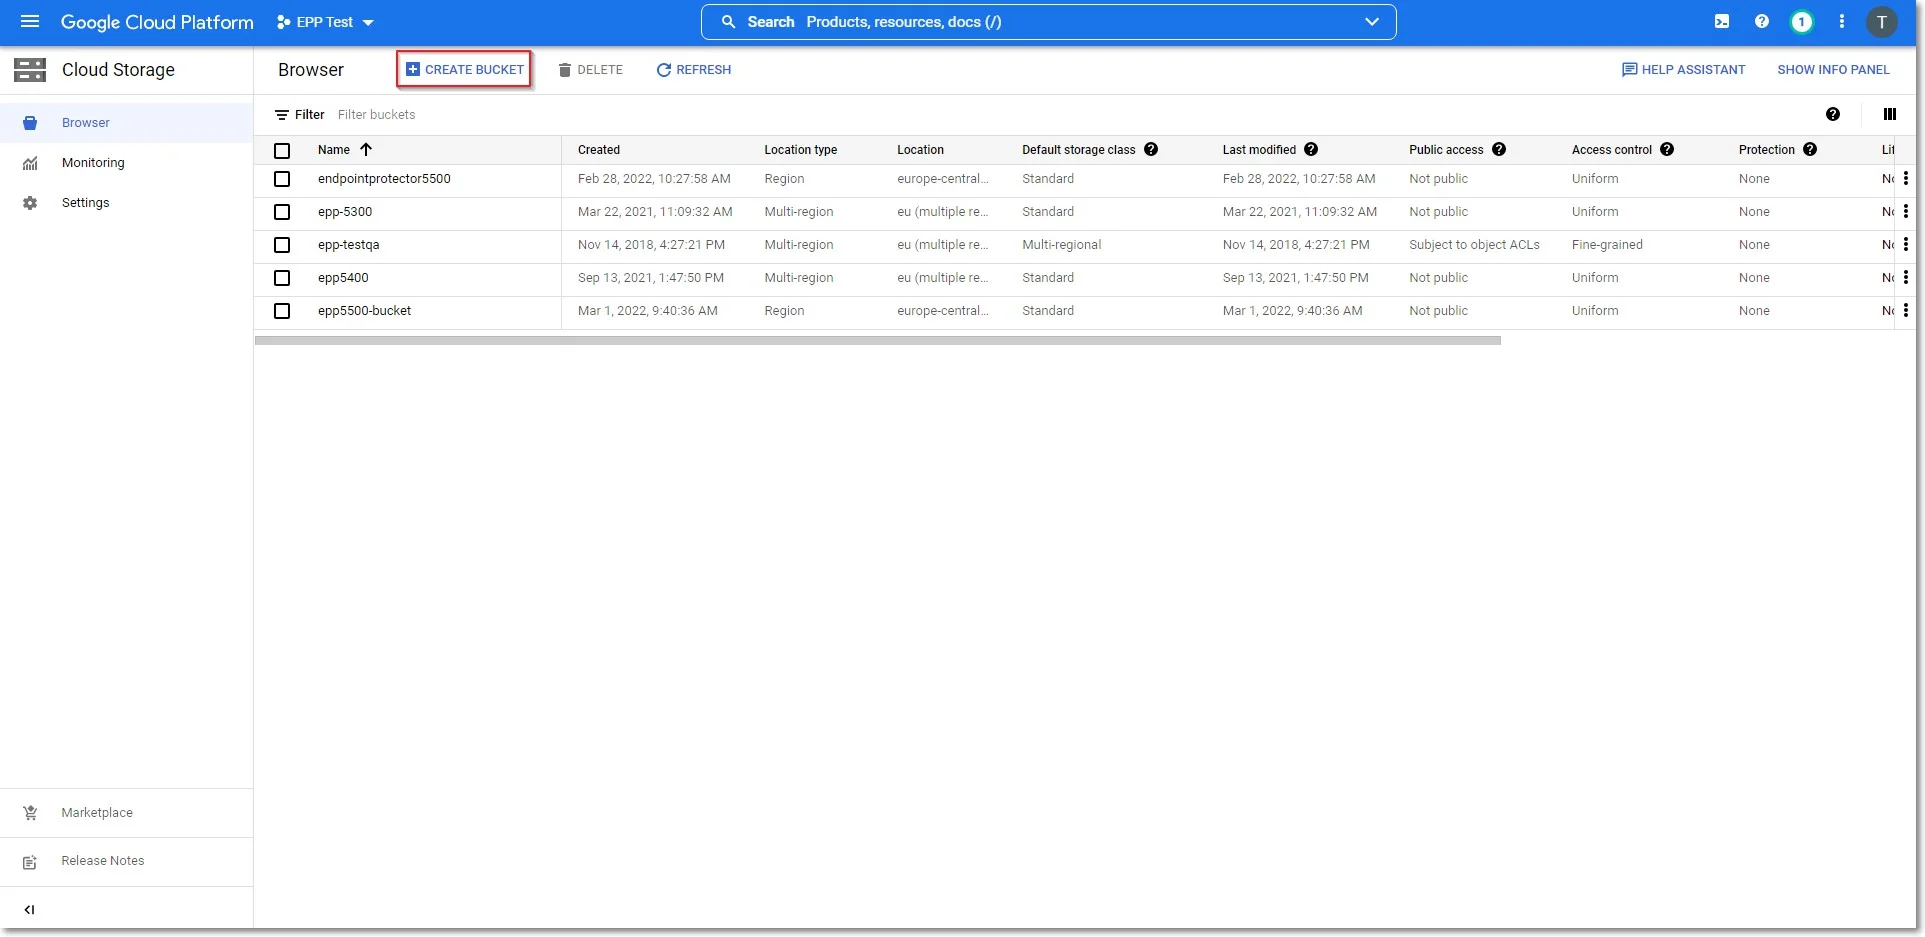
Step 2 – To upload the Endpoint Protector image to the Google Cloud Platform, navigate to the Cloud Storage Browser page on the Google Cloud Platform Console and create a bucket.
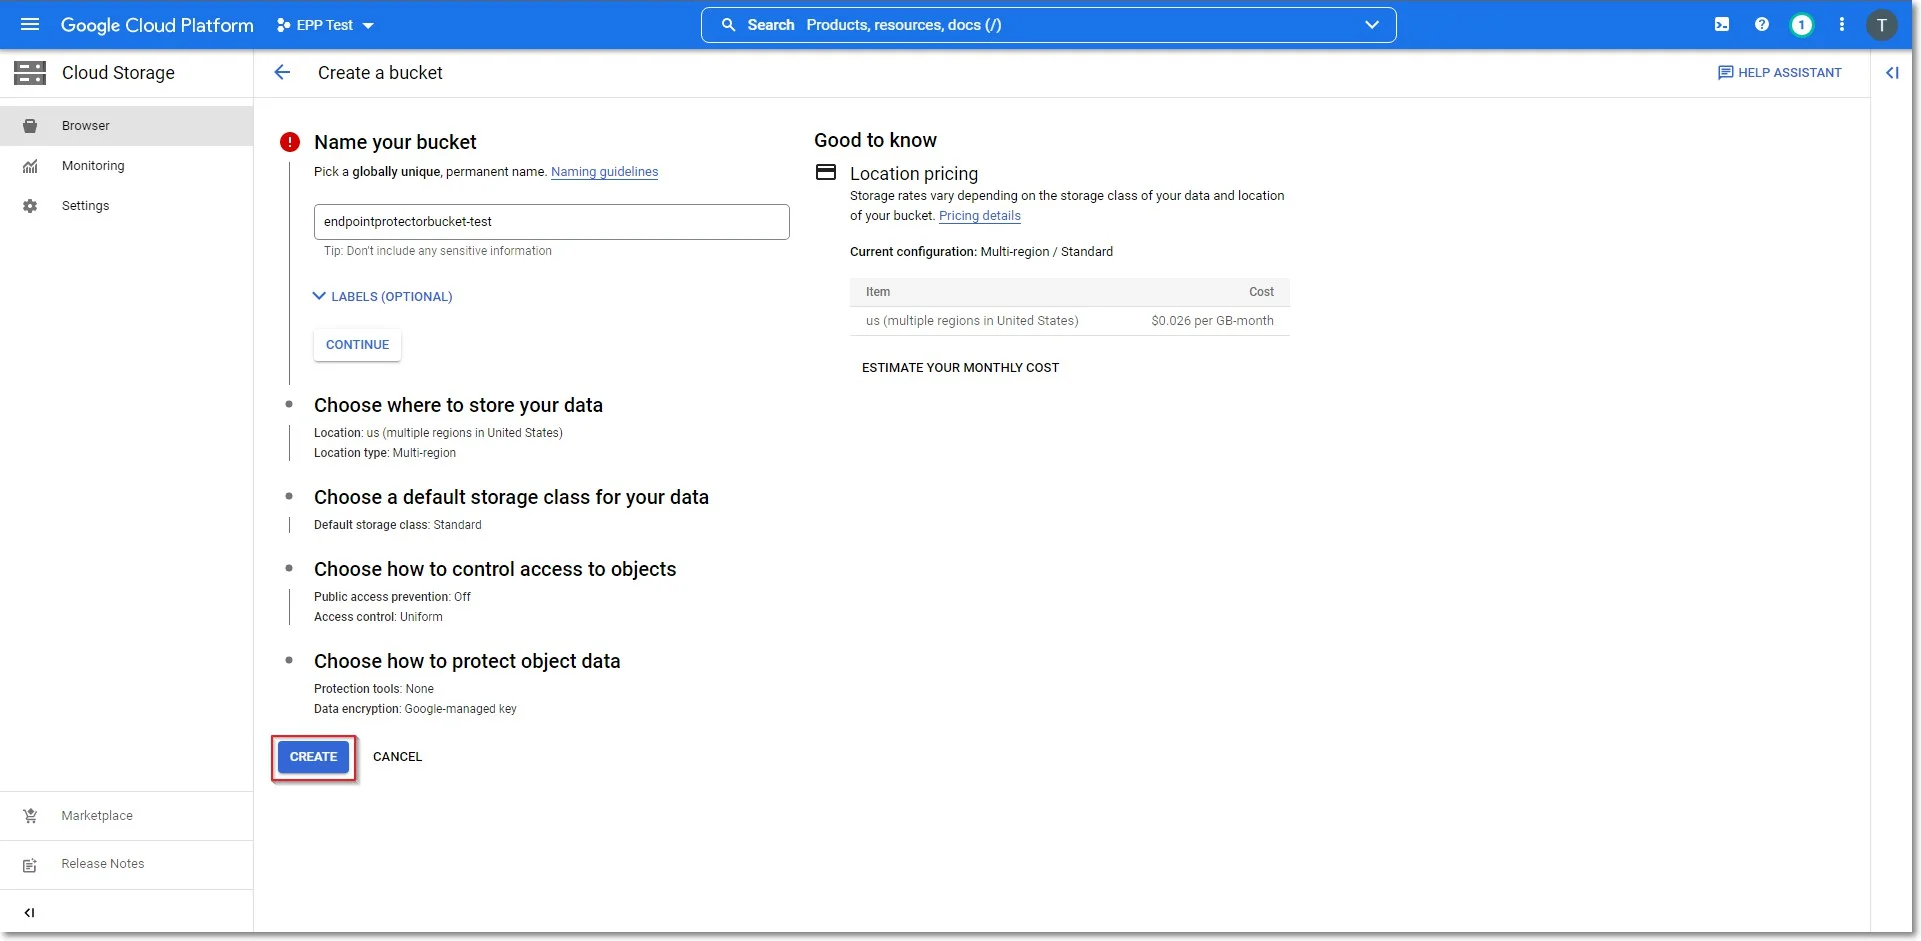
Step 3 – Provide the necessary information (i.e., Name, Storage Class, Location), then click Create.
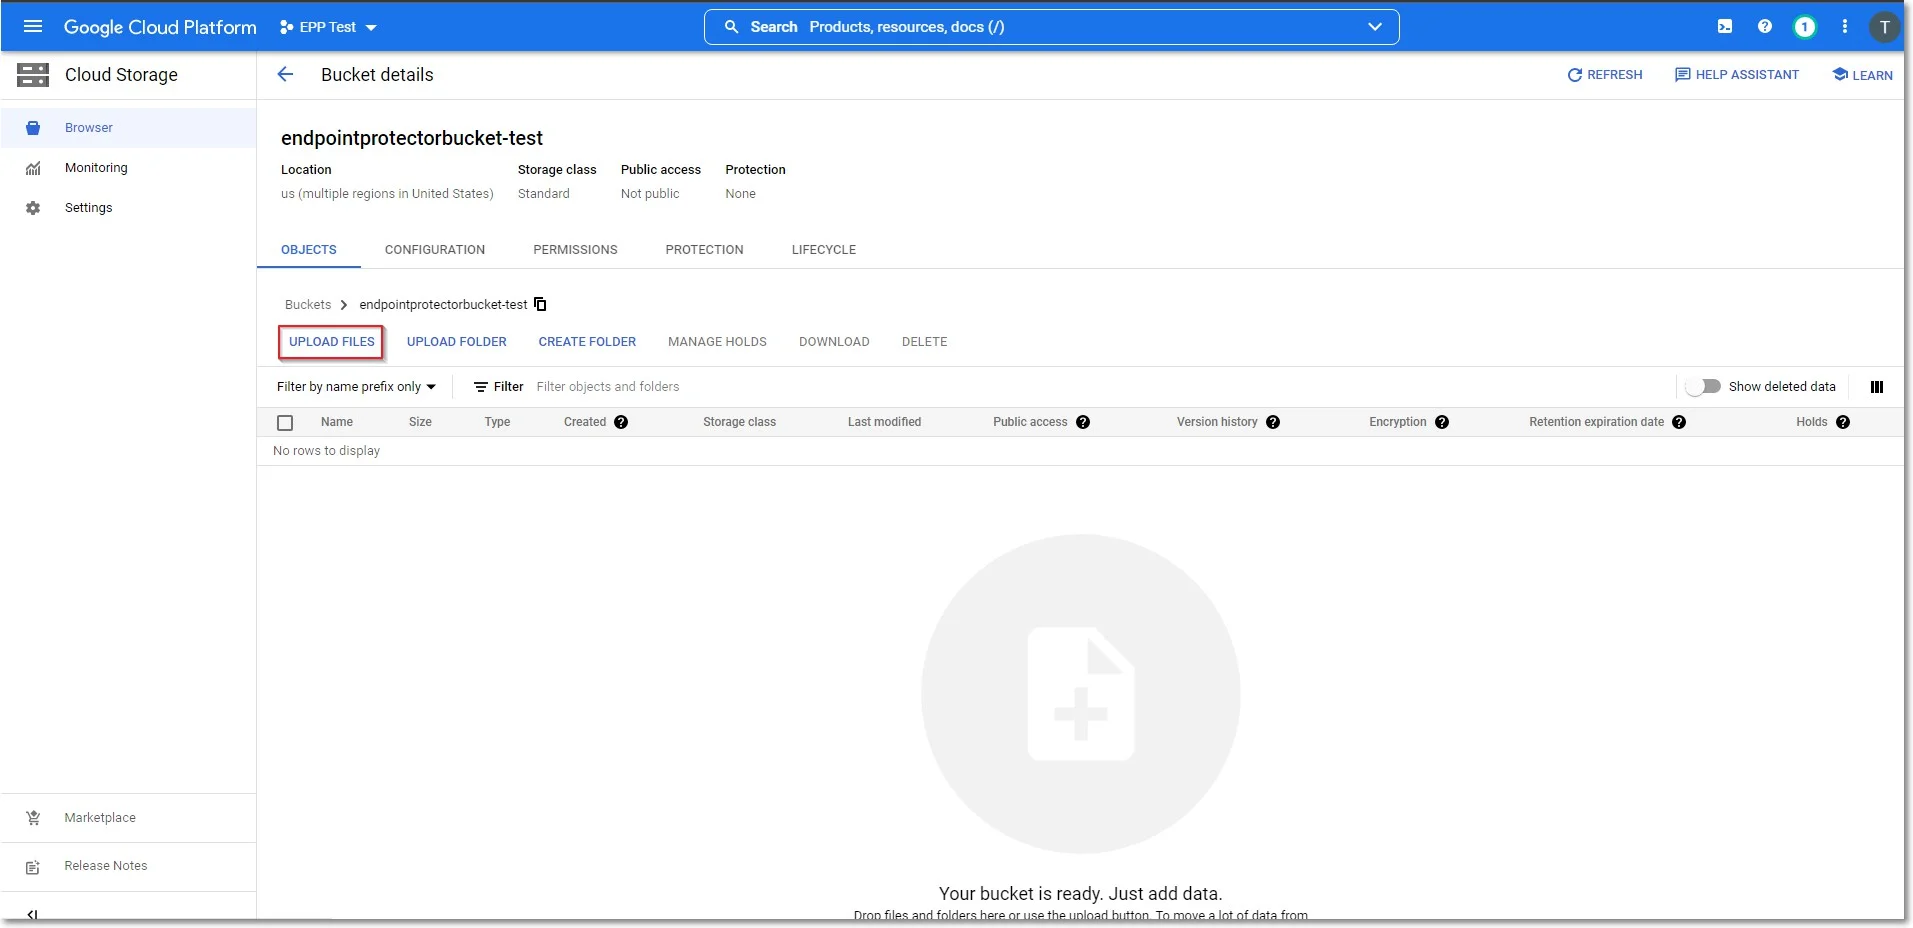
Step 4 – Once the bucket is created, upload the Endpoint Protector image file received from Endpoint Protector.
NOTE: The upload can take several hours, depending on the size of the compressed image and the speed of the network connection.
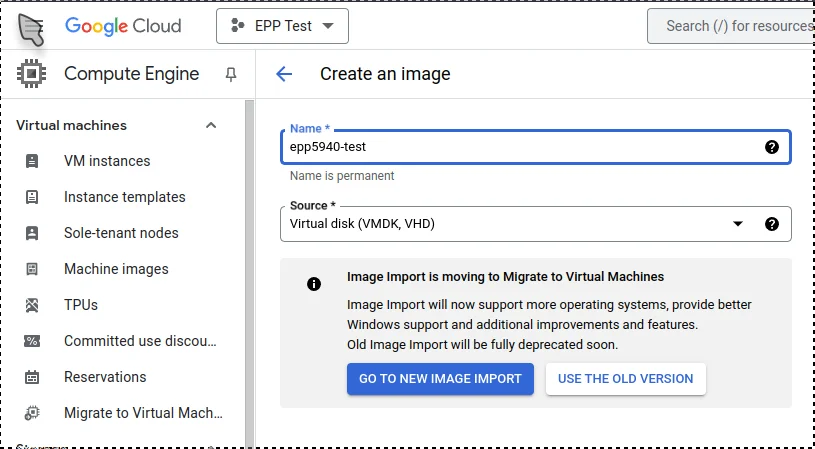
Step 5 – After the Endpoint Protector image has been uploaded to Google Cloud Storage, navigate to the Images page on the Google Cloud Platform Console.
Step 6 – Set the Source to Virtual disk (VMDK, VHD) and select Go to new image import.
Step 7 – When prompted, enable the required API.
Step 8 – In the GCP search bar, type Migrate to Virtual Machines and select it.
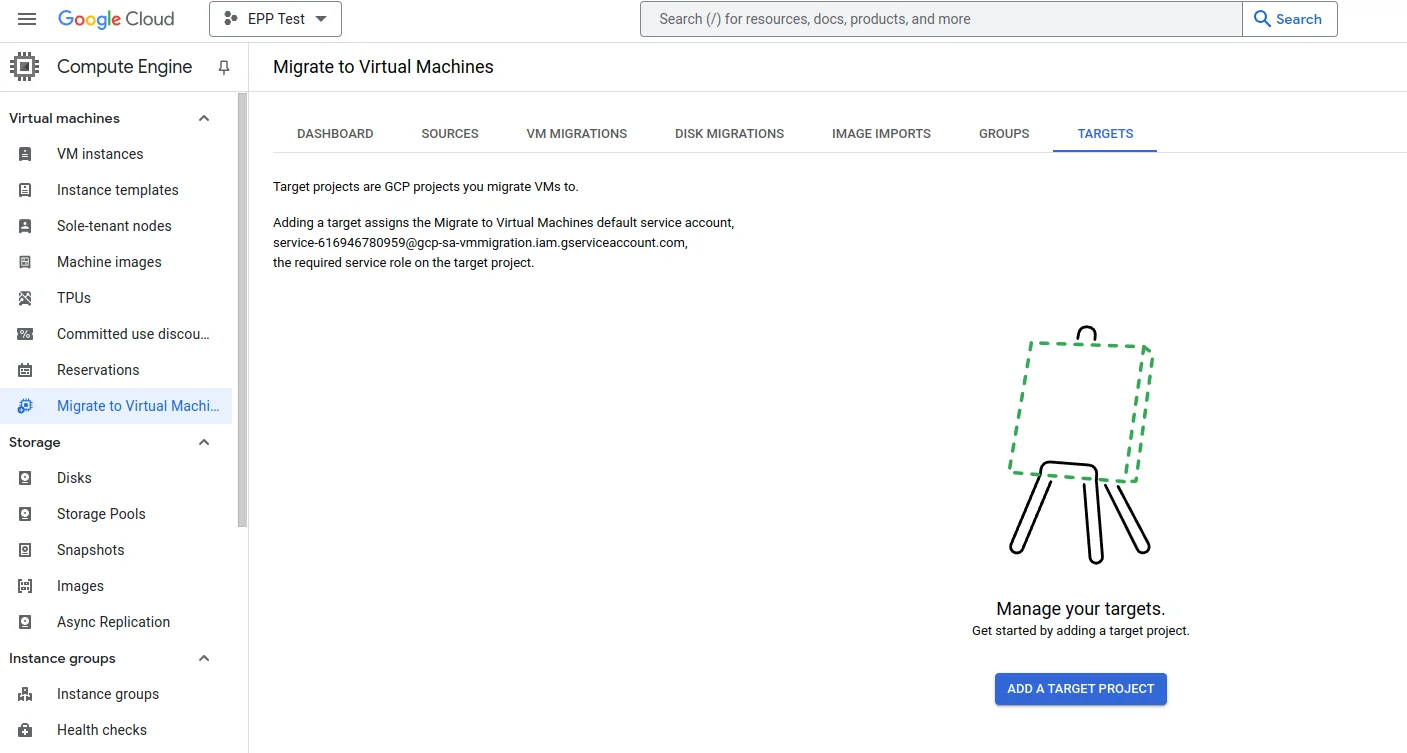
Step 9 – Go to the Targets tab and click Add a target project.
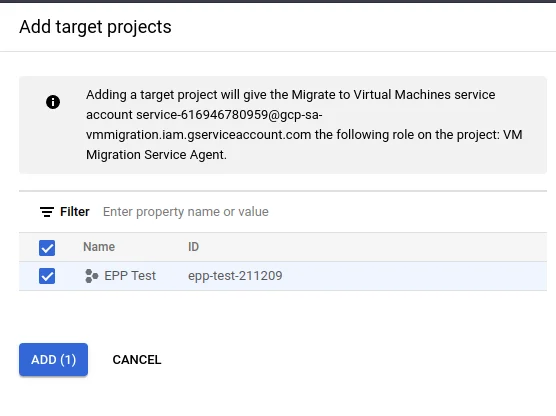
Step 10 – Select the project and Click Add.
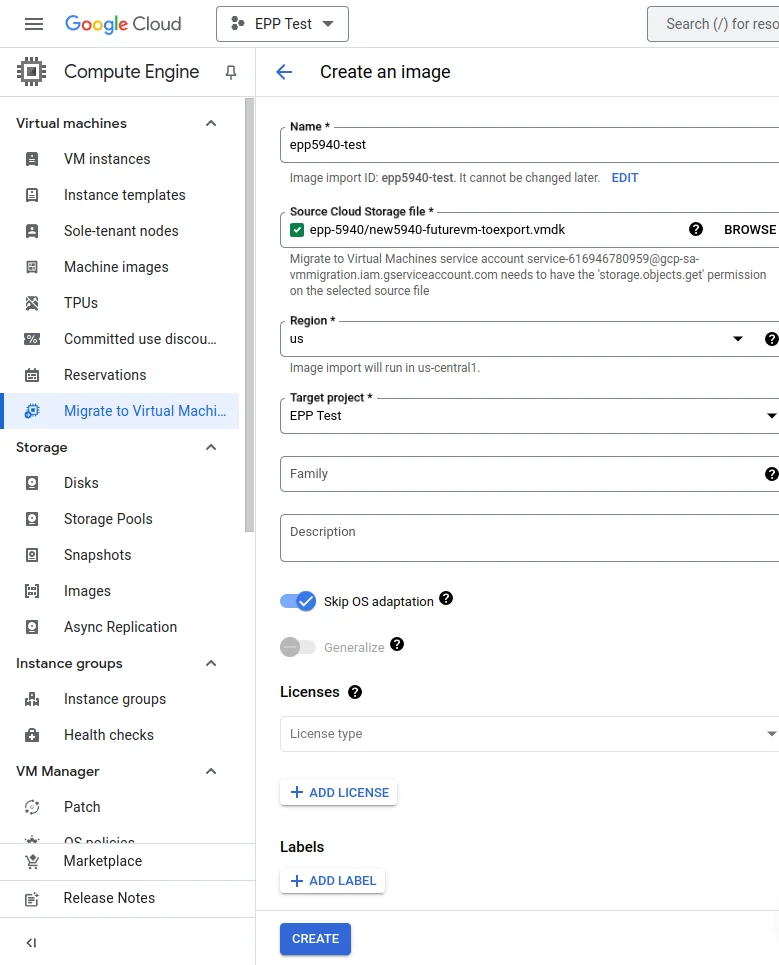
Step 11 – Navigate to the Image Imports tab and click Create image.
- Provide a name for the image.
- Set Source Cloud Storage file (.vmdk).
- Select the Region.
- Enable Skip OS adaptation.
- Click Create.
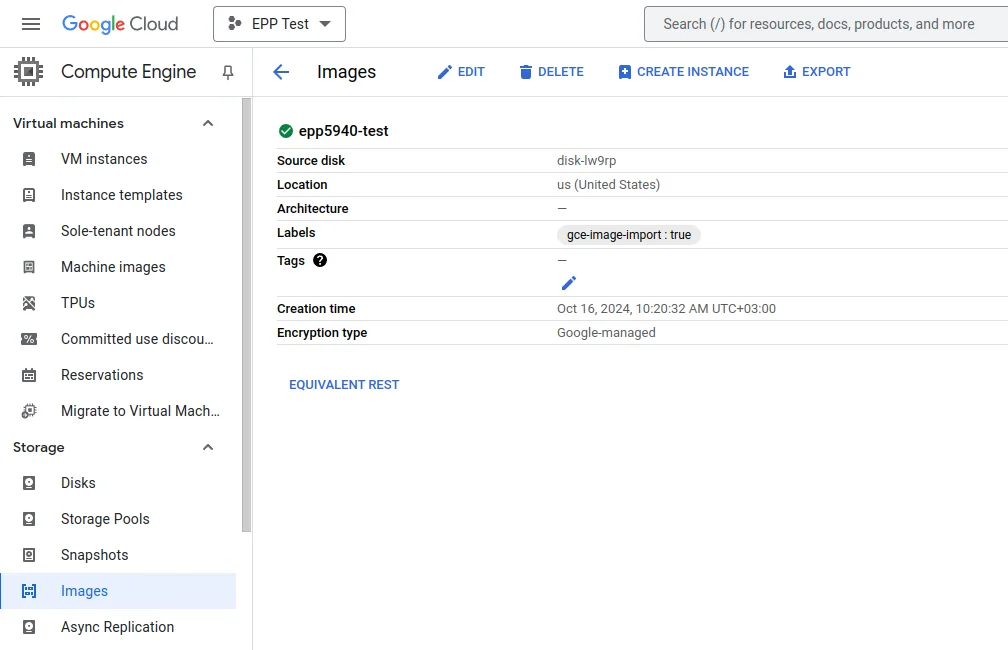
Step 12 – Once the process is complete, navigate to the Images page and locate the newly created disk image. Click on it to view its details.
Step 13 – Click Create Instance and select the newly created disk image as the boot disk.
Step 14 – Configure the instance settings based on your environment’s requirements, such as machine type, network settings, and storage.
Step 15 – Complete the setup process and verify that the instance is functioning as expected.
Launching on Google Cloud Platform
Once the Endpoint Protector Image becomes accessible in the Google Cloud Platform images list, proceed to create a new Virtual Machine Instance:
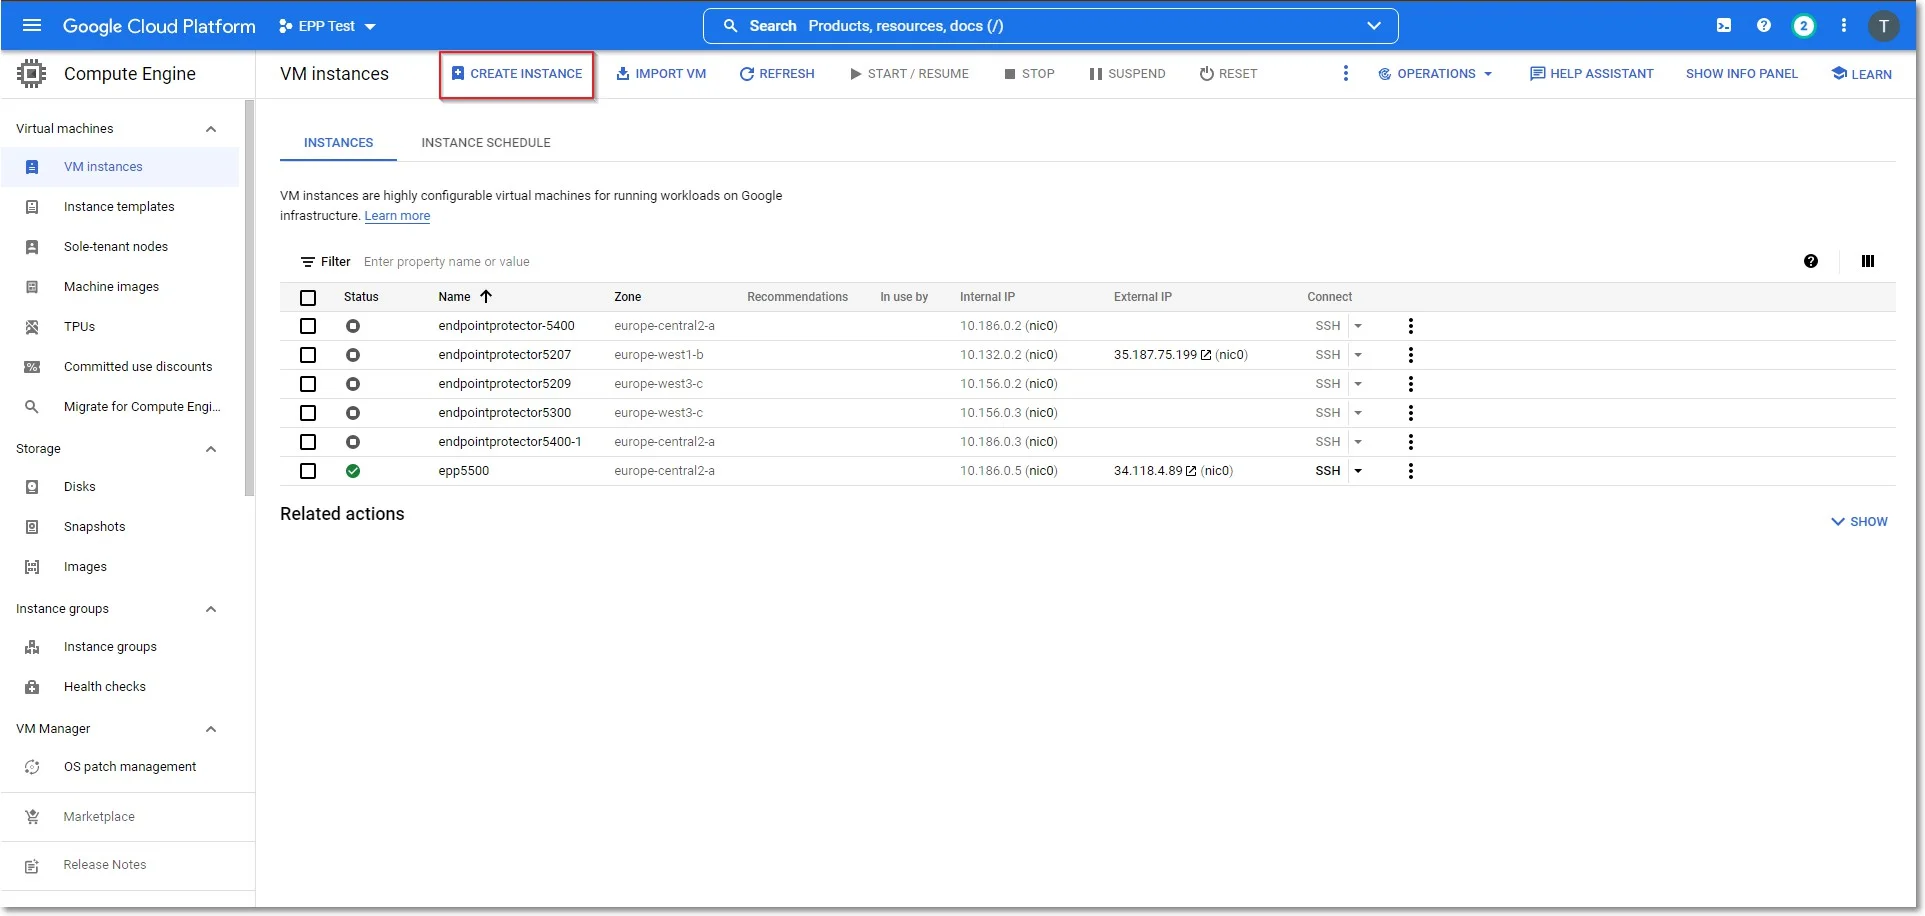
Step 1 – In the Google Cloud Platform Console, go to the VM Instances page and click Create instance.
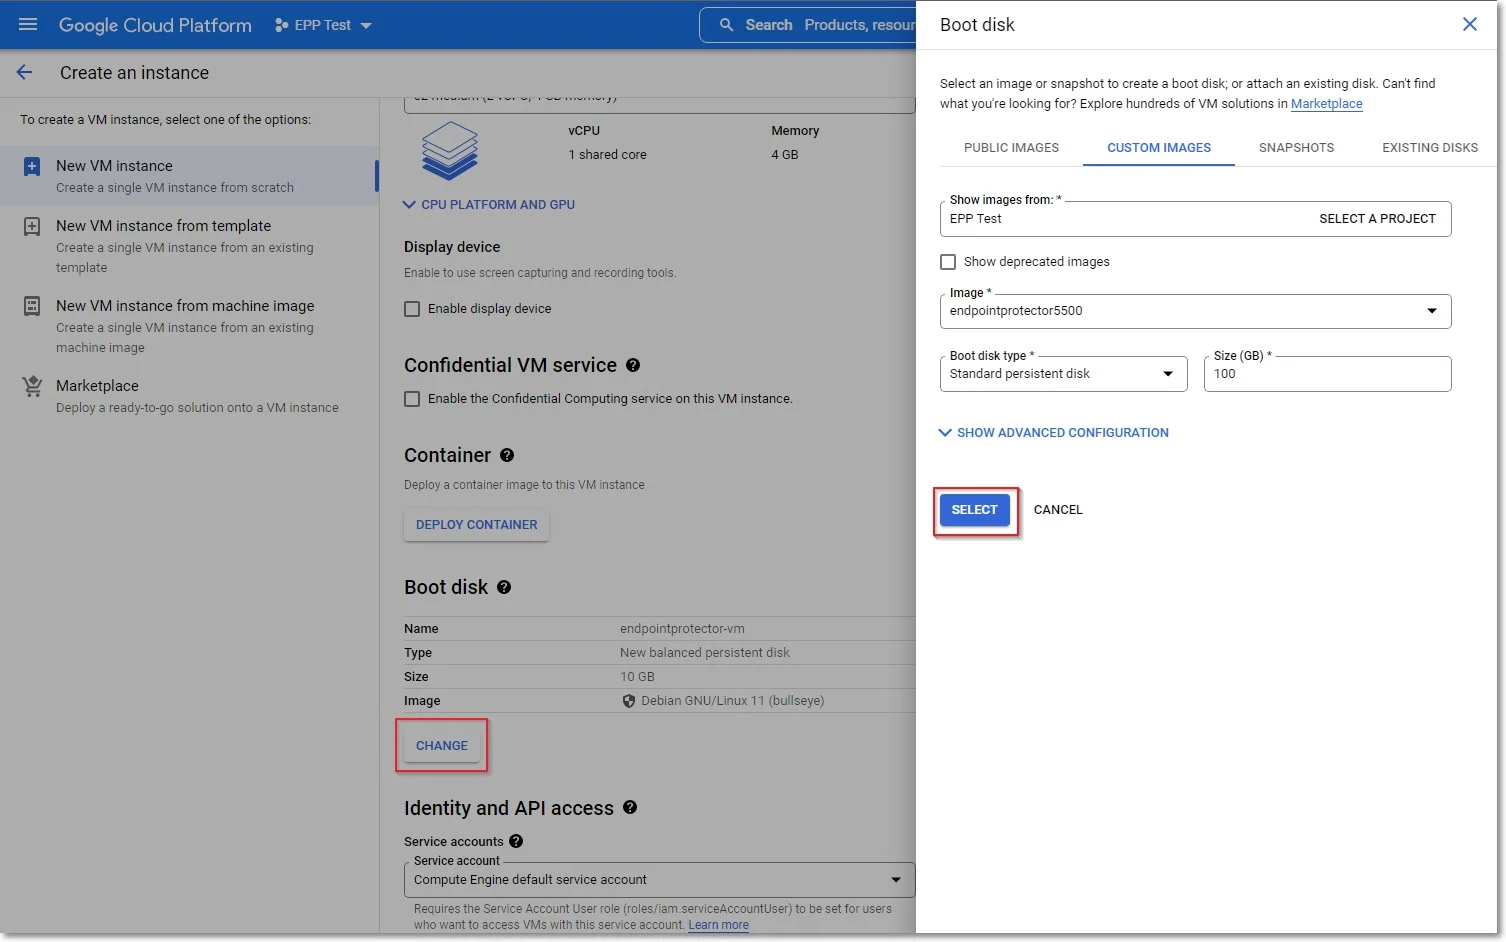
Step 2 – In the Boot disk section, click Change to begin configuring your boot disk and on the Custom Images tab, fill in the following:
- Image - select the image you imported
- Boot disk type - select Standard persistent disk
- Size – add a size larger than the Endpoint Protector image size received
- Click Select to confirm the boot disk configuration.
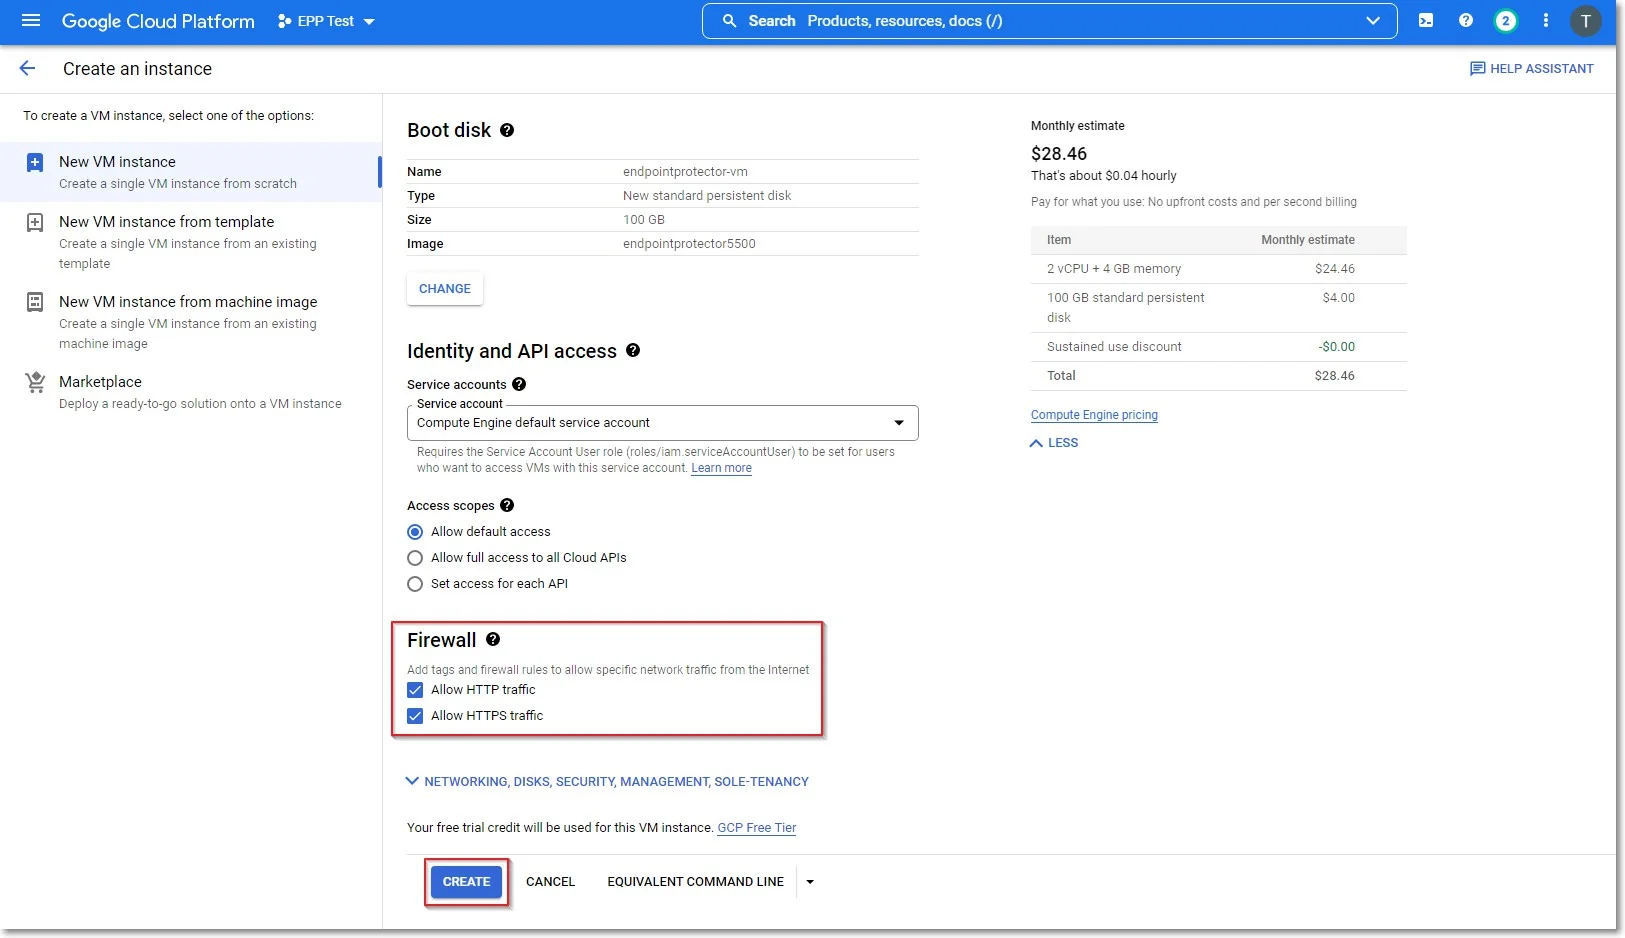
Step 3 – On the Firewall section, select Allow HTTP traffic and Allow HTTPS traffic, and then click Create.
Requesting a Static IP
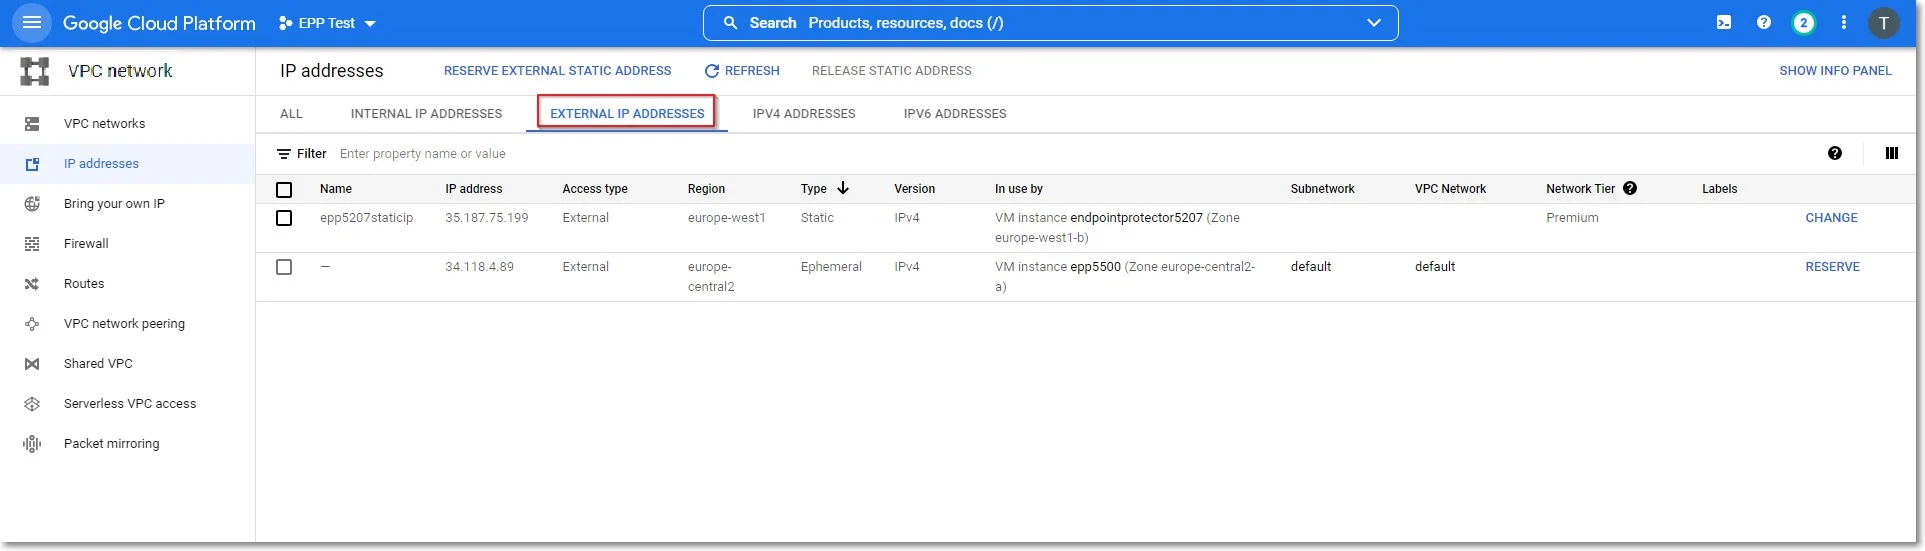
You will need to request a static IP so the Endpoint Protector Clients can communicate with the same IP Address in case of an instance restart.
Without a Static IP (Elastic IP) the instance will assign a new IP address every time it is restarted and the Endpoint Protector Clients have to be reinstalled.
To request a Static IP, go to IP addresses and select the External IP addresses tab.
Create Firewall Rules
To create a Firewall rule, on the Google Cloud Platform Console, follow these steps:
Step 4 – Go to the Firewall page and select default-allow-ssh;

Step 5 – Click Edit and on the Protocols and ports section provide the following information:
- select Specified protocols and ports
- check the tcp box and enter 64848
