How to Install UWP applications using Endpoint Policy Manager Remote Work Delivery Manager
Using the Azure VPN Client UWP application as an example, this article will cover the steps needed to install the Azure VPN Client using either the Standard Policy (SMB/UNC) Method) or Web Policy Method.
NOTE: It's up to the customer to ensure the UWP applications being used are legitimate Microsoft applications and that the applications are signed by Microsoft.
Using the Standard Policy (SMB/UNC) Method
Step 1 – Download the UWP application bundle from the Microsoft Store. You can use the Microsoft Store link for the application at this site (use at your own risk) to download the application bundle: https://store.rg-adguard.net/
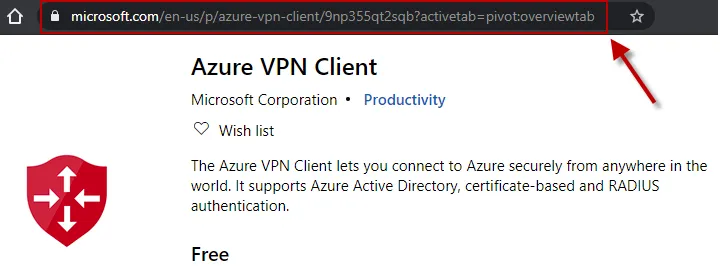
Copy the Microsoft Store link for the UWP Application:
https://www.microsoft.com/en-us/p/azure-vpn-client/9np355qt2sqb?activetab=pivot:overviewtab
Then use the link at https://store.rg-adguard.net/:
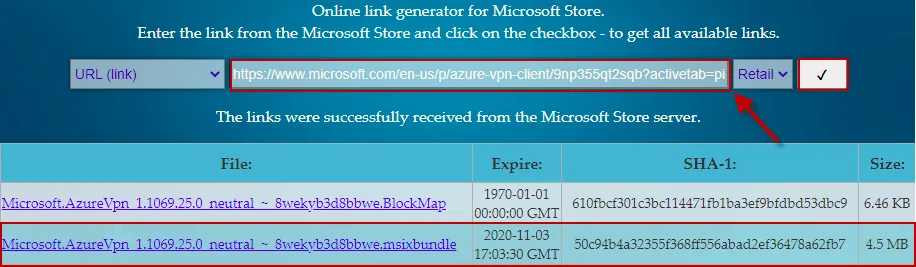
Step 2 – Download the UWP application bundle, and store it on a UNC path that is accessible from your endpoint computers, i.e.
\\server\share\Microsoft.AzureVpn_1.1069.25.0_neutral___8wekyb3d8bbwe.Msixbundle
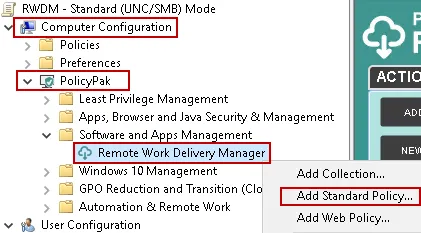
Step 3 – Then using the Microsoft Group Policy Management Console (GPMC) create a new Netwrix Endpoint Policy Manager (formerly PolicyPak) RWDM Standard Policy on either the Computer or User side.
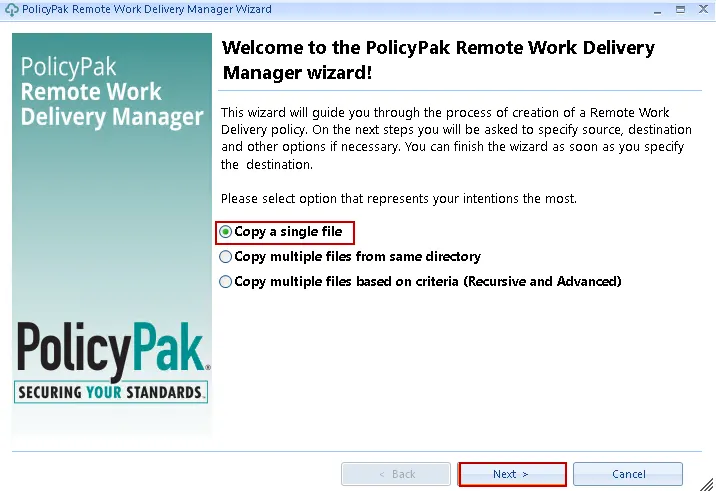
Step 4 – At the Welcome to the Endpoint Policy Manager Remote Work Delivery Manager wizard! screen choose Copy a single file, then click Next.
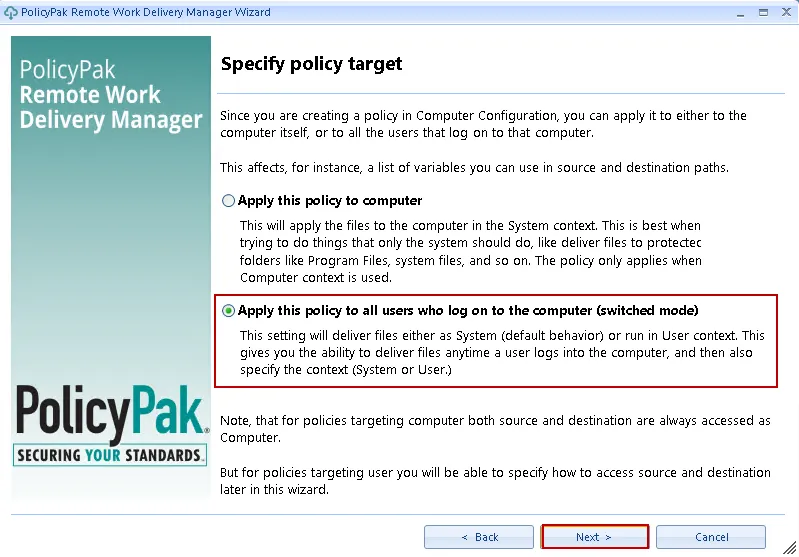
Step 5 – At the Specify policy target screen choose Apply this policy to all users who log on to the computer (switched mode), then click Next.
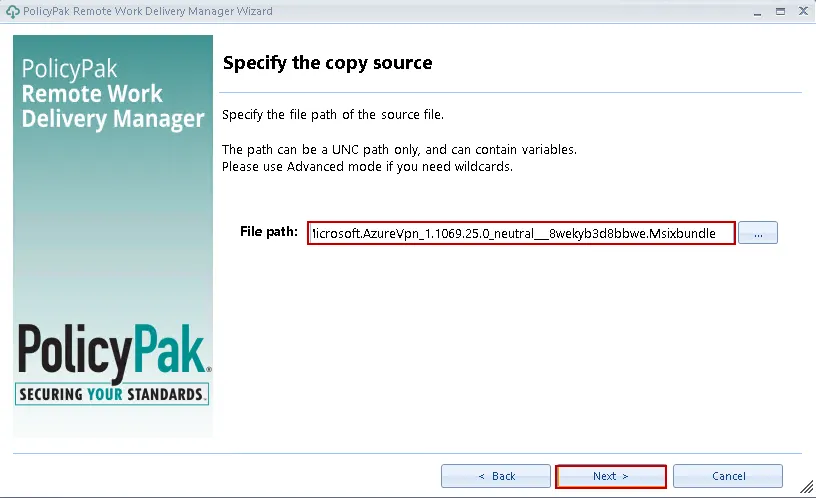
Step 6 – At the Specify the copy source screen use the UNC path for the UWP application bundle from Step 2 above, then click Next.
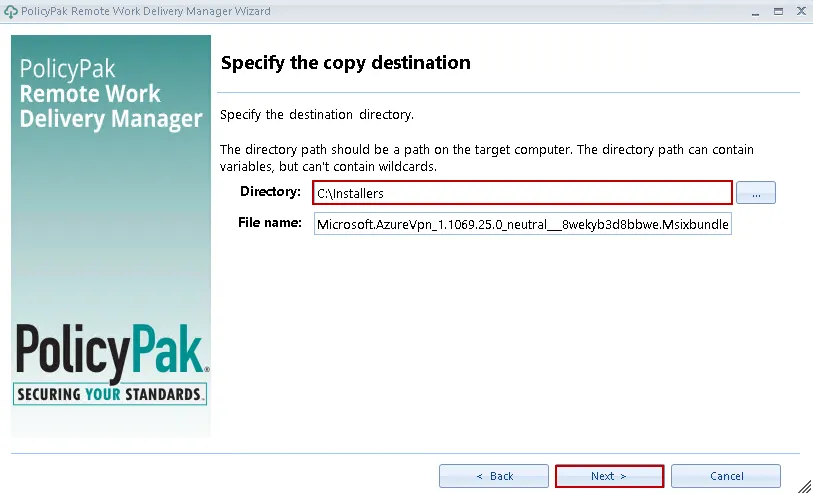
Step 7 – At the Specify the copy destination specify the target folder on the endpoint(s) where you would like the UWP application to be downloaded to, leave the File name field as is, then click Next. The target folder will be created if it does not exist.
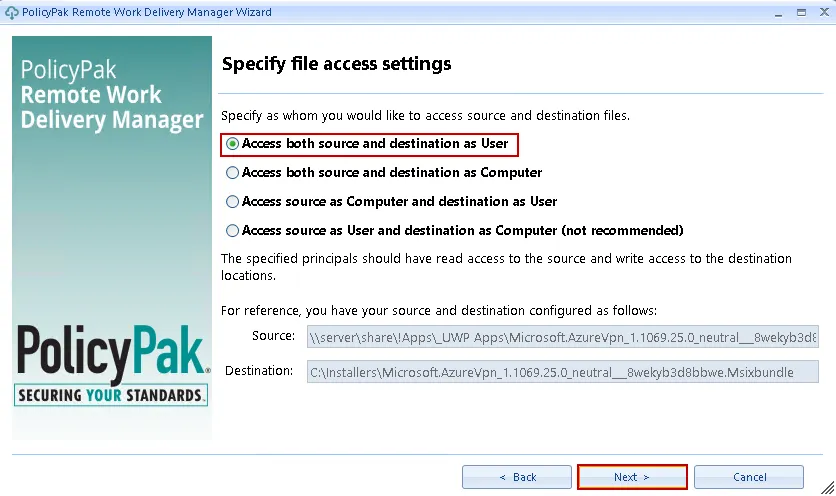
Step 8 – At the Specify file access settings screen accept the default values and click Next.
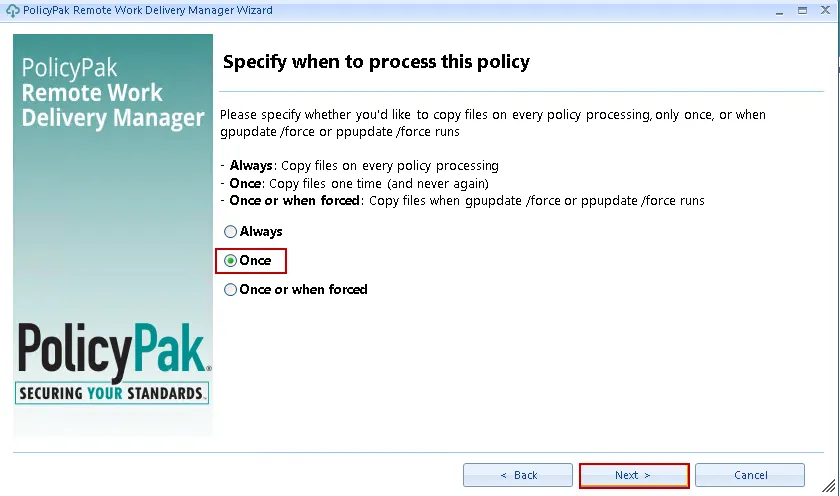
Step 9 – At the Specify when to process this policy screen select Once and click Next.
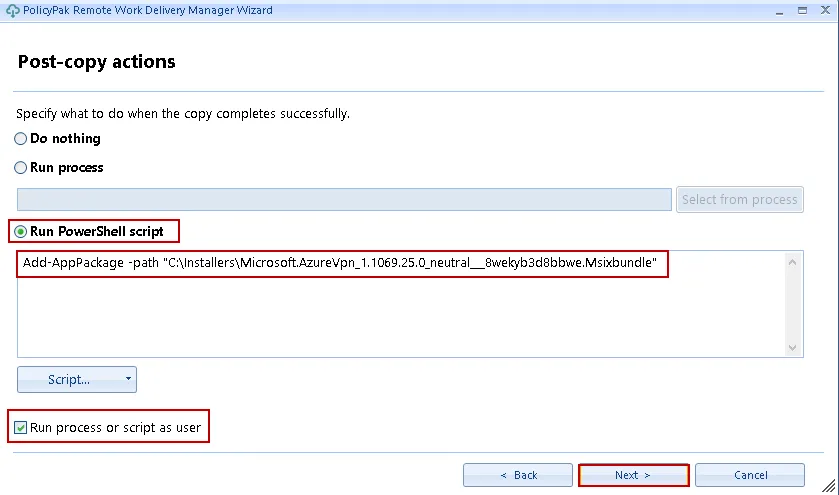
Step 10 – At the Post-copy actions" screen select the Run PowerShell script, and Run process or script as user options and add the command line below
Add-AppPackage -path "C:\Installers\Microsoft.AzureVpn_1.1069.25.0_neutral___8wekyb3d8bbwe.Msixbundle"
Step 11 – Optional: At the Revert actions screen add a revert action, otherwise click Next to skip.
You are done, give the Policy a descriptive name then click Finish.
Using the Web Policy (Azure Blob storage, Dropbox, etc.) Method:
Step 1 – Download the UWP application bundle from the Microsoft Store. You can use the Microsoft Store link for the application at this site (use at your own risk) to download the application bundle: https://store.rg-adguard.net/
Copy the Microsoft Store link for the UWP Application:
https://www.microsoft.com/en-us/p/azure-vpn-client/9np355qt2sqb?activetab=pivot:overviewtab
Then use the link at https://store.rg-adguard.net/:
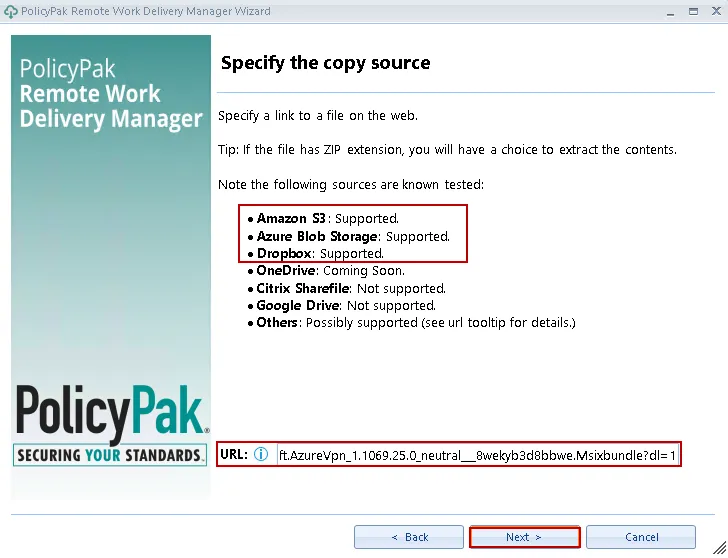
Step 2 – Download the UWP application bundle, then upload it to a Endpoint Policy Manager supported web storage source. The following web sources are currently supported:
- Amazon S3
- Azure Blob Storage
- Dropbox
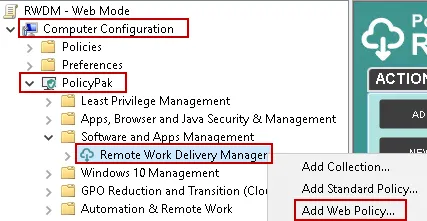
Step 3 – Using the Microsoft Group Policy Management Console (GPMC) create a new Endpoint Policy Manager RWDM Web Policy on either the Computer or User side.
Step 4 – At the Specify policy target screen select Apply this policy to all users who log on to the computer (switched mode), then click Next.
Step 5 – At the Specify the copy source window add the direct download link for the UWP application, then click Next.
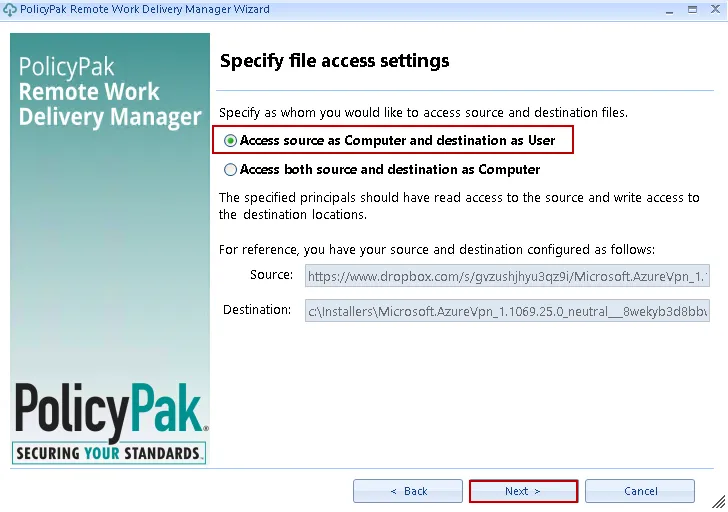
NOTE: In this example, we are using a temporary link created for Dropbox: https://www.dropbox.com/s/gvzushhyu2qz9i/Microsoft.AzureVpn_1.1069.25.0_neutral___8wekyb3d8bbwe.Msixbundle?dl=1. Do not use this link, it is provided only as an example and will not work, please create a new link to use.
Step 6 – Wait for the link to be validated. If it fails, verify that you are using a direct download link, that is, paste the link into a browser to see if the file auto-downloads.

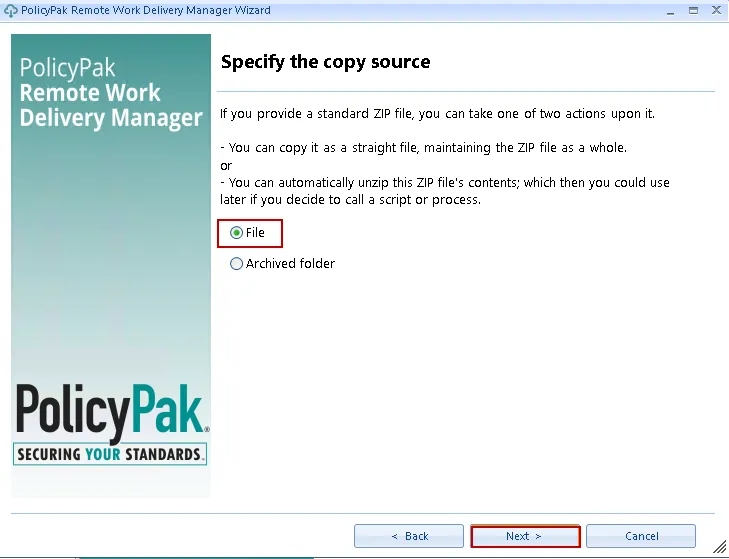
Step 7 – In the Specify the copy source window select File and click Next.
Step 8 – In the Specify the copy destination window, specify the target folder on the endpoint(s) where you would like the UWP application to be downloaded to, leave the File name as is, then click Next. The target folder will be created if it does not exist.
Step 9 – In the pecify file access settings window accept the defaults and click Next.
Step 10 – In the Specify when to process this policy window select Once, then click Next.
Step 11 – In the Post-copy actions window choose the Run PowerShell script, and Run process or script as user options, then add the command line below
Add-AppPackage -path "C:\Installers\Microsoft.AzureVpn_1.1069.25.0_neutral___8wekyb3d8bbwe.Msixbundle"
Step 12 – Optional: At the Revert actions screen add a revert action, otherwise click Next to skip.
Step 13 – You are done, give the Policy a descriptive name then click Finish.