Add-Ons
The Netwrix Auditor Add-on Store contains free add-ons developed by Netwrix and your peers in the community. The add-ons help you leverage integration between your on-premises or cloud applications and Netwrix Auditor.
The list of available add-ons keeps growing because with the new RESTful API, the integration capabilities of Netwrix Auditor are unlimited. Netwrix encourages users to develop add-ons, upload them to Netwrix website, and share with community.
Benefits:
- Centralize auditing and reporting of your IT environment — Netwrix unifies auditing of all IT systems across your on-premises, cloud or hybrid environment, and enables centralized reporting for security and compliance.
- Get the most from your SIEM investment — To maximize SIEM value, Netwrix increases the signal-to-noise ratio and feeds your HP ArcSight, Splunk, IBM QRadar or any other SIEM solution with much more granular audit data.
- Automate your IT workflows — Automate and improve your change management, service desk and other critical IT workflows by feeding them audit data from Netwrix.
Review the following for additional information:
Available Add-Ons
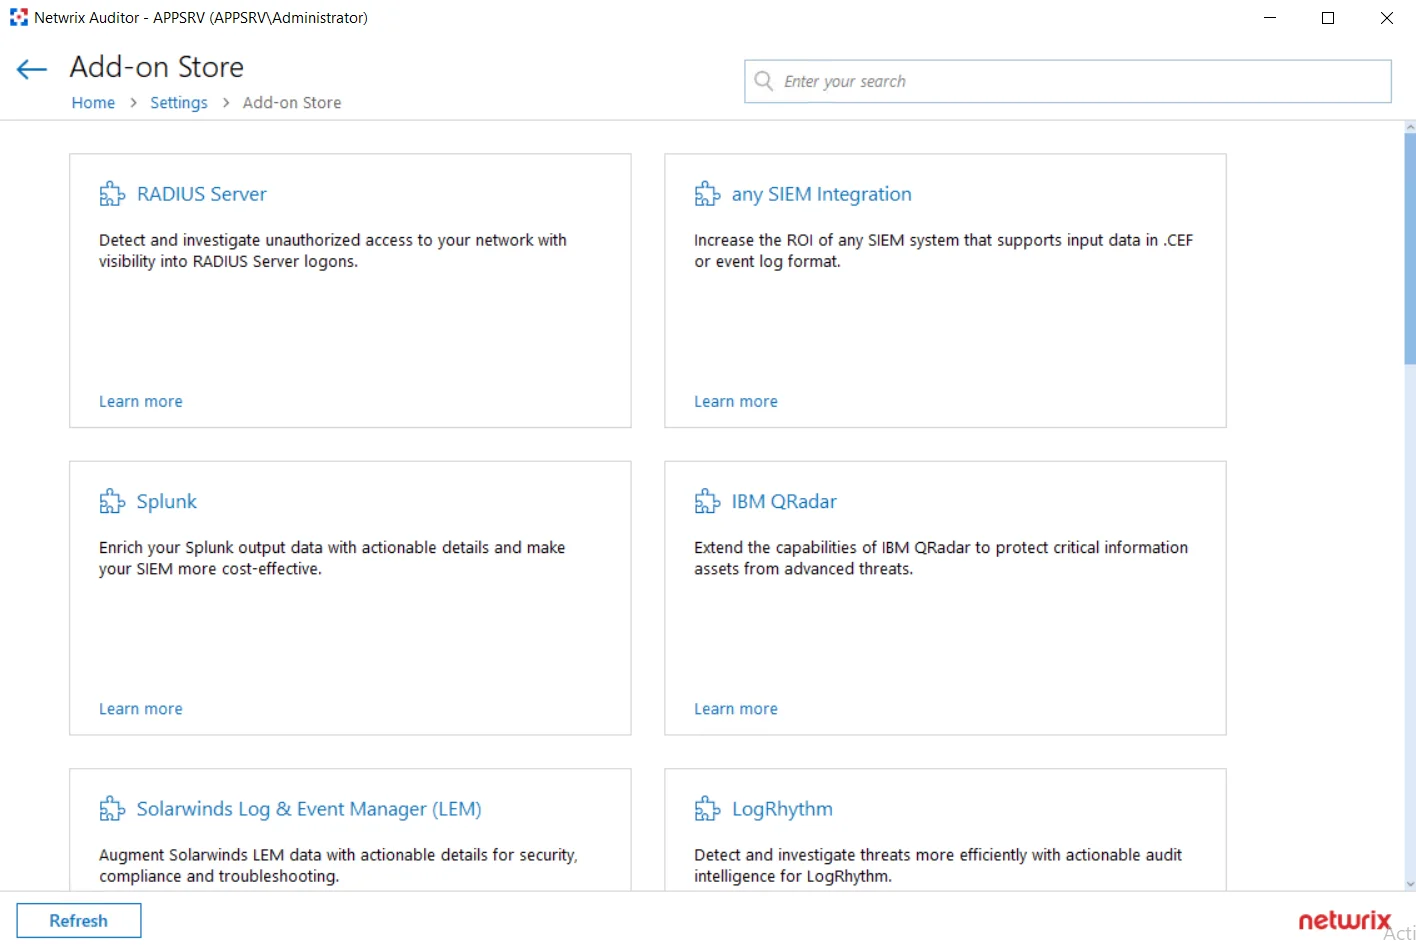
The following add-ons were verified and posted in Add-ons Store. You can get add-ons within the product. To do so, navigate to Settings > Integrations and click Go to add-on store button. The following menu will appear:
Netwrix Auditor Integration API uses HTTPS with an automatically generated certificate for running requests to its endpoints. By default, add-ons are configured to accept all certificates that is appropriate for evaluation purposes and allows running the script without adjusting.
Refer to Security for detailed instructions on how to assign a new certificate and enable trust on remote computers.
Use Add-Ons
Before your start working with the add-on, go through its quick-start guide at Netwrix Documentation page. Each guide contains detailed instructions for deploying and running the add-on, as well as prerequisites and configuration settings. Generic steps are described below.
Follow the steps to use the add-on.
Step 1 – Check prerequisites. Since the add-ons work only in combination with Netwrix Auditor, make sure that Netwrix Auidtor and its Audit Database are configured, and roles are assigned properly.
Step 2 – Specify parameters required for add-on operation. Before running or scheduling the add-on, you should define configuration details like Netwrix Auditor Server host, user credentials, etc.
Step 3 – Choose appropriate deployment scenario, then install and start the add-on. For example, if the add-on is implemented as a service, you will need to run the installation file that will deploy and start that service automatically.
Step 4 – If you are using a PowerShell-based add-on, run it from a command line: start Windows PowerShell and provide parameters. First, provide a path to your add-on followed by script parameters with their values. Each parameter is preceded with a dash; a space separates a parameter name from its value. You can skip some parameters—the script uses a default value unless a parameter is explicitly defined. If necessary, modify the parameters as required.
Step 5 – Review the add-on operation results. For example, if you are using the add-on that imports data to Netwrix Auditor, you can search Activity Records in the Netwrix Auditor client.

Step 6 – (optional) For PowerShell based add-ons, you can schedule a daily task to ensure your audit data is always up-to-date.