Install Application
Netwrix Activity Monitor comes with a 10-day trial license to start. If an organization's license key has been acquired already, which should be provided by a Netwrix Representative, the file should be saved in the same location where the Activity Monitor will be installed.
Follow the steps to install the Netwrix Activity Monitor Console.
Step 1 – Run the NetwrixActivityMonitorSetup.msi executable to open the Netwrix Activity Monitor Setup wizard.
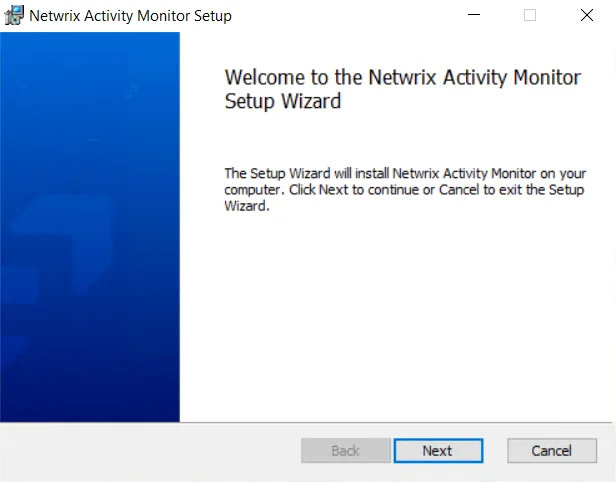
Step 2 – On the Activity Monitor Setup Wizard welcome page, click Next .
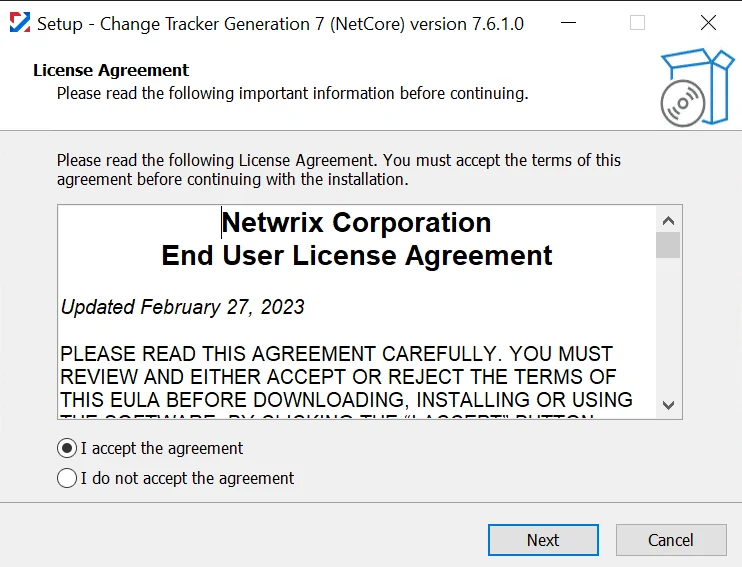
Step 3 – On the End User License Agreement page, check the I accept the terms in the License Agreement box and click Next.
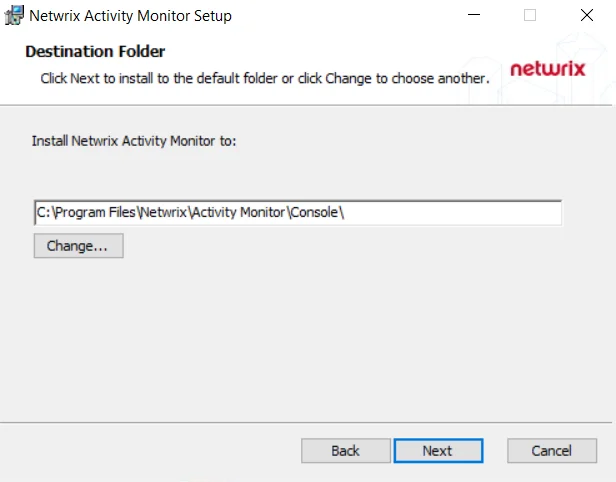
Step 4 – On the Destination Folder page, select a destination folder for Activity Monitor. The
default destination folder is C:\Program Files\Netwrix\Activity Monitor\Console\. Click Next.
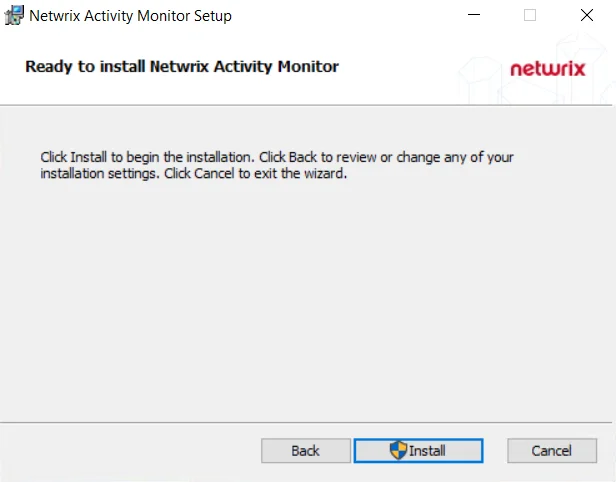
Step 5 – Click Install to begin installation.
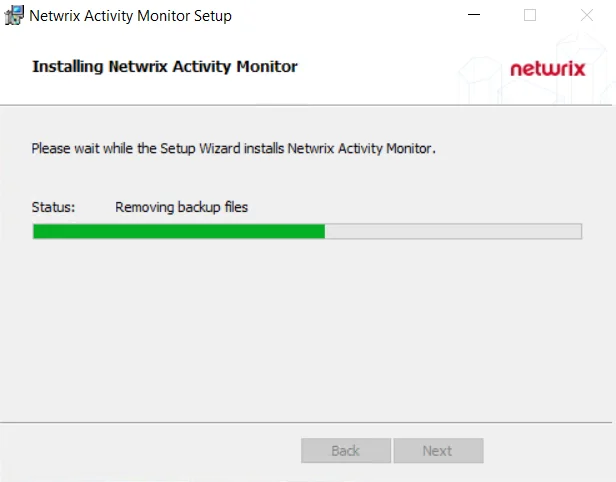
Step 6 – The installer displays a status page during the installation process. Wait for the next window to appear when the status is complete.
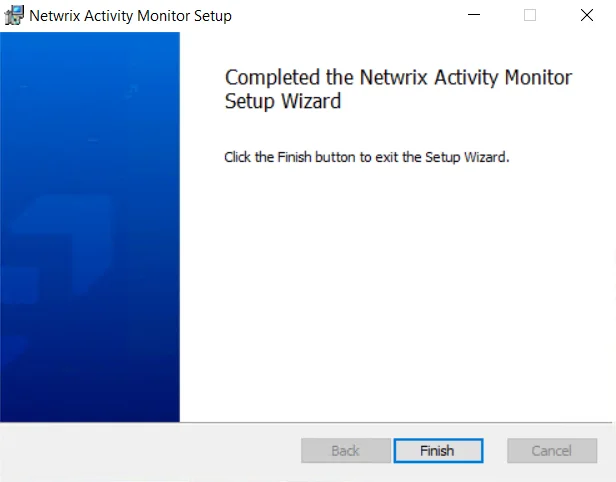
Step 7 – Once installation is complete, click Finish.
The setup wizard closes and the Activity Monitor Console opens.
The Activity Monitor Console installs with a 10-day, 1-host license key. After completing the installation, see the Import License Key topic for instructions on importing an organization’s license key.
Import License Key
The Activity Monitor comes with a temporary 10-day license. Uploading a new license key or importing a Enterprise Auditor key can be done from the Activity Monitor Console. If the Activity Monitor Console is installed on a server where Enterprise Auditor has already been installed, it reads the license information from the Enterprise Auditor installation directory.
Follow the steps to import a license key file.
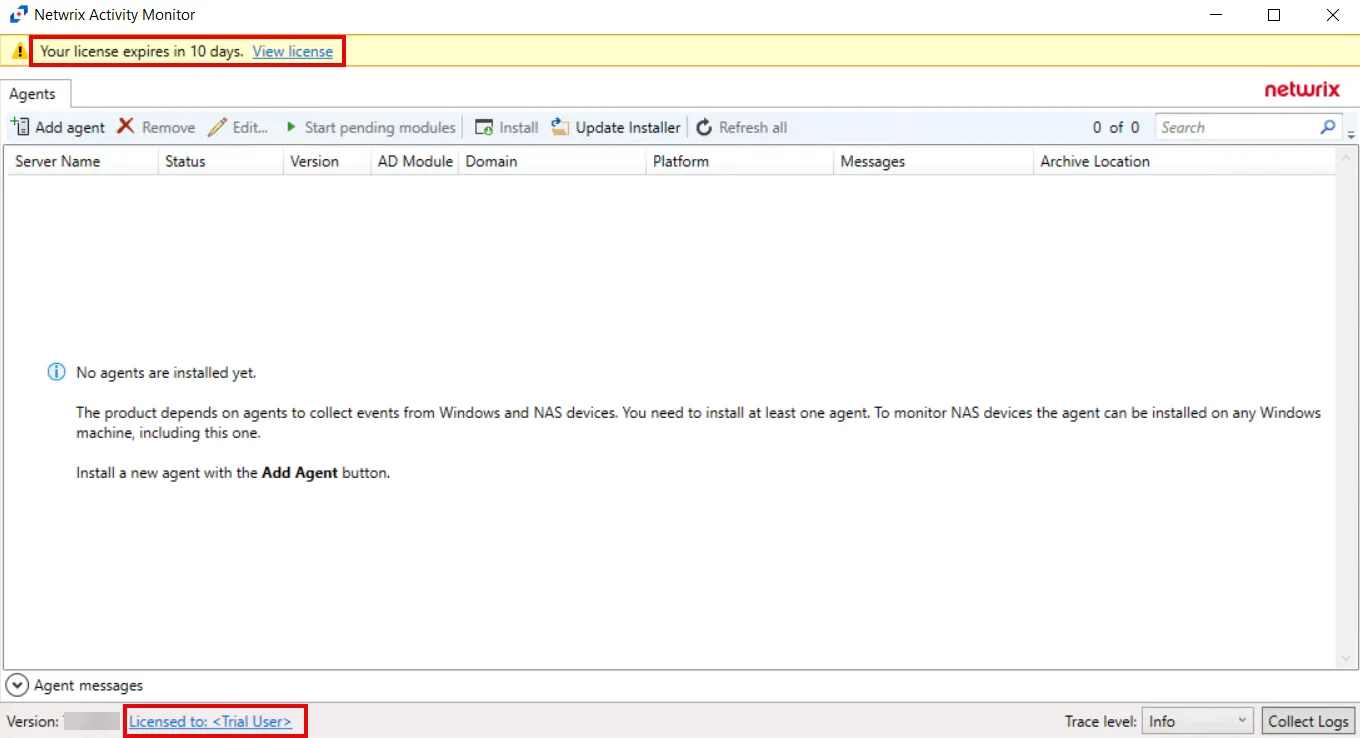
Step 1 – Click the Licensed to: <Trial User> hyperlink in the lower-left corner of the Console. Alternatively, click the View License link in the yellow warning bar at the top. The License Information window opens.
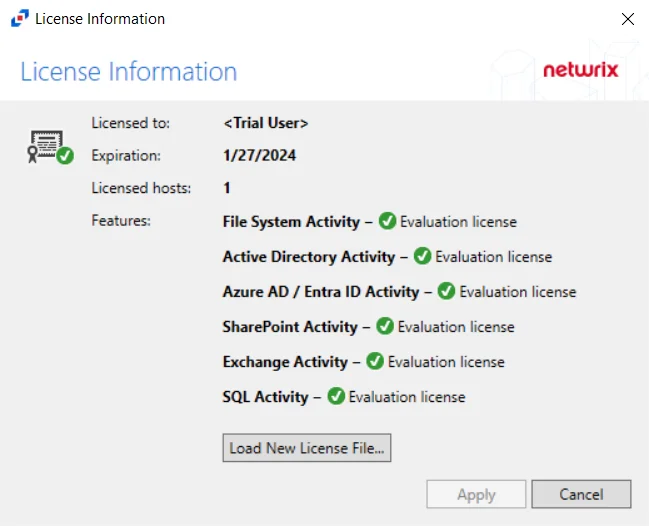
Step 2 – Click Load New License File and navigate to where the key is located. A Windows file explorer opens.
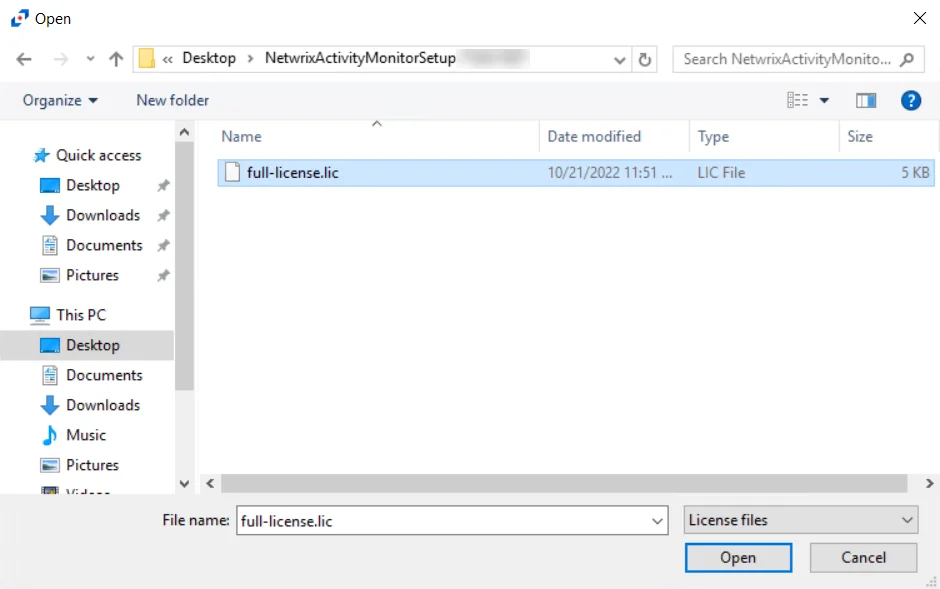
Step 3 – Select the .lic file and click Open. The selected license key is then read.
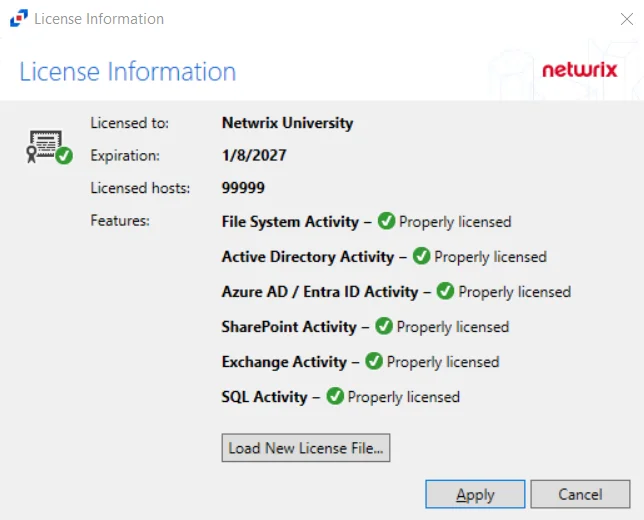
Step 4 – In the License Information window, click Apply to import the License Key.
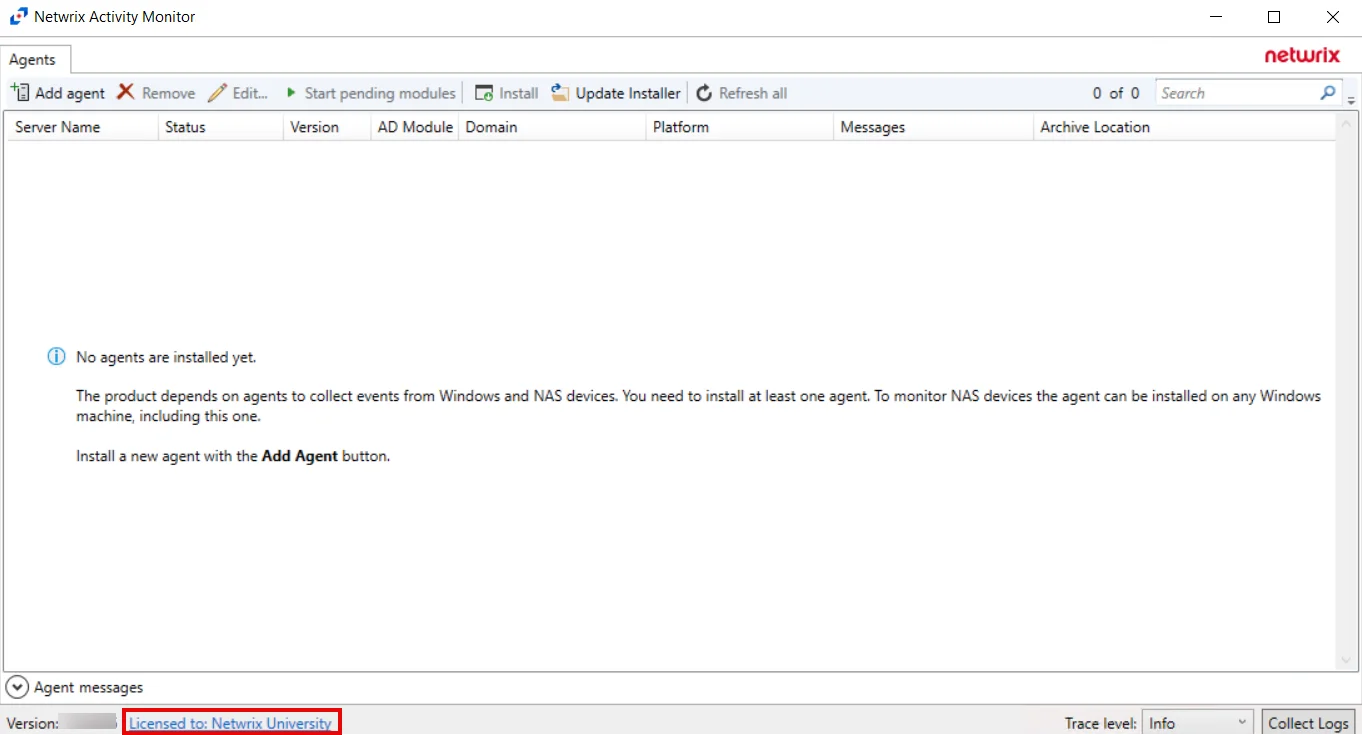
Step 5 – The organization's license key is now imported into the Activity Monitor. The Console returns to the Agents tab and is ready to deploy activity agents.
NOTE: License keys are crafted for companies based on their preference for Active Directory, Microsoft Entra ID (formerly Azure AD), File System, SharePoint, and SharePoint Online monitoring. Any environment that is omitted from the license has its corresponding features disabled.
Once a key has expired, the Console displays an Open License File… option for importing a new key. Once a new key is loaded, the Console returns to the Agents tab.