Agent Information
The Activity Monitor agents perform real-time monitoring of the events occurring across supported systems and applications. There are three types of agents:
-
Activity Agent – Deploy this agent to monitor:
-
Exchange Online – Activity Agent must be deployed to a Windows server that acts as a proxy for monitoring the target environment
-
Microsoft Entra ID – Activity Agent must be deployed to a Windows server that acts as a proxy for monitoring the target environment
-
Network Attached Storage Devices – Activity Agent must be deployed to a Windows server that acts as a proxy for monitoring the target environment
RECOMMENDED: The proxy Windows server should be close to the NAS device in the network to decrease latency
- For Dell devices – The agent server must have CEE installed
-
SharePoint – Activity Agent must be deployed to the SharePoint Application server that hosts the “Central Administration” component of the SharePoint farm
-
SharePoint Online – Activity Agent must be deployed to a Windows server that acts as a proxy for monitoring the target environment
-
SQL Server – Activity Agent must be deployed to a Windows server that acts as a proxy for monitoring the target environment
-
Windows File Server – Activity Agent must be deployed to the server. It cannot be deployed to a proxy server.
- Credentials used for deployments must also be provisioned for monitoring
-
-
AD Agent – Deploy this agent to monitor Active Directory. The AD Agent is deployed to every domain controllers to monitor Active Directory domains.
-
Linux Agent – Deploy this agent to monitor Linux File Servers. The Linux Agent is deployed to Linux servers to be monitored.
- Credentials used for deployments must also be provisioned for monitoring
In order to perform centralized agent maintenance from the application console server, WMI must be enabled on the machine where the agent is installed.
You will need the following information to deploy agents from the console:
- Server name – Name or an IP Address of the server
- Credentials – Account used to deploy must be a member of the BUILTIN\Administrators group on the target server
See the Agents Tab topic for additional information on how to deploy agents using console.
The Activity Monitor Agent may also be deployed manually. Use one of the following to manually install an agent:
Manually Install the Activity Agent
The Netwrix Activity Monitor Agent can be deployed via the console or manually.
Follow the steps to manually install the agent.
Step 1 – Navigate to the Activity Monitor Console installation path and locate the agent installation package. The default location is:
C:\Program Files\Netwrix\Activity Monitor\Console\Agents\x64\SBFileMonAgent.msi
Step 2 – Copy the Activity Monitor agent installation package to the target server.
Step 3 – Click the Activity Monitor agent installation package and the Wizard opens.
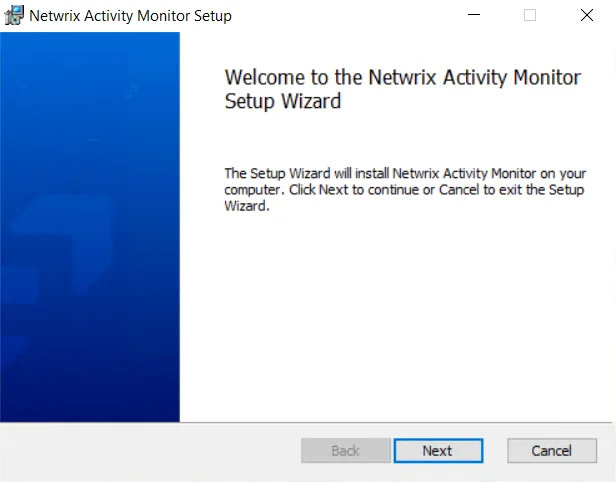
Step 4 – On the welcome page click Next.
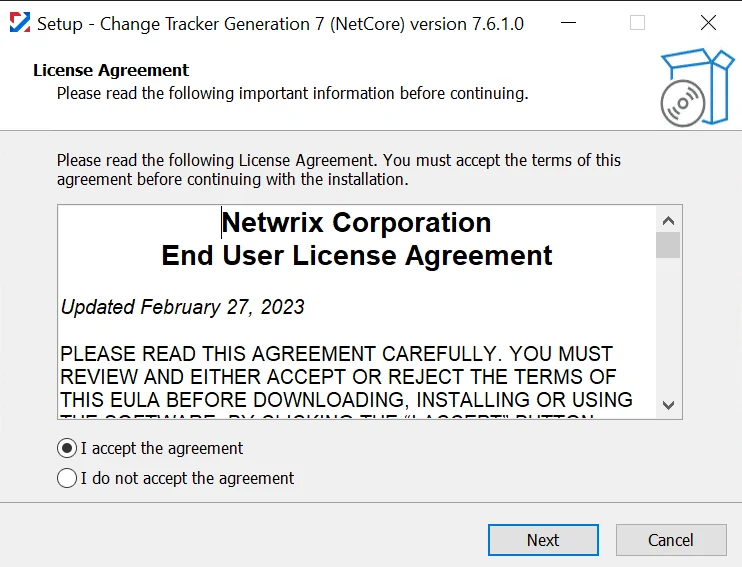
Step 5 – On the End-User License Agreement page, select the I accept the terms in the License Agreement option and click Next.
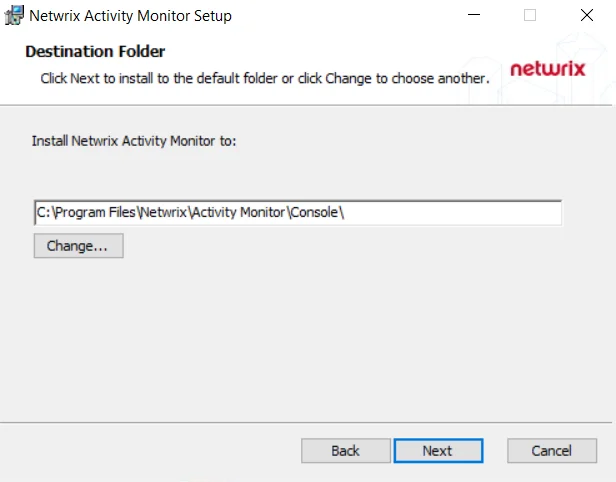
Step 6 – (Optional) On the Destination Folder page, click Change to change the installation directory location.
Step 7 – Click OK on the Change destination folder page to return to the Destination folder page. Click Next.
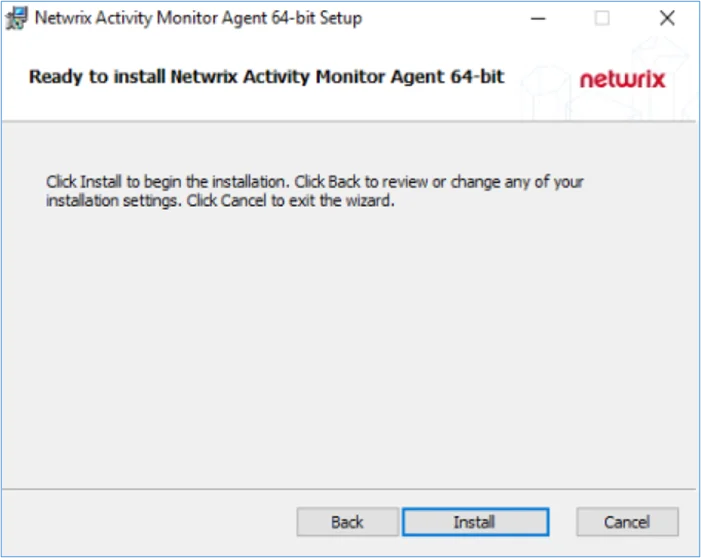
Step 8 – On the Ready to install page, click Install. The installation process begins. The Setup wizard displays the installation status.
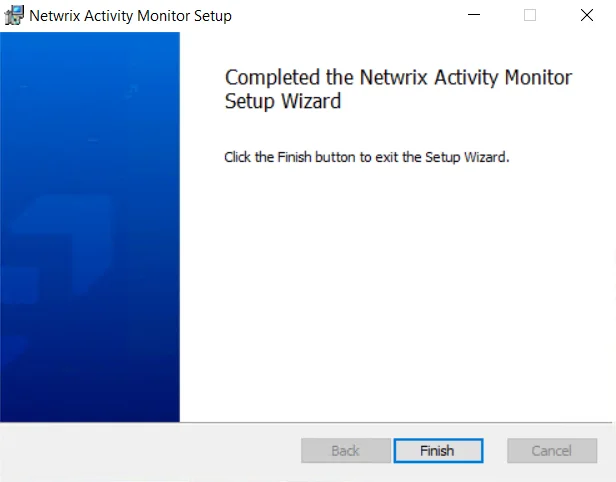
Step 9 – When installation is complete, click Finish.
(Optional) Command Line Installation
If needed, the following command line options can be used with extra logging and install options. The Activity Monitor Agent command line has the following parameters:
-
AGENT_PORT
- To specify Activity Monitor Agent port.
- Default value: “4498”
- AGENT_PORT=1234
-
AGENTINSTALLLOCATION
- To specify the Activity Monitor Agent installation path.
- Default value: “C:\Program Files\Netwrix\Activity Monitor\Agent”
- AGENTINSTALLLOCATION=“D:\AMAgent”
-
MANAGEMENT_GROUP
- To specify the Activity Monitor Agent Management Group (This allows user to limit users in the specified group to manage agents, but does not allow users in specified group to install, upgrade, or uninstall agents).
- Default value: “BUILTIN\Administrators”
- MANAGEMENT_GROUP=AMDOMAIN\AMGROUP
-
/l*v
- To include verbose install logging.
- /l*v "C:\amagent.log"
NOTE: If installation fails, locate the log file, and search for "Return value 3". The lines above "Return value 3" should contain information on what caused the installation to fail.
-
/qn
- To install the agent in quiet / Unattended Mode (without UI)
Example:
msiexec.exe /i C:\SBFileMonAgent.msi AGENT_PORT=1234 AGENTINSTALLLOCATION=“D:\AMAgent” MANAGEMENT_GROUP=AMDOMAIN\AMGROUP /l*v c:\amagent.log /qn
Add the Activity Agent to the Console
Before deploying the Activity Monitor agent, ensure all Activity Agent Server Requirements have been met, including those for NAS devices when applicable.
NOTE: These steps are specific to deploying activity agents for monitoring file systems, SharePoint, SQL Server, Azure and Office 365 environments. See the Active Directory Agent Deployment section for instruction on deploying the AD agent. See the Linux Agent Deployment topic for instructions on deploying agents to Linux servers.
Follow the steps to deploy the activity agent to a single Windows server.
Step 1 – Open the Activity Monitor Console.
Step 2 – On the Agents tab, click Add Agent. The Add New Agent(s) window opens.
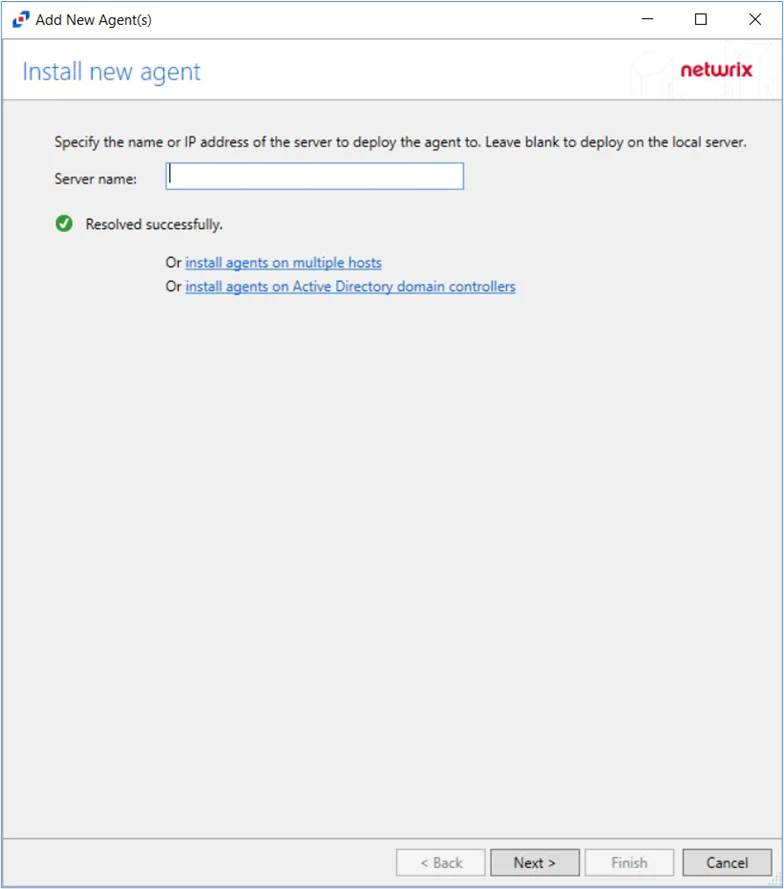
Step 3 – Specify the server name where the agent will be deployed. To add multiple server names, see the Multiple Activity Agents Deployment topic for additional information. Click Next.
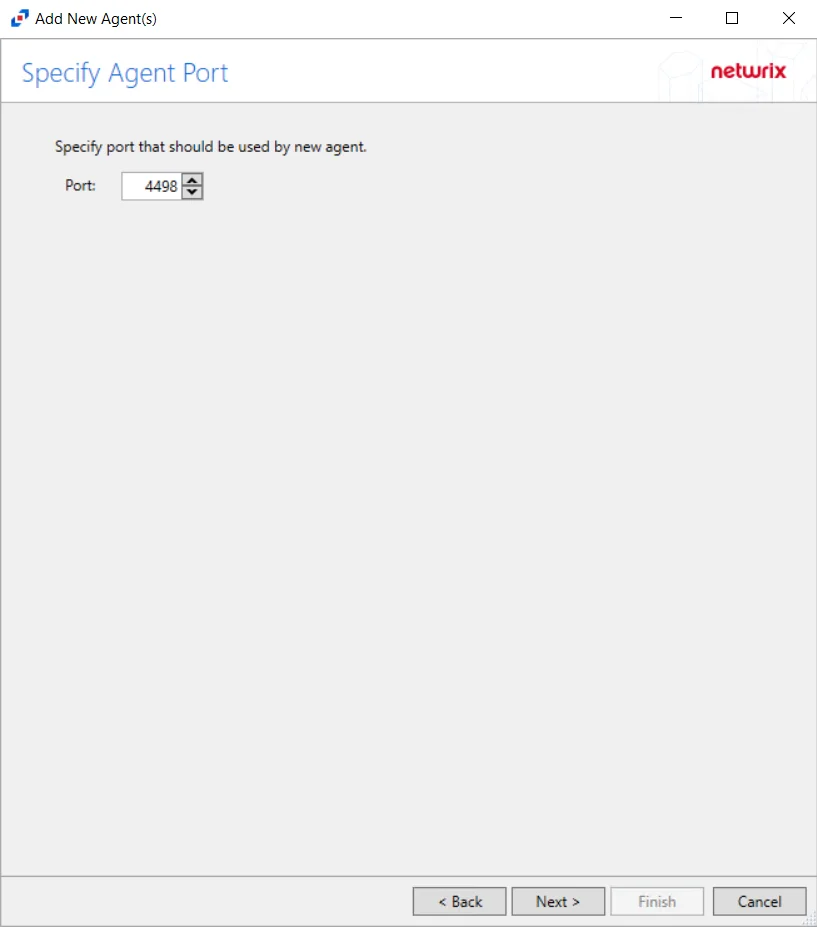
Step 4 – Specify the port to be used for the agent. Click Next.
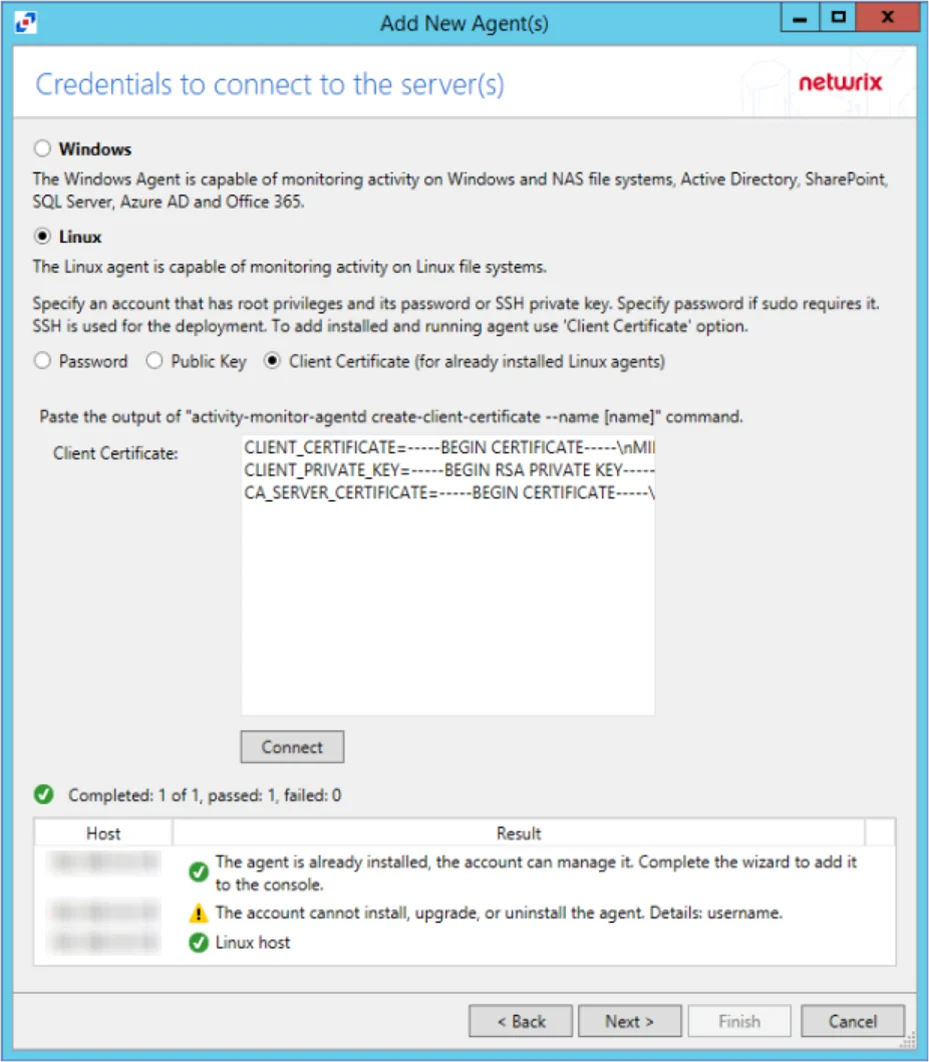
Step 5 – On the Credentials to Connect to the Server(s) page, specify the credentials for the server to which the agent is deployed. See the Single Activity Agent Deployment topic for additional information on credential options. Click Connect.
NOTE: When clicking Connect while adding the Agent to the Console, the connection may fail. When clicking Connect, the Activity Monitor verifies not only its ability to manage the agent but the console's ability to deploy the agent as well. Errors can be ignored if the agent was manually installed.
Step 6 – Regardless of the warning messages that the agent cannot be installed or upgraded, click Next. The console will automatically detect the agent as it is already installed.
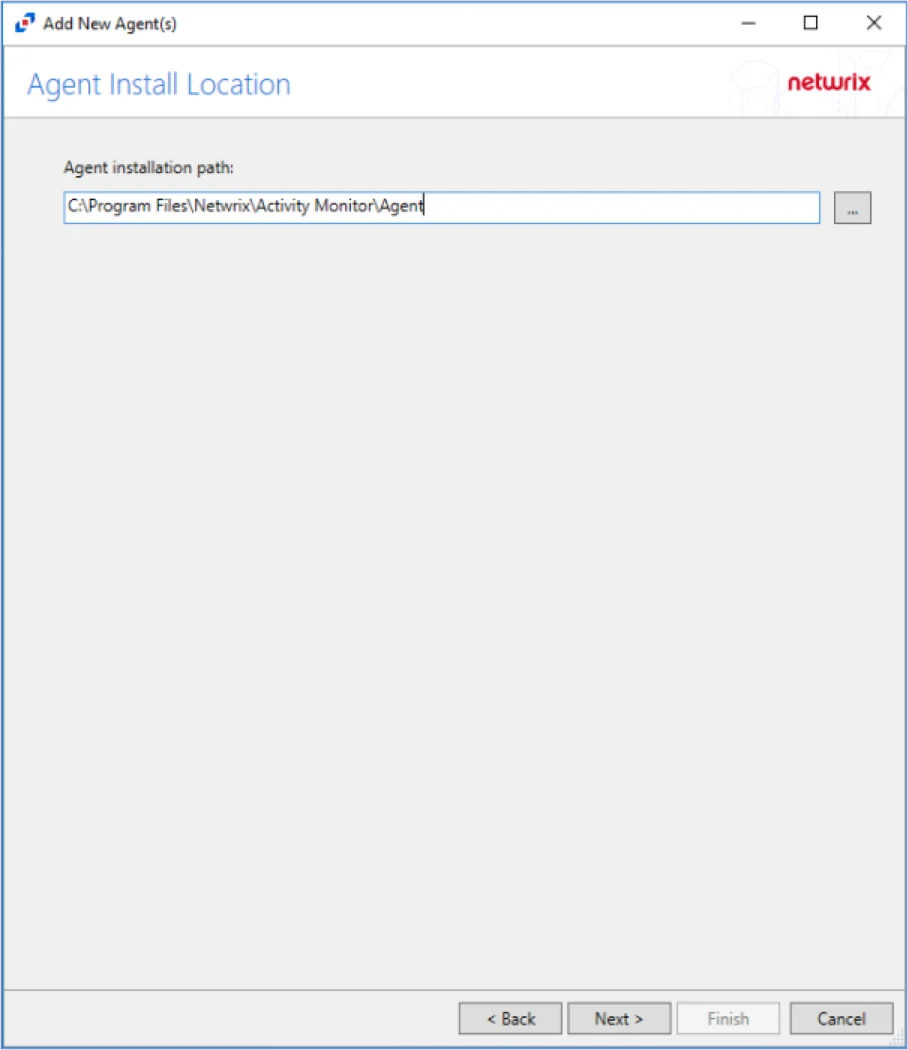
Step 7 – Specify the path of the Activity Monitor Agent, that has already been installed. Click Next.

Step 8 – Specify the Activity Monitor Agent Management Group (if desired). Click Finish.
NOTE: The Activity Monitor Agent Management Group allows users in the specified group to manage agents, but does not allow users in specified group to install, upgrade, or uninstall agents.
The Agent is now added to the Activity Monitor.
During the installation process of the agent, the status will display Installing. If there are any errors, the Activity Monitor stops the installation and lists the errors in the Agent messages box.
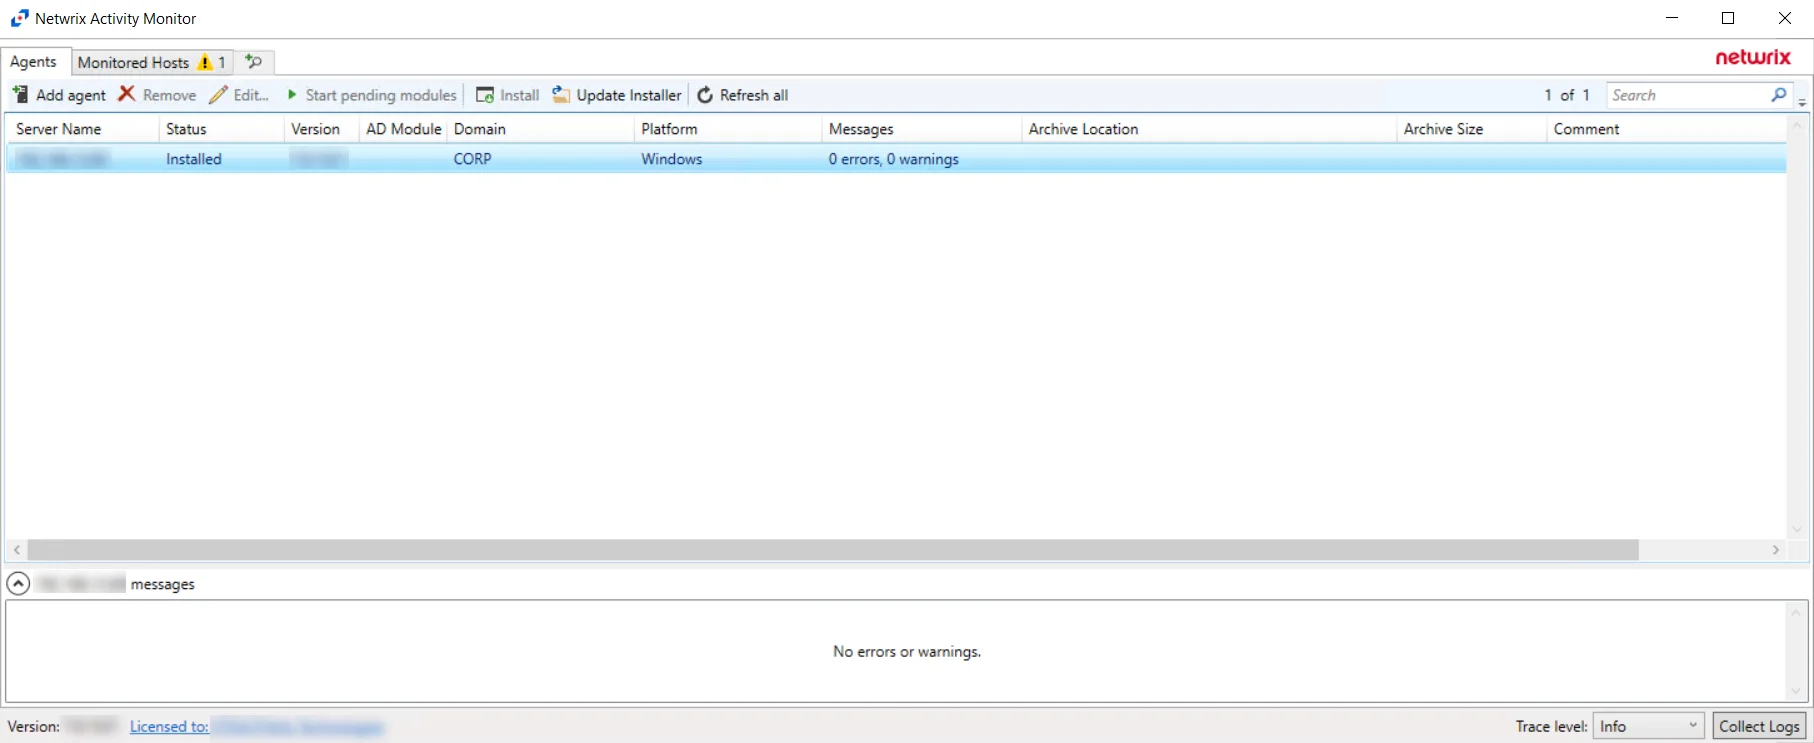
When the Activity Monitor agent installation is complete, the status changes to Installed and the activity agent version populates. The next step is to add hosts to be monitored.
Manually Install the AD Module
The AD Module, powered by Threat Prevention, can only be installed on domain controllers.
Follow the steps to manually deploy the AD Module.
Step 1 – From the Threat Prevention server, copy the Agent executable (
...\Netwrix\Netwrix Threat Prevention\SIEnterpriseManager\Setup\SI Agent.exe) to the machine where
you want to install the Agent. Then run the executable. The Netwrix Threat Prevention Windows Agent
Setup wizard opens.
Step 2 – On the Welcome page, click Install. The Setup Progress page is displayed, followed by another Welcome page.
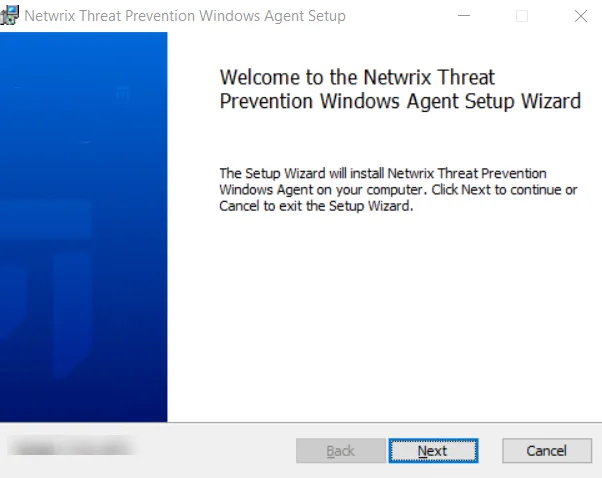
Step 3 – Click Next.
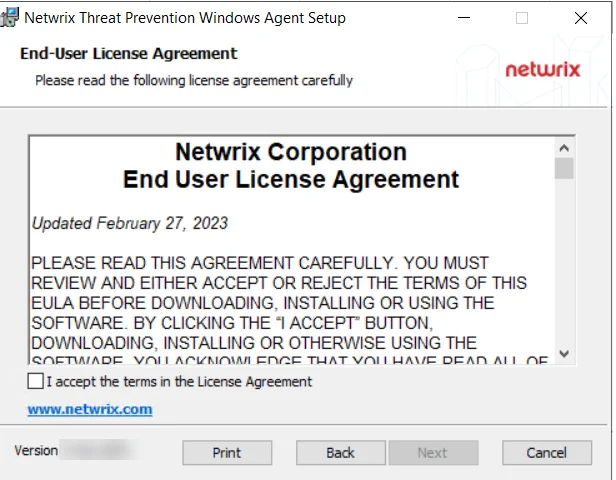
Step 4 – On the End-User License Agreement page, check the I accept the terms in the License Agreement box and click Next.
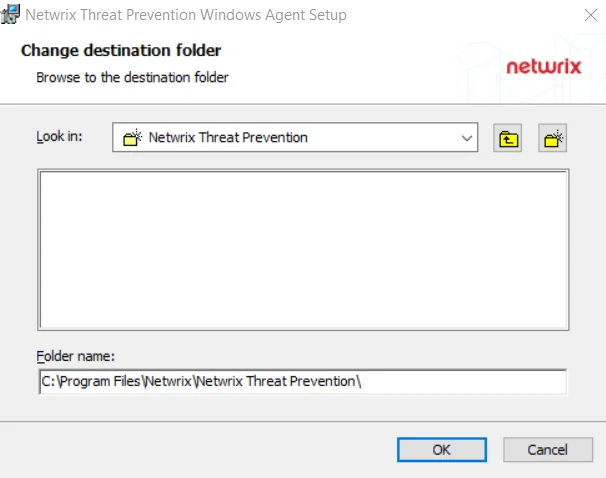
Step 5 – (Optional) On the Destination Folder page, change the installation directory location.
- To change the default installation directory location, click Change….
- Use the Look In field to select the desired installation folder.
- When the Folder name is as desired, click OK. The wizard returns to the Destination Folder page.
- Click Next.
To use the default installation directory location, skip the previous step and click Next on the Destination Folder page.
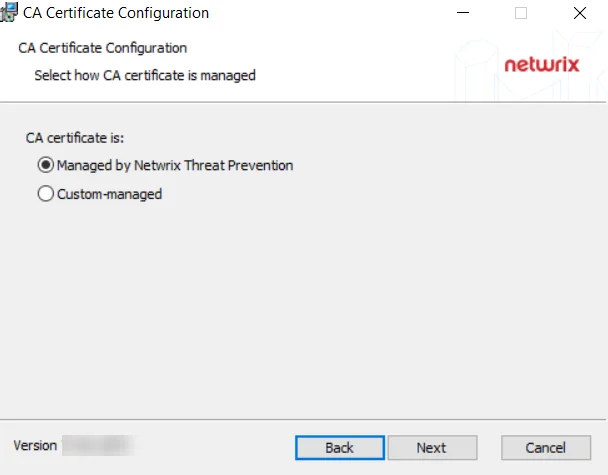
Step 6 – Keep the default radio button selection, Managed by Threat Prevention.
NOTE: The CA Certificate Configuration page is not applicable to the Activity Monitor.
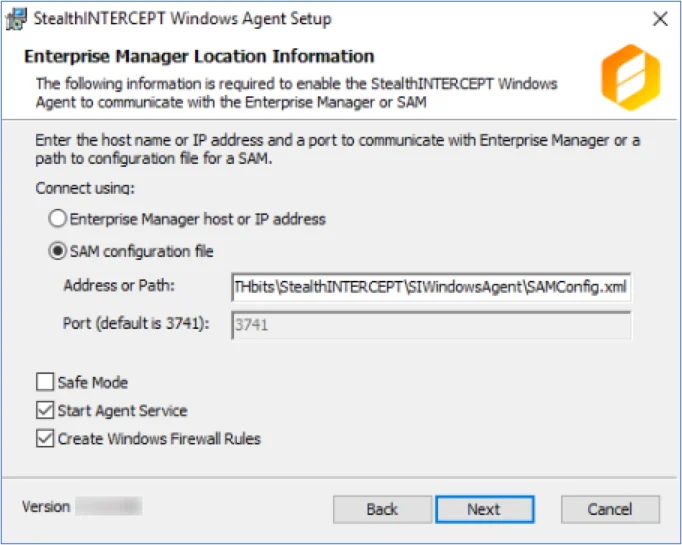
Step 7 – On the Enterprise Manager Location Information page, select the Option button for a product to enable communication with it.
-
Select the SAM configuration file radio button.
-
In the Address or Path field, enter the path to the activity agent configuration file for this host. Remember, the Activity Monitor activity agent must already be deployed on the domain controller and enabled before installing the AD Agent. The default path is:
…\STEALTHbits\StealthINTERCEPT\SIWindowsAgent\SAMConfig.xml -
The port configuration only applies to the Enterprise Manager Host option.
-
Configure additional Agent options as desired:
-
Safe Mode
- The Safe Mode option prevents the Windows AD Events monitoring module from loading if the LSASS DLL versions has been modified since the last time the Threat Prevention Windows Agent service was started.
-
Start Agent Service
- The Start Agent Service option starts the Threat Prevention Windows Agent service after the installation is complete. If the Threat Prevention Windows Agent service is not started at the time of installation, the Activity Monitor Agent will start as needed.
-
Create Windows Firewall Rules
- The Create Windows Firewall Rules option creates the rules needed to open this port during the installation process. If using a third party firewall, uncheck this option and manually create the necessary firewall rules.
-
-
When the settings are configured, click Next.
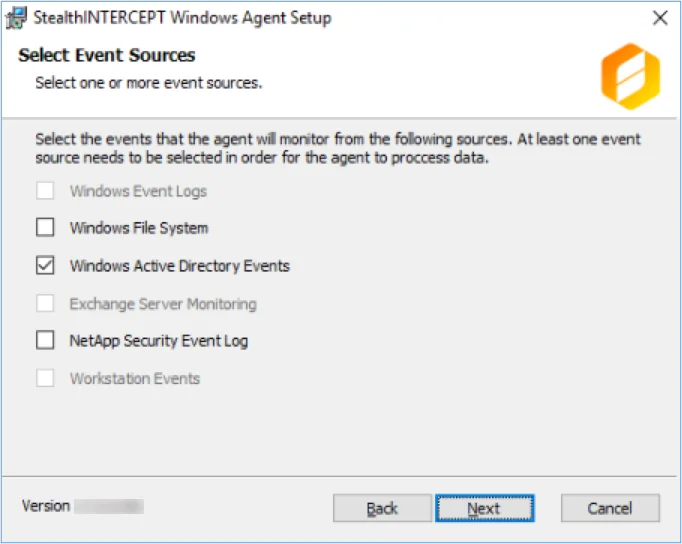
Step 8 – On the Select Event Sources page, select Windows Active Directory Events as needed by the Activity Monitor for the Active Directory solution. Click Next.
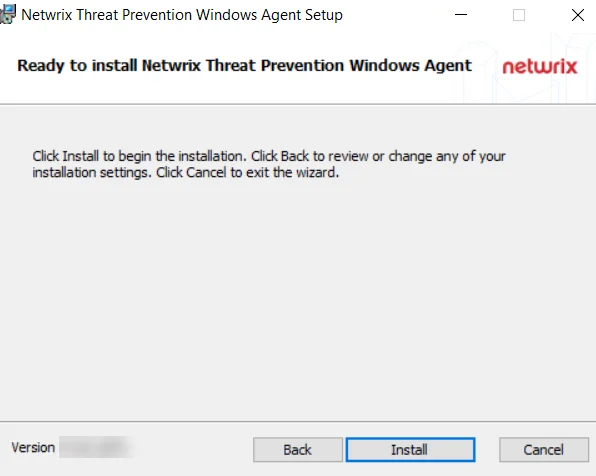
Step 9 – On the Ready to install Threat Prevention Windows Agent page, click Install. The Setup wizard displays the installation status.
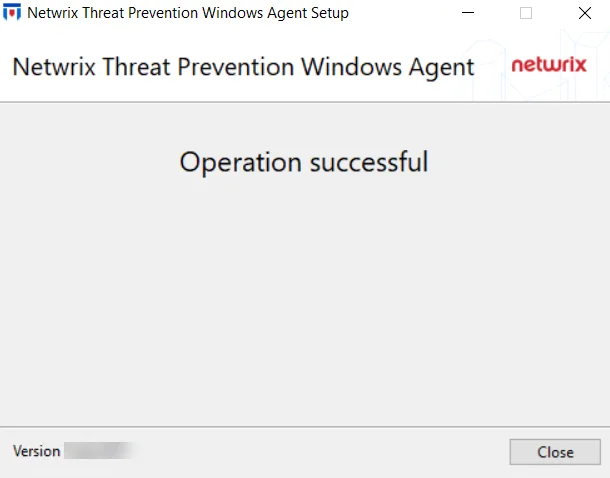
Step 10 – When installation is complete, click Close.
The AD Module (SI Agent) is now installed on the server.
Add the AD Agent to the Console
Follow the steps to add the Activity Monitor Windows Agent (with the AD Module) to the Console:
Step 1 – Open the Activity Monitor Console.
Step 2 – On the Agents tab, click Add Agent. The Add New Agent(s) window opens.
Step 3 – Click the install agents on Active Directory domain controllers link.
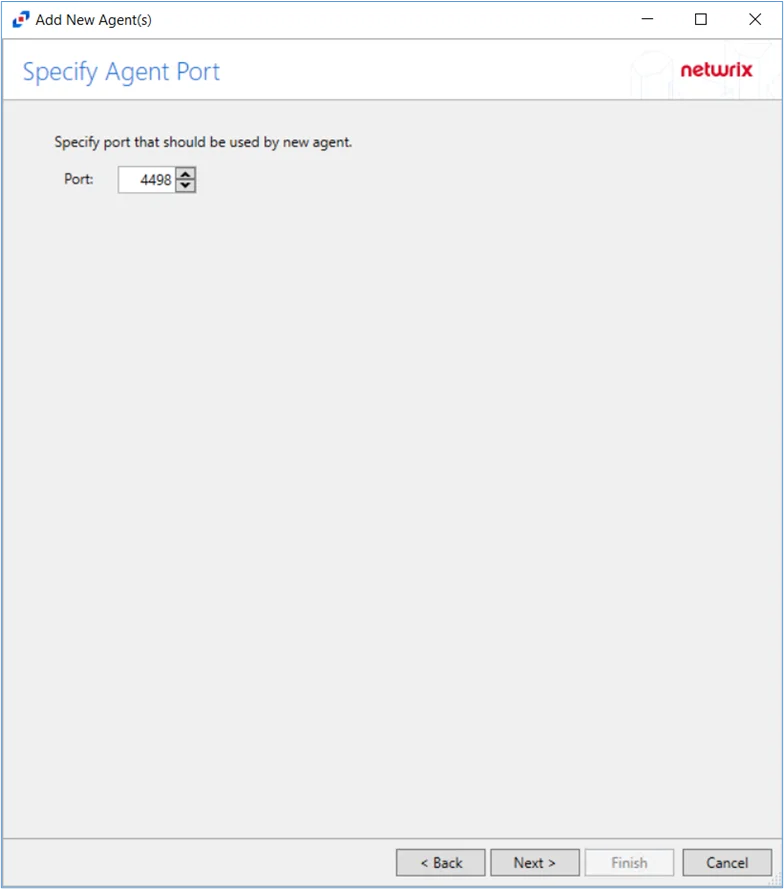
Step 4 – Specify the port for the Activity Monitor Agent. Click Next.
Step 5 – Specify the path of the Activity Monitor Agent, that has already been installed. Click Next.
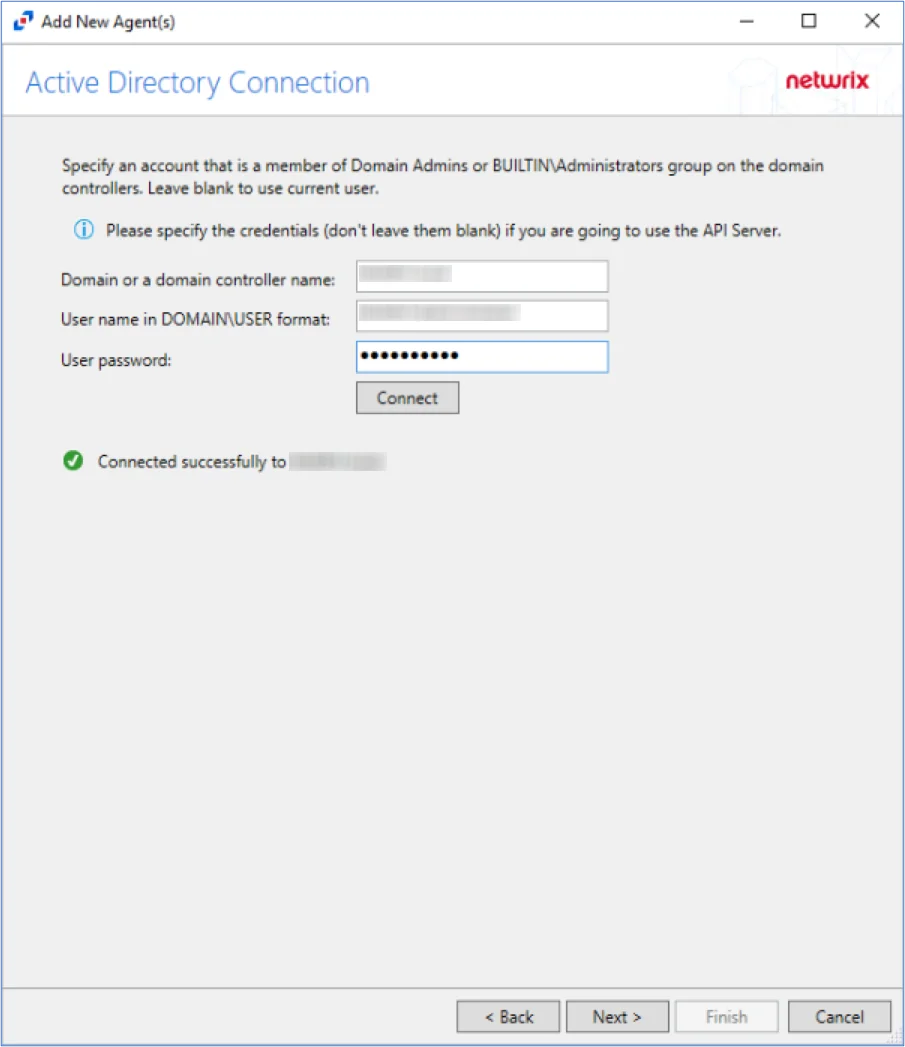
Step 6 – On the Active Directory Connection page, specify the credentials for the domain or domain controller(s) where the agent is installed. Click Connect to verify connection to the domain. Click Next.
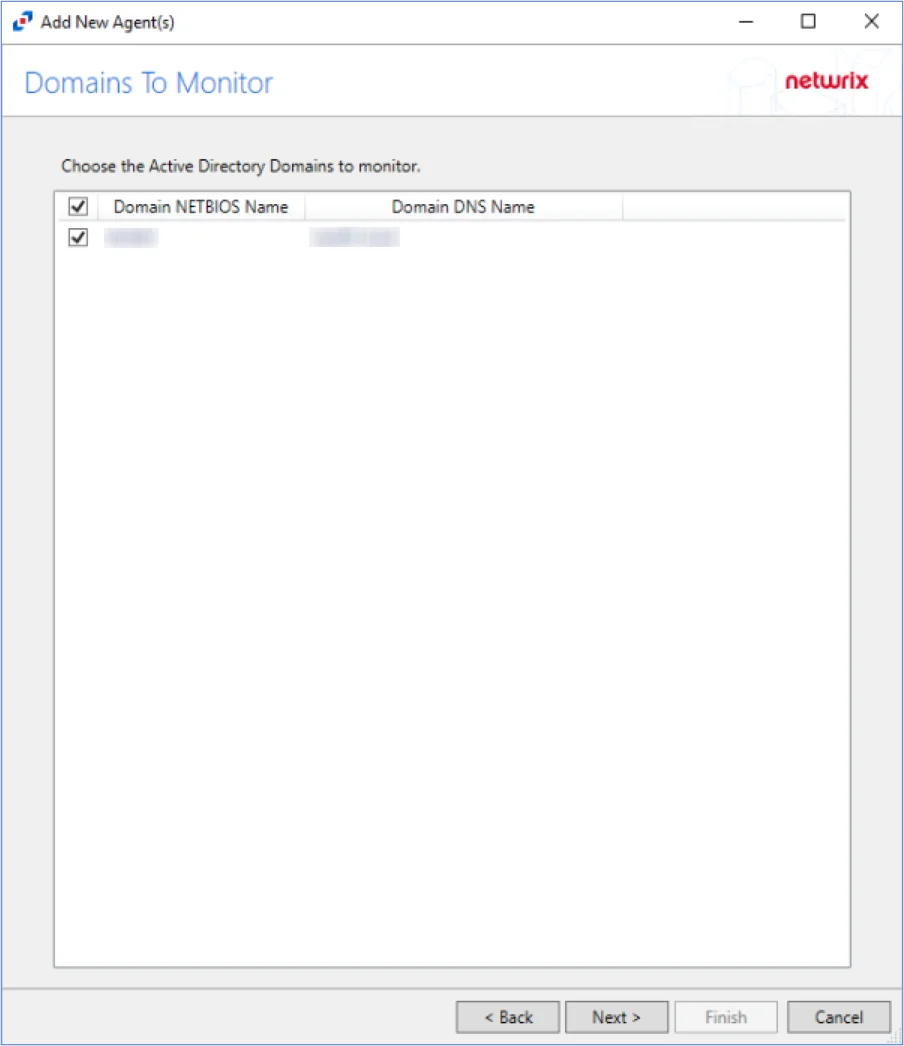
Step 7 – Select the domain of the domain controller(s) where the agent is installed. Click Next.
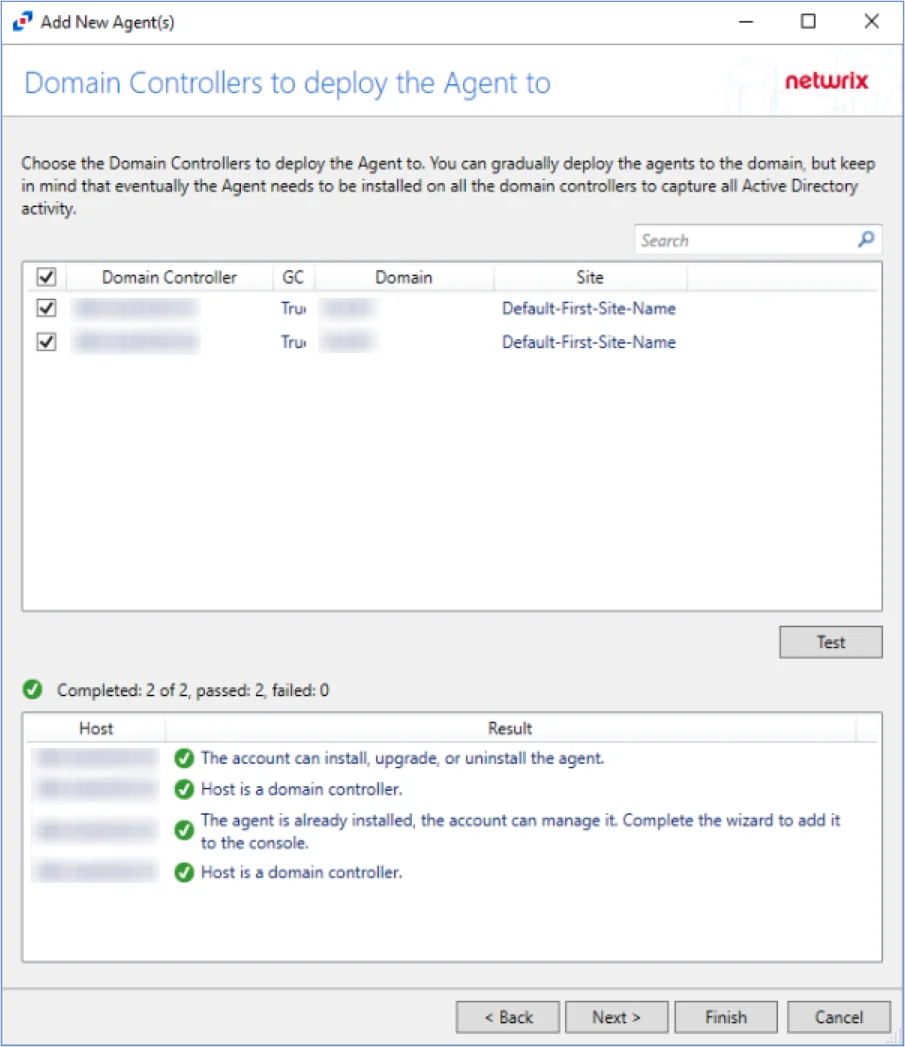
Step 8 – Select the domain controller(s) where the agent is installed. Click Test.
NOTE: When clicking Test while adding the Agent to the Console, the connection may fail. When clicking Test, the Activity Monitor verifies not only its ability to manage the agent but the console's ability to deploy the agent as well. Errors can be ignored if the agent was manually installed.
Step 9 – Ignore the warning messages that the agent cannot be installed or upgraded and click Next.
Step 10 – Specify the Activity Monitor Agent Management Group (if desired). Click Finish.
NOTE: The Activity Monitor Agent Management Group allows users in the specified group to manage agents, but does not allow users in specified group to install, upgrade, or uninstall agents.
The console will automatically detect the agent as it is already installed.
The Agent is now added to the Activity Monitor Console.
Manually Install the Linux Agent
Follow the steps to manually install the agent.
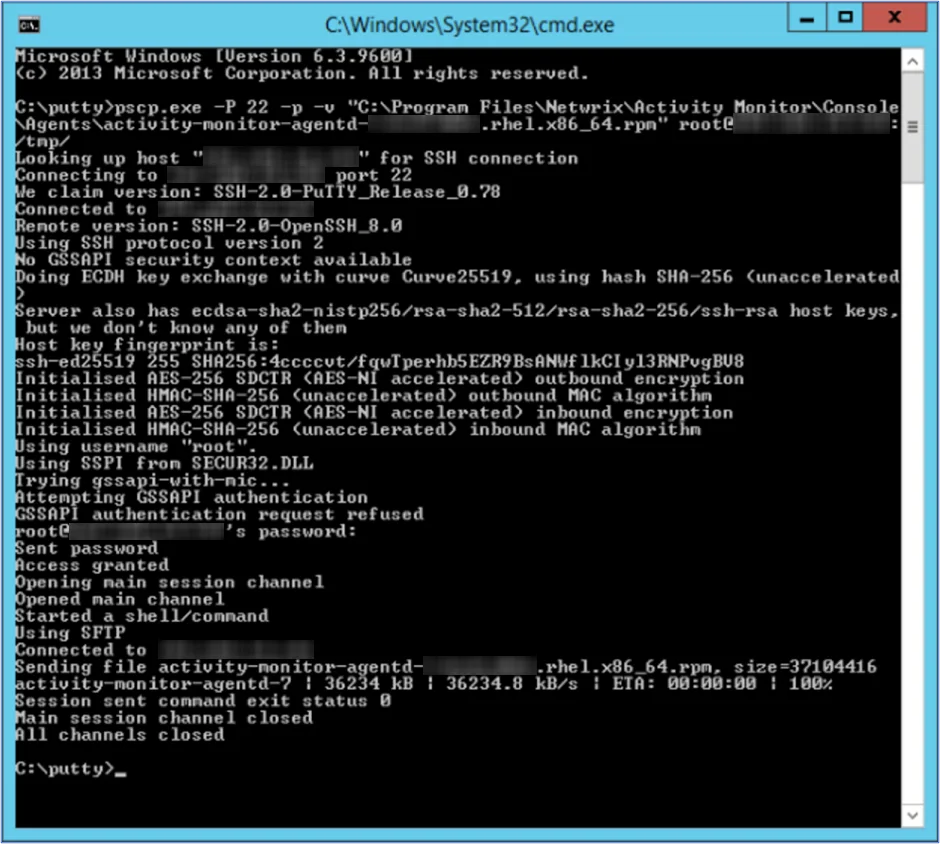
Step 1 – Transfer the rpm package to the Linux server.
For example, following is a pscp command:
pscp.exe -P 22 -p -v "C:\Program Files\Netwrix\Activity Monitor\Console\Agents\activity-monitor-agentd-7.0.0-1234.rhel.x86_64.rpm" root@123.456.789.123:/tmp/
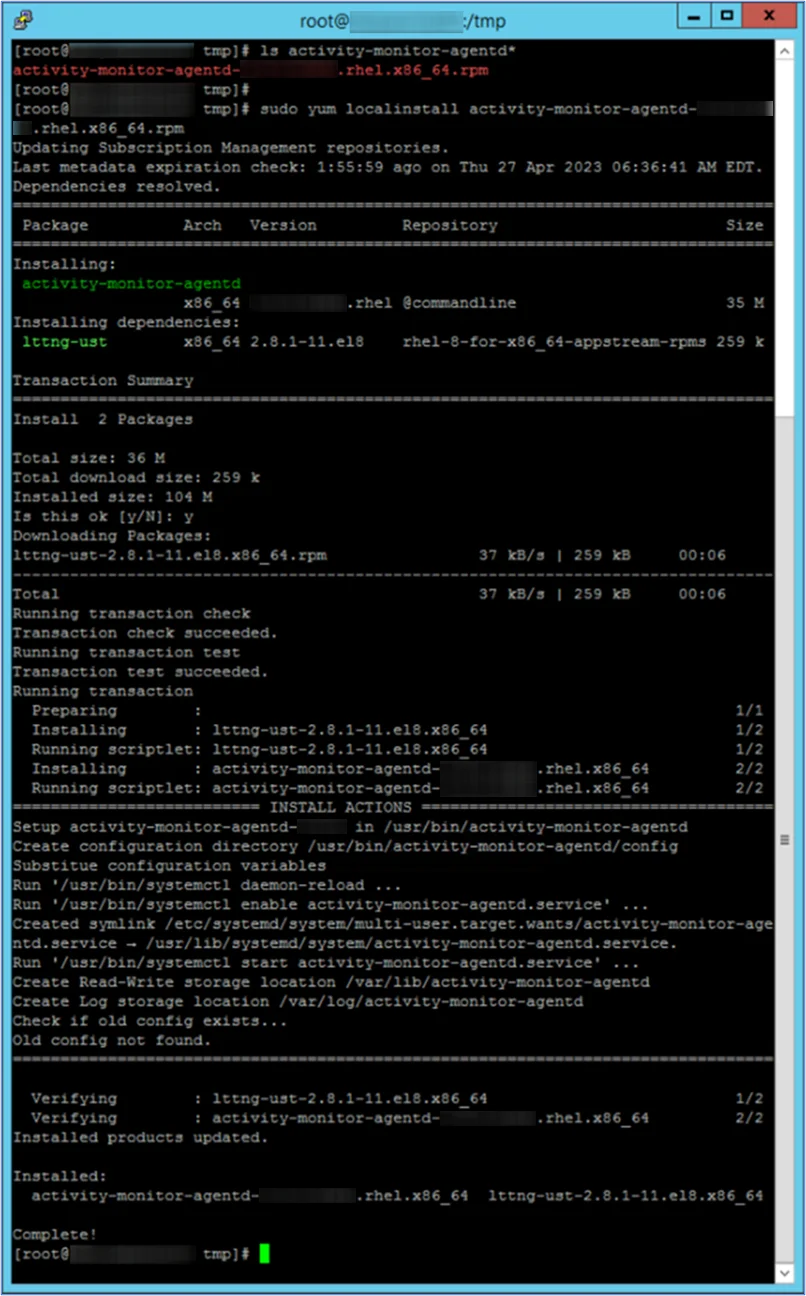
Step 2 – Install the Activity Monitor Linux Agent RPM Package on the Linux server.
For example, the following command can be used:
sudo yum localinstall activity-monitor-agentd-7.0.0-1234.rhel.x86_64.rpm
Step 3 – Add firewall rules to the Linux server, and restart firewall service.
NOTE: This should be the same port number specified in the Activity Monitor console for the Linux agent. Default port is 4498.
For example, the following commands can be used:
sudo firewall-cmd --zone=public --add-port=4498/tcp --permanent
sudo systemctl restart firewalld
sudo firewall-cmd --list-all
Step 4 – Generate the Activity Monitor Agent client certificate on Linux server from the Activity Monitor Agent install directory.
The following commands can be used:
cd /usr/bin/activity-monitor-agentd/
sudo ./activity-monitor-agentd create-client-certificate --name amagent
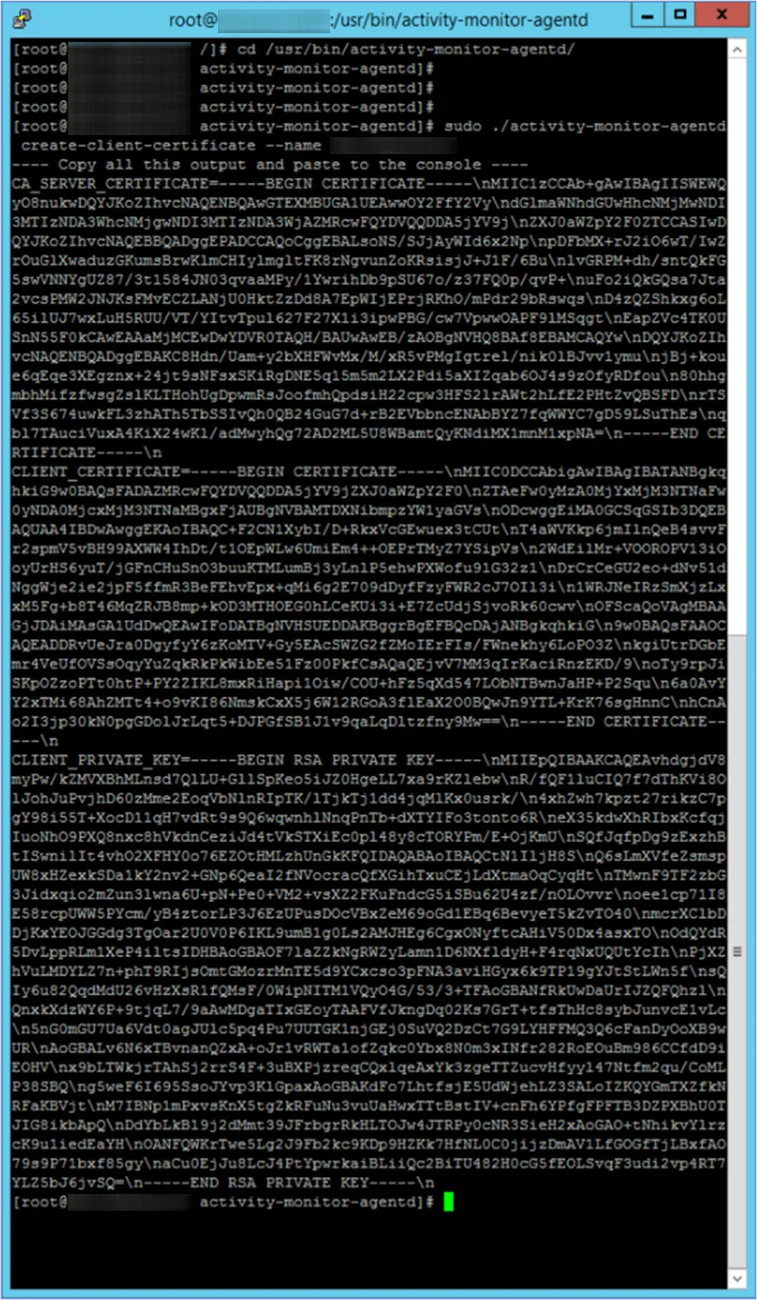
Step 5 – Copy full certificate output from previous command on the Linux server.
NOTE: This will be needed to add the agent to the console.
Add the Linux Agent to the Console
Before deploying the Activity agent in a Linux environment, ensure all Prerequisites have been met. To effectively monitor activity on a Linux host, it is necessary to deploy an agent to the host. Follow the steps to deploy the agent to the Linux host. See the Linux Agent Server Requirements topic for additional information.
Follow the steps to add the agent to the console.
Step 1 – Open the Activity Monitor Console.
Step 2 – On the Agents tab, click Add Agent. The Add New Agent(s) window opens.
Step 3 – Specify the server name or IP Address that already has the Linux agent installed. To add multiple server names, see the Multiple Activity Agents Deployment topic for additional information. Click Next.
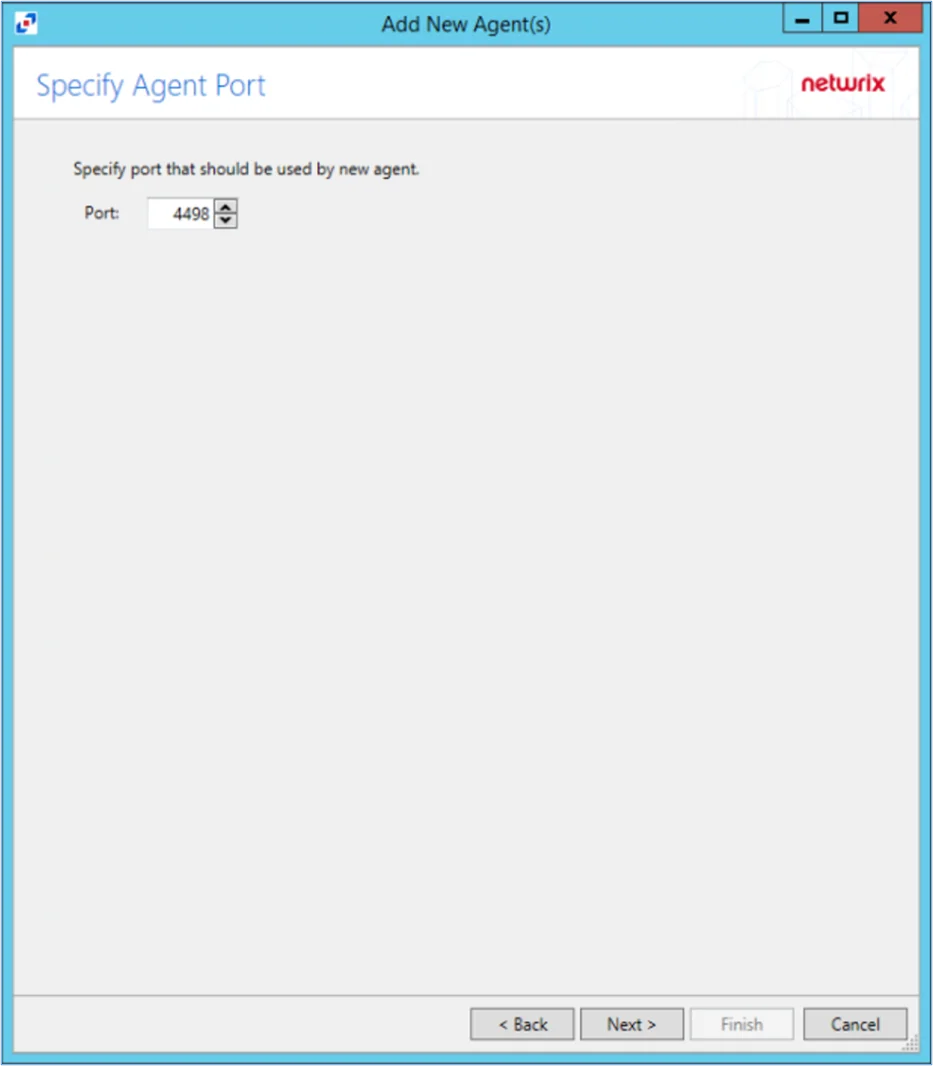
Step 4 – Specify the port to be used for the agent. Click Next.
Step 5 – In Activity Monitor console add the Linux agent using the client certificate option, and paste the full output of the client certificate information (from Step 3 of ‘Manually Installing Activity Monitor Linux Agent’) into the client certificate field. Click Connect. Then click Next.
NOTE: When clicking Connect while adding the Agent to the Console, the connection may fail. When clicking Connect, the Activity Monitor verifies not only its ability to manage the agent but the console's ability to deploy the agent as well. Errors can be ignored if the agent was manually installed.
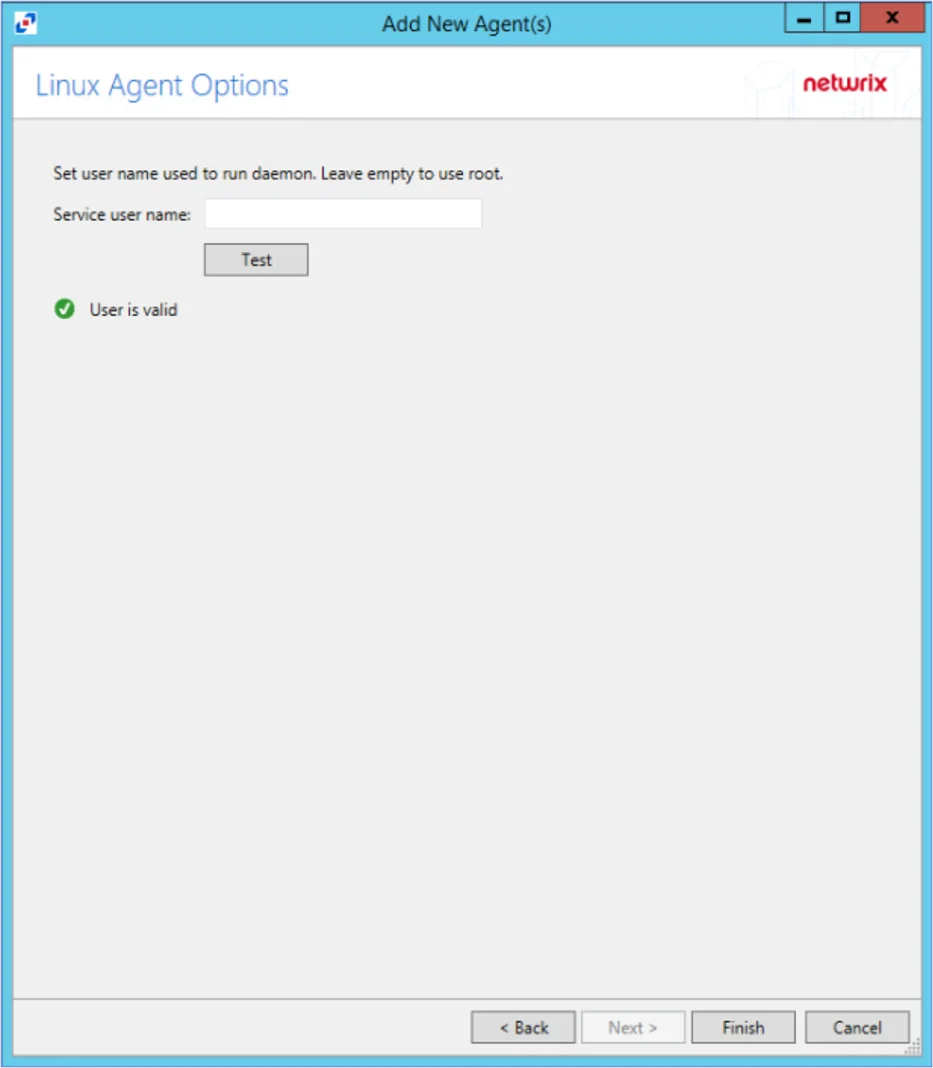
Step 6 – On the Linux Agent Options page, select which user name to use to run the daemon. To use root, leave the Service user name field blank. Click Test to test the connection.
Step 7 – Click Finish. The Add New Agent(s) window closes, and the activity agent is deployed to and installed on the target host.
NOTE: The console will automatically detect the agent as it is already installed.
The Agent is now added to the Activity Monitor Console.
Step 8 – On the Agents tab of the console, select the newly added agent. Click Edit to view Agent Properties.
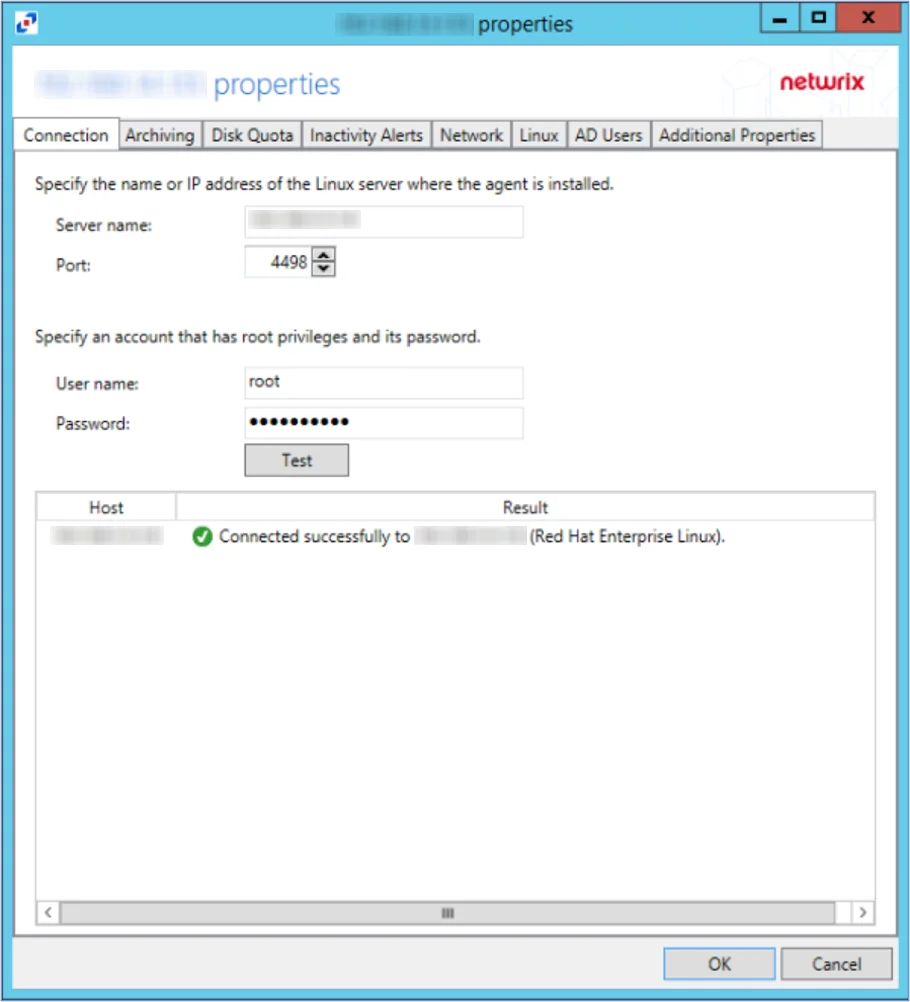
Step 9 – Specify Linux account credentials (to be able to install, upgrade, and uninstall agent). Click Test to verify. Then press OK to save changes.
Update AD Agent Installer
Netwrix periodically releases updated AD Agent installation packages. Typically these updates are associated with Microsoft KB’s (hot-fixes) which alter the LSASS components interfering with AD Agent instrumentation.
Current customers can log in to the Netwrix Customer Portal to download software binaries and license keys for purchased products. See the Customer Portal Access topic for information on how to register for a Customer Portal account. Navigate to the Netwrix Threat Prevention Download section for the 7.4. Download the Threat Prevention Agent binary.
Then follow the steps to update the AD Agent installer used by the Activity Monitor Console.
Step 1 – On the Agents tab, select Update Installer. The Select Active Directory Module installer package (SI Agent.exe) windowSelect Active Directory Module installer package (SI Agent.exe) window opens.
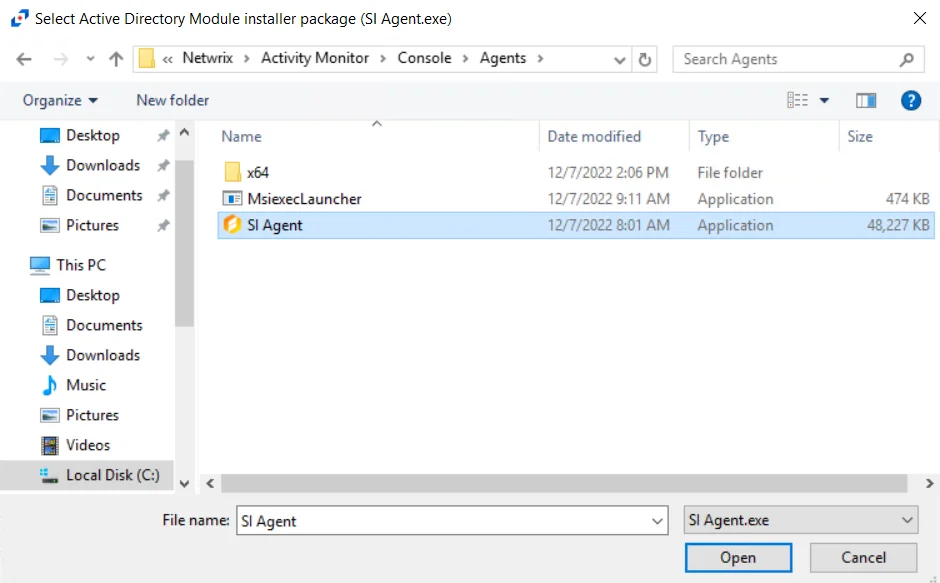
Step 2 – Navigate to the location of the latest AD Agent installation package. Select the installer and click Open.

Step 3 – A confirmation window opens displaying the version information for the selected installer. Click Yes to update to this version or No to cancel the operation. A confirmation window opens displaying the version information for the selected installer. Click Yes to update to this version or No to cancel the operation.
The AD agent installer is update. Use the Install button on the Agents tab to upgrade the deployed AD agents to the new version.