Import Location
Use the Import Location option to import the physical location data for hosts and opens a customized version of the Import Hosts window. Add host locations from a CSV file or SQL Server database without creating a new host list. See the Host Inventory Data Grid topic for information on the Location column of host inventory.
Follow the steps to import physical location data for hosts.
Step 1 – Ensure the import source file has columns for both the host name as it is identified within Access Analyzer and the location.
NOTE: When a host name does not match any existing hosts within the Host Master Table, it can be added as a new host.
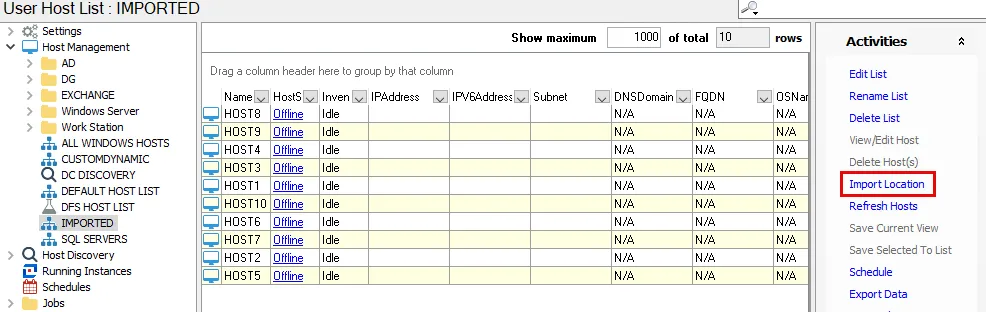
Step 2 – Select the host list and click Import Location.

Step 3 – On the Import Hosts window, use the Import from dropdown to select the source as either CSV File or Database.
Step 4 – Configure the source file. The necessary fields depend on the selection in the previous step.
-
CSV File
- File Name – Click the ellipsis (…) to open a browser window and select the CSV file. This file needs to be stored on the Access Analyzer Console server. Once selected, a preview of the file is shown in the preview box.
- Includes header row – Select this checkbox if the file contains a header row. Otherwise, the header row will be included in the import (visible within the preview box).
-
Database
-
Data source – Identify the database. Click the ellipsis (…) to open the Data Link Properties window. Provide the required information on the Connection tab of the Data Link Properties window, and then click OK. See the Import From a Database topic for additional information.
NOTE: The Provider, Advanced, and All tabs of the Data Link Properties window should not be modified.
-
Table – Use the dropdown to select the table that contains the hosts to be imported. A preview of the selected table is displayed in the preview box.
-
Step 5 – Use either the drop-down menu or click on the column in the preview box to select the column containing the host names. The selected column is highlighted in the preview box.
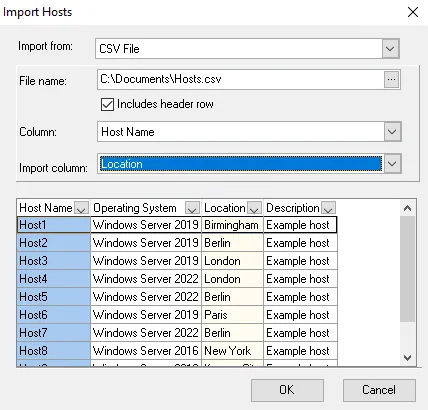
Step 6 – Use the Import column drop-down menu to select the column containing the location information. The selected column is highlighted a lighter color in the preview box.
Step 7 – Click OK to complete the import.
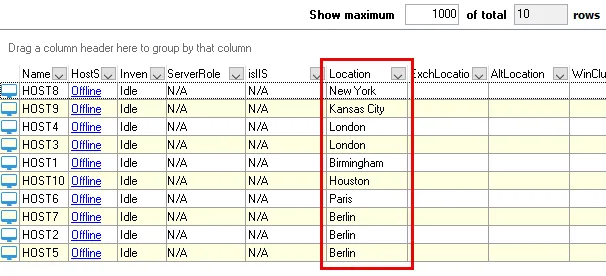
The Location column now contains the imported information. If any of the hosts included in the import file are not already in the Host Master Table, Access Analyzer prompts for confirmation on whether or not to import the host. Selecting Yes or Yes to All adds the new hosts to the Host Master Table but not to any individual host lists.
NOTE: Any new hosts that match dynamic host list criteria will be added to the appropriate dynamic host lists.