SendMail Action: Message
Use the Message page to specify the text of the email.
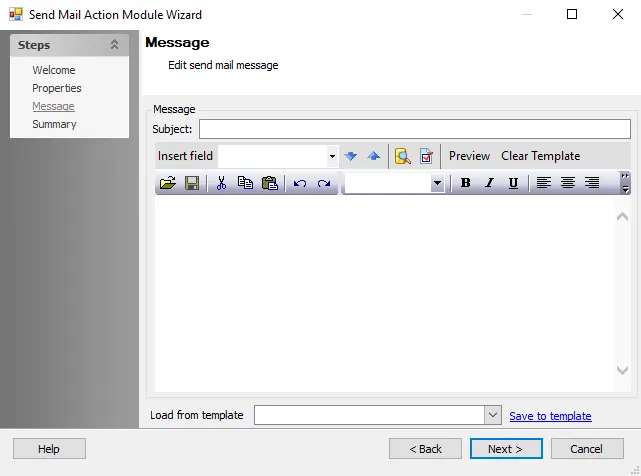
Use the following fields to specify the text of the email:
-
Subject – Specify a subject for the email. The contents of this field displays as the subject line of the delivered email. Enter text directly and optionally use the Insert field to insert one or more data fields. This is a required field.
-
Insert Field – Inserts a data field into the subject or body of the email. The drop-down menu displays a list of available fields. Once a selection displays in the field, click on the blue Up and Down arrows to insert the field into the body or the subject, respectively. This field is optional.
-
Show sample input source data – To display a table of sample source data, click the icon next to the blue arrows.
-
Show dialog to set SMTP options – To override the global SMTP settings, click the icon next to the blue arrows to display the SMTP Options dialog box
-
Preview – Displays the Message Preview window containing a preview of the current SendMail. Click Send to send a single message to the addresses in the Recipient field in the Message Preview window. The Preview button is active only if the Recipients field is populated on the Properties page of the Send Mail Action Module Wizard. See the Messages Preview Window topic for additional information.
-
Clear Template – Clears any content from the Subject and Text Entry box
-
Load from template – Accesses a list of message templates. This field is optional. The following templates are available:
- Active Directory Cleanup
- Distribution List Cleanup
- Mailbox Cleanup
- Open Shares Lockdown
- Public Folder Cleanup
- Sensitive Group Review
- Shared Folder Cleanup
- Unauthorized Software Cleanup
-
Message templates include sample email text describing the reason for the message and the next steps requested of, or required by, the user. They may also include dynamic content taken from the specified table, for example the user name.
- Save to template – Saves the current email subject and content to a template. If an existing
template name appears in the Load from template field, clicking this button updates that
template. If the Load from template field is empty or contains a name other than one of the
existing templates, clicking this button opens the Save SendMail Template window and saves the
changes to a new template. Templates reside locally on the host computer as XML files, in the
Actions/SM_Templatesfolder.
- Save to template – Saves the current email subject and content to a template. If an existing
template name appears in the Load from template field, clicking this button updates that
template. If the Load from template field is empty or contains a name other than one of the
existing templates, clicking this button opens the Save SendMail Template window and saves the
changes to a new template. Templates reside locally on the host computer as XML files, in the
Text Entry Box
The Text Entry box allows you to compose a message. A Microsoft Word-style editor provides formatting options including the ability to insert dynamic text from the specified table (such as a username) through the Insert field option. Use the editor to personalize the content and appearance of each message.
Example:
Assume the source table includes a column containing the names of intended recipients. Place the cursor in the greeting section of the email. Next, select that field from the Insert field drop-down list and click the down arrow to insert a dynamic field. The column name appears in the Text Entry box, enclosed by brackets:
Dear [ProbableOwner];
You are approaching your Mailbox storage quota. Please clean up any unneeded items.
Thank you,
The Messaging Team
Messages Preview Window
The Messages Preview window displays a preview of the email, including any dynamic fields. This window displays after clicking the Preview button.
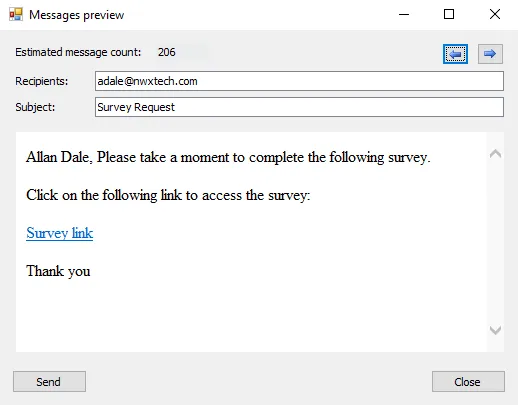
- Blue arrow buttons – Click to view other recipients
- Send – Sends a single message to the addresses in the Recipients field