SharePoint Agent Installation
The SharePoint Agent is capable of auditing permissions and content, or Access Auditing (SPAA) and Sensitive Data Discovery Auditing, on SharePoint servers.
This topic provides information on the installation and upgrade processes of the SharePoint Agent. It also provides information on the permissions needed by the service account used to run the Access Auditing (SPAA) and Sensitive Data Discovery Auditing scans against the targeted SharePoint environment.
For information on the required prerequisites and permissions, see the SharePoint Agent Permissions topic.
The version of the SharePoint Agent must also match the major version of Enterprise Auditor. See the What's New topic for additional information.
Supported Platforms
The SharePoint Agent for the Enterprise Auditor SharePoint & SharePoint Online Solution can be installed on the following SharePoint versions as targeted environments:
- SharePoint® 2019
- SharePoint® 2016
- SharePoint® 2013
Sensitive Data Discovery Auditing Consideration
If utilizing the SharePoint Agent to scan for Sensitive Data, install the Sensitive Data Add-on – SPAA Agent (or x64) version of the Sensitive Data Discovery Add-On after the SharePoint Agent has been installed on the SharePoint server. This requirement is in addition to having the Sensitive Data Discovery Add-on installed on the Enterprise Auditor Console server. Sensitive Data Discovery Auditing scans also require .NET Framework 4.7.2 or later.
NOTE: If running Sensitive Data Discovery (SDD) scans, it will be necessary to increase the minimum amount of RAM. Each thread requires a minimum of 2 additional GB of RAM per host. For example, if the job is configured to scan 8 hosts at a time , then an extra 16 GB of RAM are required (8x2=16).
See the Sensitive Data Discovery Add-On Installation topic for additional information.
Installing the SharePoint Agent
The installer will prompt for credentials which are used to set the identity that the SharePoint Access Auditor Agent service runs as. The agent service does no additional impersonation, so this is the account used to connect to and enumerate SharePoint. The service account credentials provided need to be a member of the Log on as a service local policy. Additionally, the credentials provided for Step 5 should also be a part of the Connection Profile used by the SharePoint Solution within the Enterprise Auditor Console. See the SharePoint Scan Options topic for detailed permission information.
NOTE: If utilizing the SharePoint Agent to scan for Sensitive Data, the 64-bit
SensitiveDataAddon.msi needs to be installed after the SharePoint Agent has been installed on the
SharePoint server. See the
Sensitive Data Discovery Add-On Installation
topic for additional information.
Follow the steps to install the SharePoint Agent on the application server which hosts the Central Administration component of the targeted SharePoint farms.
Step 1 – Run the SharePointAgent.exe executable to open the Netwrix Enterprise Auditor
SharePoint Agent Setup Wizard.
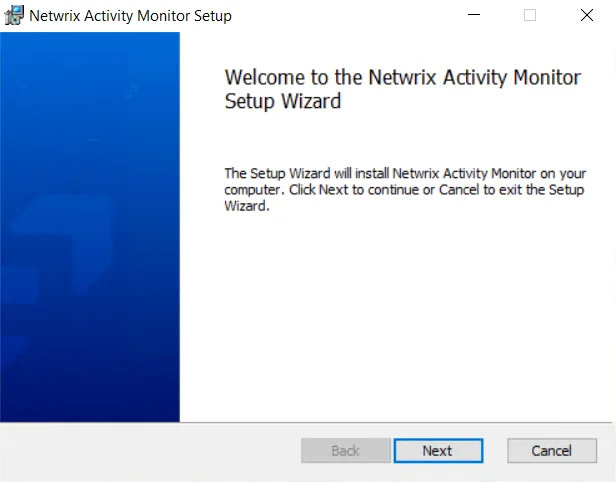
Step 2 – On the Welcome page, click Next to begin the installation.
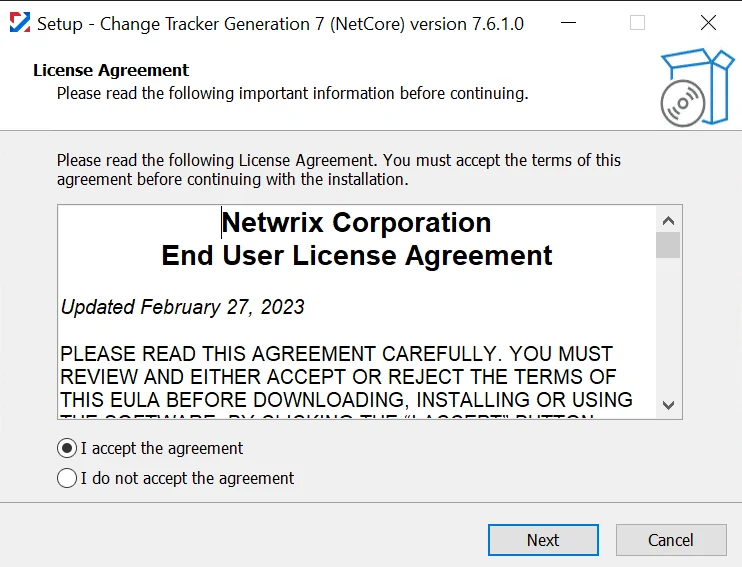
Step 3 – On the End-User License Agreement page, select the I accept the terms in the License Agreement checkbox and click Next.
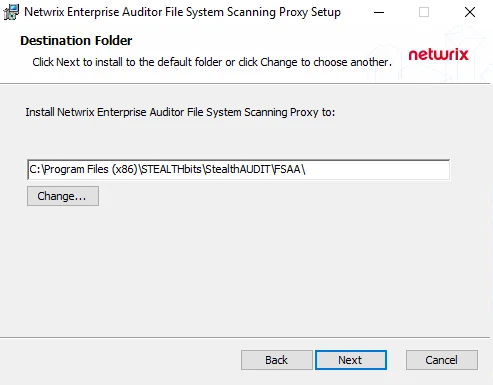
Step 4 – On the Destination Folder page, click Next to install to the default folder or click Change to select a different location.
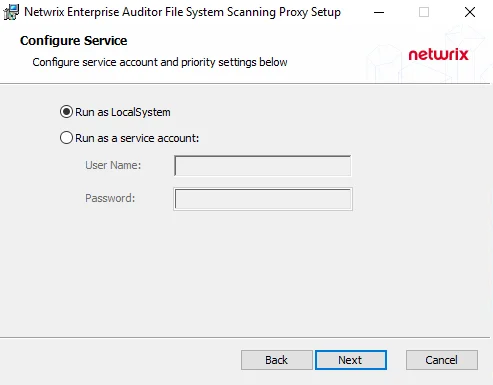
Step 5 – On the Configure Service Security page, enter the User Name and Password for the SharePoint Service Account. Click Next.
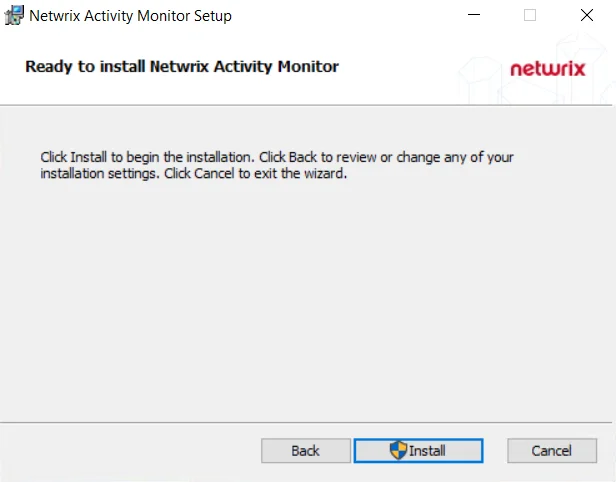
Step 6 – On the Ready to install Netwrix Enterprise Auditor SharePoint Agent page, click Install to start the installation.
Step 7 – When the installation has completed, click Finish to exit the wizard.
Now that the SharePoint Agent has been installed on the appropriate application server, it can be used by the SharePoint Solution. See the SharePoint Solution topic for instructions on enabling agent service scans on the Agent Settings page.