Schedule
The Schedule node contains objects referred to as Schedule Service Accounts. A Schedule Service Account is used to run scheduled tasks on the Enterprise Auditor Console server.
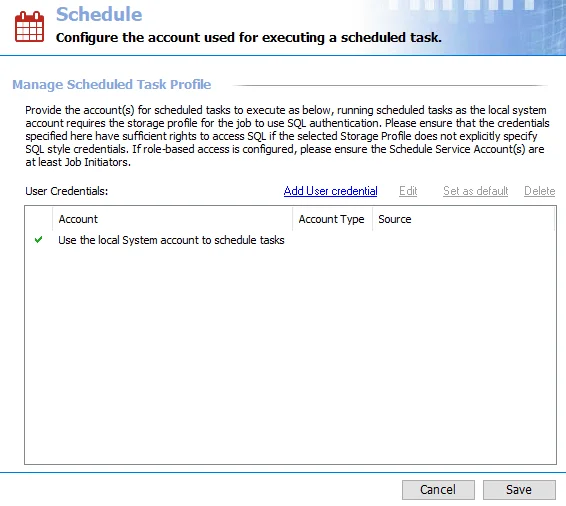
Jobs can be executed manually as desired or scheduled to execute at designated times. For example, you could schedule a job to run during hours when the office is closed and network traffic is low. Windows uses the Schedule Service Account to access the task folders when launching scheduled tasks. Schedule Service Accounts are configured at the global level, and this account can be used to schedule jobs in the Schedule Wizard. See the Schedules topic for additional information.
CAUTION: On Windows 2016 servers, the Schedule Service Account cannot be signed into an active session when the time comes for a scheduled task to start. Windows blocks the starting or running of scheduled tasks using an account that is logged into the server.
Password Storage Options
The password for the credential provided can be stored in the Enterprise Auditor application or the Enterprise Auditor Vault.
Choosing between the Enterprise Auditor application and Enterprise Auditor Vault is a global setting configured in the Settings > Application node. See the Application topic for additional information.
Permissions
Regardless of the account type, any account used to schedule tasks must have credentials with at least the following to meet Least Privileged specifications:
-
Create Files/Write Data rights on the following Task folders:
- Windows Task folder
- System 32 Task folder
- Member of Log on as a Batch Job local policy
Otherwise, credentials must have local Administrator privileges on the Enterprise Auditor Console server.
-
The following NTFS permissions for Subfolders and Files Only in the Enterprise Auditor Directory:
- Create Files/Write Data
- Create Folders/Append Data
- Write Attributes
- Write Extended Attributes
-
To configure Least Privilege Model Schedule Service Accounts when Role Based Access is enabled, see the Role Based Access topic for additional information
-
If using Windows authentication for the Storage Profile, the Schedule Service Account must have a sufficient level of rights to connect to and interact with the Enterprise Auditor database. See the Storage topic for additional information.
The Cancel and Save buttons are in the lower-right corner of the Schedule view. These buttons become enabled when modifications are made to the Schedule global settings. Whenever changes are made at the global level, click Save and then OK to confirm the changes. Otherwise, click Cancel if no changes were intended.
The Enterprise Auditor vault provides enhanced security through enhanced encryption to various credentials stored by the Enterprise Auditor application. See the Vault topic for additional information.
Schedule Service Account Types
There are two types of accounts that can be used to configure the Schedule Service Account.
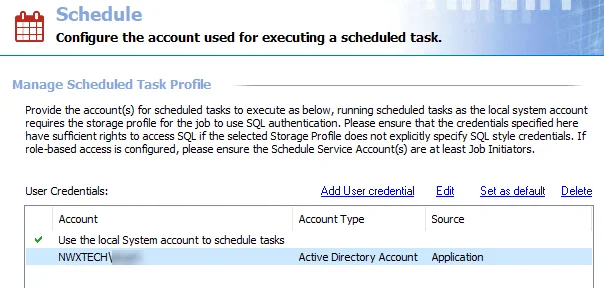
Use one of the following options for the Schedule Service Account:
-
Use the local system account to schedule tasks – This option applies the credentials logged into the Enterprise Auditor Console server
- Credentials must have privileges sufficient for scheduling tasks on the Enterprise Auditor Console server. If not, scheduled tasks fail to start.
- This option cannot be edited or deleted
-
User-supplied credentials – Provide credentials for a specific account with sufficient rights to schedule tasks on the Enterprise Auditor Console server
- The account can be either a domain account or a local Windows account
- A local Windows account is a specific account and not the default local system account
Remember, the Schedule Service Account cannot be signed into an active session on the Enterprise Auditor Console server when the time comes for a scheduled task to start when it has a Windows 2016 operating system.
Create a Schedule Service Account
Follow the steps to create a Schedule Service Account.
Remember, the Schedule Service Account cannot be signed into an active session on the Enterprise Auditor Console server when the time comes for a scheduled task to start when it has a Windows 2016 operating system.
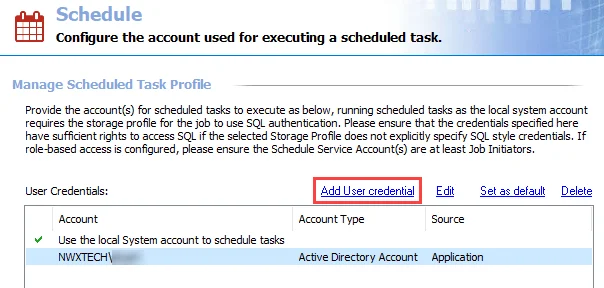
Step 1 – Click Add User credential at the top of the Schedule view. The User Credentials window opens.

Step 2 – The window options change according to the value for the Selected Account Type field. Select the appropriate account type and then provide the required information. The account types are:
-
Active Directory Account – Use this option to specify a domain account
-
Domain – Auto-filled with the domain where the Enterprise Auditor Console server resides, change by typing the domain name in the textbox or select a domain from the menu
-
User name – Provide a domain account user name
-
Password Storage – Choose the option for credential password storage:
- Application – Uses Enterprise Auditor’s configured Profile Security setting as selected at the Settings > Application node
- Managed Service Account – Use previously configured MSA and gMSAs for authentication. The password fields are not applicable when this option is selected. See the Group Managed Service Accounts (gMSA) Configuration topic for additional information.
-
Password – Type the password
-
Confirm – Re-type the password
-
-
Local Account – Use this option to specify a local account for the Enterprise Auditor Console server
-
User name – Provide the local account user name
-
Password Storage – Choose the option for credential password storage:
- Application – Uses Enterprise Auditor’s configured Profile Security setting as selected at the Settings > Application node
-
Password – Type the password
-
Confirm – Re-type the password
-
Step 3 – Click OK and the credentials are verified. If there are no problems with the provided credentials, the User Credentials window closes. Otherwise, one of the following error messages might appear:
-
Passwords Do Not Match Error

- This error indicates the two password entries do not match. Click OK and reenter the passwords.
-
Bad User Name or Password Error

- This error indicates either the user account does not exist or the username and password do not match. Click OK and reenter the information.
-
Insufficient Rights Error

- This error indicates the account supplied does not have sufficient rights to create and run scheduled tasks. Click OK and provide credentials with sufficient rights.
-
GPO Network Security Error

- This error indicates that the GPO Network Security settings are configured to not allow storage of passwords and credentials for network authentication. Click OK. Disable the domain’s GPO Network Security settings or exempt the Enterprise Auditor Server from GPO.
- This error will also appear when trying to schedule a task using the domain’s Schedule Service Account where GPO Network Security is set to not allow storage of passwords and credentials for network authentication
Step 4 – The credential information appears in the User Credentials table. Click Save and then OK to confirm the changes. To ensure these credentials take effect, exit and restart the Enterprise Auditor application before scheduling any tasks.
Enterprise Auditor can now schedule tasks with this Scheduled Service Account.
Edit a Schedule Service Account
Follow the steps to edit a Schedule Service Account credentials.
Remember, the Schedule Service Account cannot be signed into an active session on the Enterprise Auditor Console server when the time comes for a scheduled task to start when it has a Windows 2016 operating system.
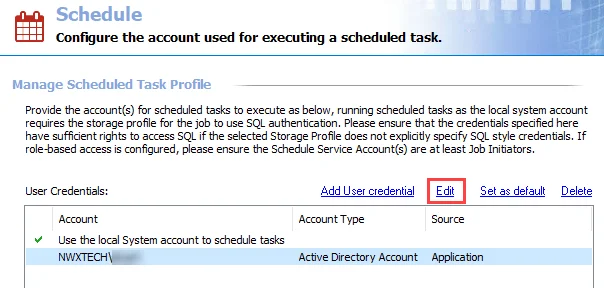
Step 1 – Select a credential from the User Credentials list and click on Edit. The User Credentials window opens.
Step 2 – Modify the credential information as needed. See Step 2 of the Create a Schedule Service Account topic for additional information.
Step 3 – Click OK and the credentials will be verified. If there are no problems with the provided credentials, the User Credentials window closes.
Enterprise Auditor can now schedule tasks with this Scheduled Service Account.
Delete a Schedule Service Account
Follow the steps to delete a Schedule Service Account.

Step 1 – Select the credential from the User Credentials list and click Delete. The Delete Credentials confirmation window appears.

Step 2 – Click OK to confirm the deletion or Cancel to exit the deletion process.
Step 3 – The User Credentials list now reflects the absence of the deleted Schedule Service Account. Click Save and then OK to confirm the changes. To ensure these changes take effect, exit and restart the Enterprise Auditor application.
If all Schedule Service Accounts are removed and only the local System account remains, Enterprise Auditor cannot create or run scheduled tasks unless the local system account has adequate permissions.